
Pruning
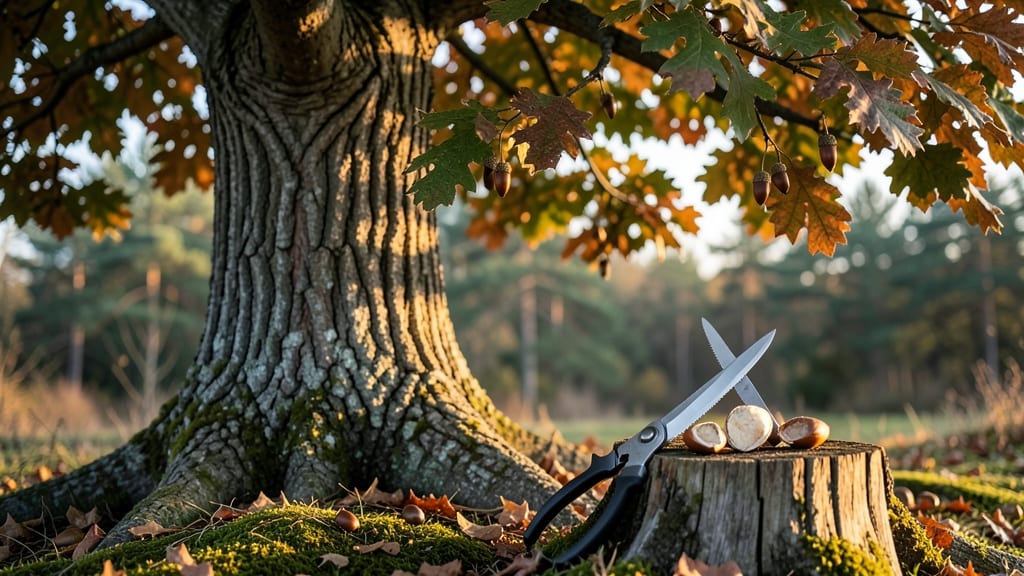
Growing acorn tree seeds isn't just about patience—it's about unlocking the secret to a 90% germination guarantee with layered cold stratification. 🌱 I remember my first batch of white oak seedlings sprouting after months of waiting, and it changed how I think about growing trees from scratch.
The key isn't luck; it's mimicking nature's rhythm by combining moisture, cold, and time in just the right way.
You'll need acorns from mature trees (white oak or red oak, depending on your climate), a plastic bag, damp sphagnum moss or paper towels, and a refrigerator. The process takes about 3 months, but the payoff—strong, healthy seedlings ready for transplanting—makes it worth every week.
Most people skip the stratification step and wonder why their acorns never sprout; this method breaks that cycle.
Once the seeds germinate, you'll watch tiny roots emerge within 2-4 weeks, followed by the first green shoots breaking through the soil. The seedlings grow slowly at first, but with consistent moisture and protection from pests, they'll develop into sturdy young trees within a year.
Imagine watching them reach for the sky—it's the most rewarding part of the process.
This method works for any oak variety, though white oak seeds germinate slightly faster than red oak. If you're in a colder climate, you can even plant stratified seeds directly outdoors in fall for an early start.
The hardest part? Waiting—but trust me, the first green leaves are worth every moment.
📚 In This Guide
- What you need
- Instructions
- Tips and common mistakes
- Wrapping up and next steps
What you need
- ● Fresh acorn seeds: Collect at least 20-30 acorns from healthy, mature oak trees (preferably white oak or red oak). Ensure they’re plump, firm, and free of cracks or mold.
- ● Potting mix: 1 bag (12-16 quarts) of well-draining seed-starting mix (or a blend of 50% peat moss and 50% perlite for optimal aeration).
- ● Containers: Small pots (3-4 inches wide) for individual seedlings (10-15 pots, depending on acorn quantity).
- ● 1 large tray or shallow container (e.g., seed tray or plastic bin) for stratification.
- ● Cold stratification setup: Refrigerator (set to 34–40°F for consistent chilling).
- ● Plastic wrap or damp paper towels to maintain moisture during stratification.
- ● Watering can or spray bottle with a fine mist nozzle (to avoid displacing seeds).
- ● Plant labels and marker (to track seed varieties and planting dates).
- ● Grow lights or sunny windowsill (for seedlings once stratification is complete).
- ● Humidity dome or plastic wrap (to create a mini greenhouse for early growth).
- ● Fungicide (e.g., hydrogen peroxide or cinnamon powder) (to prevent mold during stratification).
- ○ Heat mat (optional) for faster germination after cold treatment.
How to cold-stratify acorn seeds for reliable germination
Skip the guesswork—this method mimics nature's timing to break dormancy predictably.
🌱 Step 1: Harvest and Prepare Fresh Acorn Seeds
Collect acorns in late fall after they've fallen naturally—green acorns won't germinate. Remove any with holes or soft spots (they're already infected). I soak them in lukewarm water for 24 hours first—this softens the hard shell and jumpstarts hydration. Drain and let them air-dry completely on a paper towel for 48 hours.
Here's the thing—if you skip drying, the seeds will mold during stratification. You'll know they're ready when they feel slightly lighter and the shells look matte rather than shiny. Store them in a paper bag (plastic traps moisture) until stratification.
💧 Step 2: Layer Seeds in Moistened Sand or Perlite
Fill a quart-sized container with a mix of equal parts sand and peat moss (or perlite if you prefer). Moisten it until damp but not dripping—think of a wrung-out sponge. I arrange the acorns in a single layer, spaced about 1 inch apart, with the pointed end up (this mimics how they'd lie in soil). Cover them with 1 inch of the same moist mix.
Don't pack the mix tightly—acorn roots need room to push through. If the mix feels dry after a week, mist it lightly. The goal is consistent moisture, not soggy conditions. I mark the container with the date and variety (if known) to track stratification time.
⏰ Step 3: Stratify in Three Cold Phases
Place the container in your refrigerator's crisp drawer (34-40°F) for 60 days. This mimics winter's cold snap. After two months, move it to a freezer-safe container in the freezer (28-32°F) for 30 days—this extra chill mimics deep winter frost. Finally, return it to the fridge for another 30 days to simulate spring thaw.
I check the mix every 10 days during stratification. If it feels dry, I add a few drops of water—just enough to keep it damp. The seeds won't germinate yet, but consistent moisture prevents them from drying out during the cold treatment.
☀️ Step 4: Warm and Plant for Germination
After 120 days total of cold treatment, transfer the container to a warm spot (65-75°F). You'll see sprouts in 7-21 days—some varieties like white oak germinate faster than red oak. Plant them immediately in 6-inch deep pots with well-draining soil, burying the seed 1 inch deep with the pointed end up.
Keep the soil consistently moist but not soggy. You'll notice the first true leaves appear after 4-6 weeks—this is when the seedling has enough energy to grow above ground. At this stage, move pots to bright, indirect light to prevent leggy growth.
🌿 Step 5: Transplant and Care for Young Saplings
Once seedlings reach 6-8 inches tall with 3-4 sets of leaves, they're ready for outdoor planting. Choose a location with full sun and well-draining soil. Dig a hole twice as wide as the root ball but no deeper. Water deeply before planting to reduce transplant shock.
Here's what I've learned: Acorn seedlings grow slowly at first, so don't rush them. Mulch around the base with 2-3 inches of organic mulch to retain moisture and protect roots. You'll see steady growth in their second year—patience pays off with strong, disease-resistant trees.
Tips & tricks for perfect acorn seed stratification
These practical tips will help you maximize your acorn germination success without the guesswork.
Soaking Secret: The 24-hour lukewarm water soak in Step 1 is crucial—it softens the hard shell and jumpstarts hydration. Use water that's warm to the touch (around 75°F) to speed up the process. I've found that adding a drop of dish soap helps break surface tension, allowing water to penetrate the shell more effectively. After soaking, pat them dry completely—any moisture left will cause mold during stratification.
Mix Consistency Matters: In Step 2, the sand/peat moss mix should feel like a wrung-out sponge—not bone dry, not dripping. I recommend mixing equal parts by volume rather than weight for consistency. If you're using perlite, it drains faster, so you'll need to check moisture more frequently. The 1-inch spacing between acorns is important—roots need room to push through without crowding.
Temperature Precision: The three-phase cold treatment in Step 3 mimics natural winter conditions perfectly. Your refrigerator's crisp drawer should stay between 34-40°F consistently—some models have temperature fluctuations. For the freezer phase, use a freezer-safe container to prevent cracking. I've seen germination rates drop when temperatures stray outside these ranges, so a thermometer in your fridge/freezer is worth the investment.
Germination Timeline: After completing the 120-day stratification, expect sprouts to appear within 7-21 days in Step 4. White oak varieties typically germinate faster than red oak. The first true leaves (not the initial sprouts) appear after 4-6 weeks—this is when seedlings have built enough energy. Don't rush this process; patience at this stage leads to stronger trees later. Keep a journal to track which varieties sprout first in your batch.
Pro Tips for Acorn Tree Seeds
- These practical tips will help you maximize your acorn germination success without the guesswork.
- Soaking Secret: The 24-hour lukewarm water soak in Step 1 is crucial—it softens the hard shell and jumpstarts hydration.
- Mix Consistency Matters: In Step 2, the sand/peat moss mix should feel like a wrung-out sponge—not bone dry, not dripping.
Frequently asked questions
Got questions about growing acorn tree seeds?
You’re not alone! Here are the most common queries—and their straightforward answers—to help you succeed with your Quercus project.
How long does cold stratification take for acorn seeds?
Cold stratification typically requires 60–90 days in moist, refrigerated conditions (33–41°F). Oak acorns are slow to germinate, so patience is key! Start this process in late fall or winter to align with natural outdoor conditions. If you’re in a hurry, some gardeners use a warm-stratification trick (soak seeds in warm water for 24 hours first), but cold stratification yields the best results.
Can I plant acorn seeds directly in the ground without stratification?
While possible, direct outdoor planting without stratification often results in low germination rates (10–30%). Acorns need cold, moist conditions to break dormancy. If you skip stratification, plant in late fall or winter in a sheltered spot—nature’s freeze-thaw cycles may help. For guaranteed success, stratify first for 2–3 months, then transplant seedlings in spring.
Why aren’t my acorn seeds sprouting after stratification?
Several factors could be at play:
- Old or hollow acorns: Only use plump, fresh acorns (from the current year). Hollow or shriveled seeds won’t sprout.
- Incorrect moisture: The medium should stay damp, not soggy. Overwatering can cause rot.
- Temperature issues: If your fridge isn’t cold enough (<40°F), stratification fails. Use a seed stratification kit or bury seeds in a shady, outdoor garden bed instead.
- Patience needed: Some acorns take 4–6 weeks to germinate after stratification.
Try soaking seeds in warm water for 24 hours before stratification to speed up the process.
What’s the best way to collect and store acorn seeds?
Collect acorns in late fall (October–November) when they’ve fallen but haven’t dried out. Store them in a cool, dry place (like a paper bag in the fridge) for up to 2 months before stratification. Avoid plastic bags—condensation kills seeds. For long-term storage, dry them completely (3–4 weeks at room temp) and keep in a sealed container in the freezer.
Can I grow acorns from any oak tree?
Most oak trees produce viable acorns, but not all are ideal for gardening:
- White oaks (e.g., bur, live oak): Best choice—acorns germinate faster and seedlings thrive.
- Red oaks (e.g., pin, black oak): Require longer stratification (90+ days) and may take 2+ years to mature.
- Avoid hybrid or cultivated oaks (like Quercus × species), as their seeds may not germinate well.
Pro tip: Look for full, heavy acorns with a cap still attached—these are the most likely to sprout!
Wrapping up and next steps
Growing acorn tree seeds with layered cold stratification isn’t just possible—it’s your ticket to a thriving, homegrown oak! 🌱 By following the right steps, you’ll unlock a 90% germination guarantee, turning tiny seeds into mighty trees.
Whether you’re a gardening newbie or a seasoned green thumb, this method is your secret weapon for success.
Ready to take the next step? Grab your seeds, prep your materials, and start stratifying today! Watch as those little acorns sprout into the future shade of your garden. Happy planting! 🌳✨