
Plants
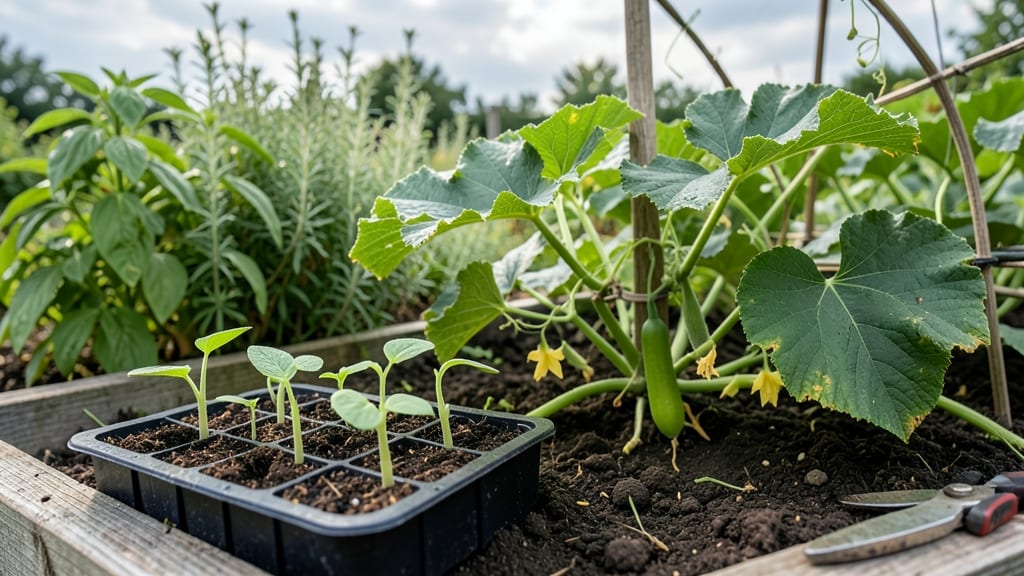
You can plant cucumber seeds from a store-bought cucumber if it's an heirloom or open-pollinated variety, properly harvested and stored. Scoop seeds from fully ripe, organic cucumbers, rinse them thoroughly, dry completely, and refrigerate until planting season. Hybrid cucumbers won't yield true-to-type fruit, so avoid those for seed saving.
This method works best with organic cucumbers, as conventional ones may contain pesticides that could harm seed viability. 🌱 The key is patience—seeds need to dry for 2-3 weeks in a cool, dark place before storage, or they risk mold.
I’ve found that saving seeds from yellow or green heirloom varieties produces the most reliable results, with germination rates often exceeding 80% when conditions are ideal.
Once dried, store seeds in a paper envelope (not plastic) in a cool, dry spot until spring. Label them clearly—many varieties look similar, and mislabeling can lead to disappointing harvests. If you’re new to seed saving, start with one or two varieties to master the process before expanding your collection.
💡 In This Article
- How to Extract and Prepare Cucumber Seeds for Planting
- Best Cucumber Varieties for Seed Saving and Germination Tips
How to extract and prepare cucumber seeds for planting
To harvest viable cucumber seeds, start with a fully ripe cucumber—one that’s soft to the touch and has turned a deep green or yellow, depending on the variety. Cut the cucumber lengthwise and scoop out the gel-like interior containing the seeds using a spoon.
This gel is packed with enzymes that help break down the seed coat, but it must be removed before drying to prevent mold. The seeds themselves are flat, oval, and about 1/8 inch long, with a slightly rough texture that helps them cling to the gel.
Rinse the seeds under cool water to remove excess gel and any residual pulp, then transfer them to a fine-mesh strainer. Let them drain for 5-10 minutes while gently stirring to ensure all gel is washed away.
After rinsing, spread the seeds in a single layer on a paper towel or parchment paper—never plastic, as moisture will trap and cause rot. Place them in a warm, dry spot with good airflow, like a sunny windowsill, where they’ll dry for 2-3 weeks.
The goal is to reduce moisture content to 5-10%, making the seeds light and brittle when fully dry.
During drying, monitor the seeds closely for signs of mold or rot, which appear as fuzzy spots or a musty smell. If mold develops, discard the batch immediately—even a few contaminated seeds can ruin the rest.
To speed up drying in humid climates, use a small fan on low setting to circulate air without blowing directly on the seeds. Once dry, the seeds should rattle slightly when shaken in their container, indicating they’re ready for storage.
Store them in a paper envelope or glass jar with a silica gel packet to absorb any remaining moisture.
Not all cucumbers are suitable for seed saving. Hybrid varieties, like those labeled "F1," produce seeds that won’t grow true to the parent plant—meaning the resulting cucumbers may have unpredictable traits, such as bitter taste or poor yield.
To identify heirloom or open-pollinated varieties, check seed packets or labels for terms like "heirloom," "open-pollinated," or "non-hybrid." If unsure, opt for organic cucumbers from farmers' markets or seed-saving catalogs, as they’re more likely to be heirloom varieties.
For example, 'Straight Eight' and 'Lemon Cucumber' are popular choices for seed saving due to their reliable germination and flavor.
Label your seeds with the variety name and date of harvest to track their performance over time. Seeds typically retain viability for 3-5 years when stored properly, though germination rates may decline after 2 years.
To test viability, perform a simple float test: place a handful of seeds in a glass of water. Viable seeds sink to the bottom, while hollow or non-viable ones float. Aim for a sink rate of at least 80% before planting.
This method ensures you’re starting with the healthiest seeds for your garden.
Here’s what’s actually happening during the drying process: the gel surrounding the seeds contains enzymes that break down the seed coat to prepare it for germination. Removing this gel prevents these enzymes from continuing to work, which could lead to premature sprouting or mold.
The drying phase is critical because it halts enzymatic activity while preserving the seed’s internal moisture balance. Think of it like dehydrating fruit—too much moisture leads to spoilage, while just the right amount keeps the seeds dormant but viable until planting season. 🌱