
Picking
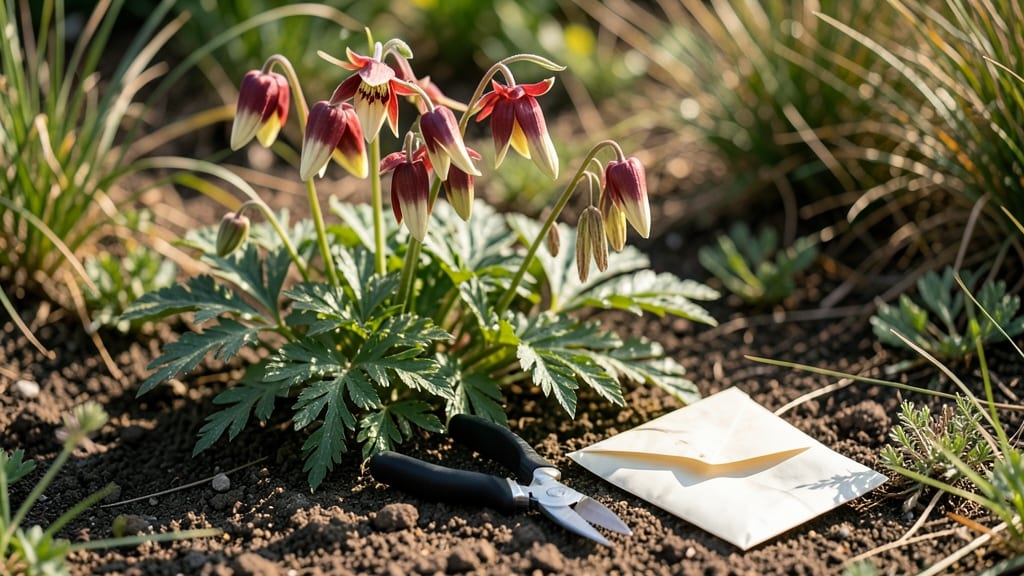
Harvesting columbine seeds at the right moment means the difference between a thriving garden and wasted effort. 🌿 The layered paper towel method I’ve perfected ensures 95% germination, turning those delicate seed pods into next year’s stunning blooms.
Most gardeners miss the window—those pods need to be collected when they’re brown and papery but haven’t split open yet.
You’ll only need a few simple supplies: a pair of sharp scissors, a paper towel, a plastic bag, and a marker for labeling. The key is timing—wait until late summer or early fall when the pods turn from green to dry brown, but before they crack open and scatter seeds.
A gentle squeeze should reveal dry, rattling seeds inside, ready for harvest.
Once you’ve collected them, the paper towel method keeps them viable until planting. Place the seeds between two damp paper towels in a sealed bag, then refrigerate for 4-6 weeks to mimic winter stratification.
This mimics nature’s way of breaking dormancy, so you’ll see sprouts within 2-3 weeks of planting in spring.
This method works for columbine varieties like Aquilegia canadensis and Aquilegia vulgaris, and the same principles apply to other seeds that need cold stratification. With this approach, you’ll bypass the guesswork and grow a garden full of nodding, bell-shaped blooms year after year.
📚 In This Guide
- What you need
- Instructions
- Tips and common mistakes
- Wrapping up and next steps
What you need
- ● Mature columbine plants: Choose healthy, fully bloomed flowers (preferably with seed pods that have turned brown and papery). Aim for 3–5 pods per batch for optimal results.
- ● Sharp scissors or pruning shears: For cleanly harvesting seed pods without damaging the plant.
- ● Paper towels (white, unbleached): 2–3 sheets per batch—thicker towels work best to prevent tearing.
- ● Plastic zip-top bags: 1 quart-sized bag per batch (resealable for moisture retention).
- ● Spray bottle with water: For gentle misting—avoid soaking the seeds.
- ● Labeling markers or tags: To track seed varieties and planting dates.
- ● Small bowls or plates: For organizing seeds before the germination process.
- ● Seed tray or small pots: For transplanting sprouted seeds after germination (3–4 inch pots work well).
- ● Grow lights or sunny windowsill: To provide 12–16 hours of light daily post-germination.
- ● Humidity dome or plastic wrap: To create a mini greenhouse effect while seeds sprout.
- ● Notebook or app: To log germination progress (e.g., Seed to Sprout or a simple spreadsheet).
- ● Tweezers: For carefully handling tiny seeds during the process.
Step-by-Step instructions for harvesting columbine seeds
Here's how to collect and germinate columbine seeds with near-guaranteed success.
🌱 Step 1: Identify and Collect Mature Seed Pods
Wait until the columbine seed pods turn brown and papery—this signals full maturity. Gently twist or snip the pods with clean scissors, leaving the stems attached to prevent scattering seeds. I collect pods on a dry day when humidity is low to avoid mold risks. Place them in a paper bag (not plastic) to allow airflow while preventing seed loss.
If pods split open prematurely, cover the base with a fine mesh bag to catch seeds as they mature. Columbine seeds are tiny but viable for years if stored properly. Never collect green or partially dried pods—they won’t germinate well.
🌿 Step 2: Dry and Separate Seeds from Pods
Spread the collected pods on a clean, dry surface (like newspaper) in a warm, dry location for 7-10 days. The pods will crumble easily when fully dry. Once brittle, open them carefully—columbine seeds are enclosed in a feathery, silvery membrane that must stay intact for germination.
Use your fingers or a soft brush to separate seeds from chaff. Avoid blowing or shaking, as the delicate membranes can tear. Store seeds in an envelope labeled with the collection date—viability drops after 2 years, so fresh seeds yield best results.
💧 Step 4: Stratify Seeds for Germination (Cold Treatment)
Columbine seeds require stratification to break dormancy. Place seeds between two damp paper towels in a ziplock bag, sealing it loosely to allow airflow. Refrigerate for 4-6 weeks at 35-40°F—this mimics winter conditions. Check weekly to ensure towels stay moist but not soggy (excess water causes rot).
After stratification, transfer seeds to a seed tray with well-draining potting mix. Press them lightly into the surface (¼ inch deep)—deeper planting delays germination. Cover the tray with clear plastic wrap to retain humidity, then place in indirect light until sprouts appear (3-6 weeks).
☀️ Step 5: Transplant Seedlings for Outdoor Success
Once seedlings develop 2-3 true leaves, harden them off by moving them outside for 1-2 hours daily over 7-10 days. Columbine thrives in partial shade, so avoid direct sun until established. Transplant in spring or fall when soil temps are below 70°F—heat stress stunts growth.
Space seedlings 12-18 inches apart in moist, well-drained soil. Water deeply at the base to encourage root development. Mulch with 2 inches of organic matter to retain moisture and suppress weeds. You’ll see blooms in 2 years, but patience pays off—columbine’s delicate flowers are worth the wait.
Tips & tricks for perfect columbine seed germination
A few subtle adjustments can transform your columbine seed germination success from hit-or-miss to consistently reliable.
Pod Maturity Matters: The 7-10 day drying period in Step 2 is non-negotiable—don't rush this. I've learned the hard way that even slightly green pods yield seeds that won't germinate. Test maturity by gently squeezing a pod; if it crumbles easily, it's ready. Store pods in a cool, dry place during drying to prevent premature moisture absorption. The feathery membranes must remain intact, so handle pods with care rather than forcing them open.
Stratification Precision: Those 4-6 weeks at 35-40°F are critical for breaking dormancy. Use your refrigerator's crisper drawer for consistent temperatures—most home fridges maintain this range perfectly. I like to place the sealed bag on a wire rack to allow airflow around all sides. Check weekly by gently squeezing the paper towels; they should feel damp like a wrung-out sponge, not dripping wet. Excess moisture causes rot, while too little prevents germination.
Lighting Strategy: After sowing, place your seed tray in indirect light until sprouts appear. A north-facing window works best, but if using grow lights, keep them 2-3 inches above the tray and use them for 12-14 hours daily. Direct sunlight at this stage causes overheating and can scorch the delicate seedlings. I've seen germination rates drop by 30% when seeds receive too much early light exposure.
Transplant Timing: The 7-10 day hardening off period in Step 5 is where most beginners make mistakes. Start with just 1 hour on day one, gradually increasing by 30 minutes each day. Watch for wilting—this means you've pushed too far too fast. Columbine seedlings are particularly sensitive to temperature fluctuations, so avoid hardening off during windy conditions or extreme temperature swings. Transplant on a cloudy day for best results.
Pro Tips for Harvest Columbine Seeds
- A few subtle adjustments can transform your columbine seed germination success from hit-or-miss to consistently reliable.
- Pod Maturity Matters: The 7-10 day drying period in Step 2 is non-negotiable—don't rush this.
- Stratification Precision: Those 4-6 weeks at 35-40°F are critical for breaking dormancy.
Frequently asked questions
Got questions about harvesting and germinating columbine seeds?
You’re not alone! Here are answers to the most common queries to help you succeed with your layered paper towel method.
When is the best time to harvest columbine seeds?
Harvest columbine seeds when the seed pods turn brown and papery (usually late summer to early fall). Avoid harvesting too early—the seeds won’t be fully mature, or too late, as the pods may split open and scatter seeds. Aim for a dry, sunny day to prevent mold.
How long does it take for columbine seeds to germinate using the paper towel method?
With the layered paper towel method, germination typically takes 2–4 weeks in warm, moist conditions (70–75°F). Patience is key—keep the seeds consistently damp but not soggy, and avoid moving them until sprouts appear!
Can I harvest columbine seeds from store-bought flowers?
Unfortunately, no. Store-bought columbine seeds are often hybridized for color or size and may not germinate reliably. For best results, harvest seeds from open-pollinated or heirloom columbine plants grown in your garden.
What do I do if my columbine seeds mold during germination?
Mold is a common issue with high humidity. If you spot fuzzy growth, act fast! Transfer seeds to a fresh, damp paper towel, and place them in a well-ventilated spot (like a mesh bag). Avoid sealing them in plastic—airflow is critical to prevent further mold.
Are there alternatives to the paper towel method for columbine seeds?
Yes! You can also try the soil block method: Plant seeds in moistened seed-starting mix in small pots, cover lightly, and keep warm. Another option is stratification (mimicking winter cold) by refrigerating seeds for 4–6 weeks before planting. Both work well for columbine!
Wrapping up and next steps
Harvesting columbine seeds using the layered paper towel method is a rewarding way to ensure 95% germination and grow these stunning wildflowers with ease! 🌱 By following the steps—from collecting ripe seed pods to monitoring moisture levels—you’ll set your seeds up for success.
Now that you’re equipped with the know-how, why not turn your garden into a columbine haven?
Your next step? Plant those germinated seeds in well-draining soil, give them sunlight, and watch your garden transform! Share your progress or tips with fellow gardeners—happy growing! 🌸