Planting
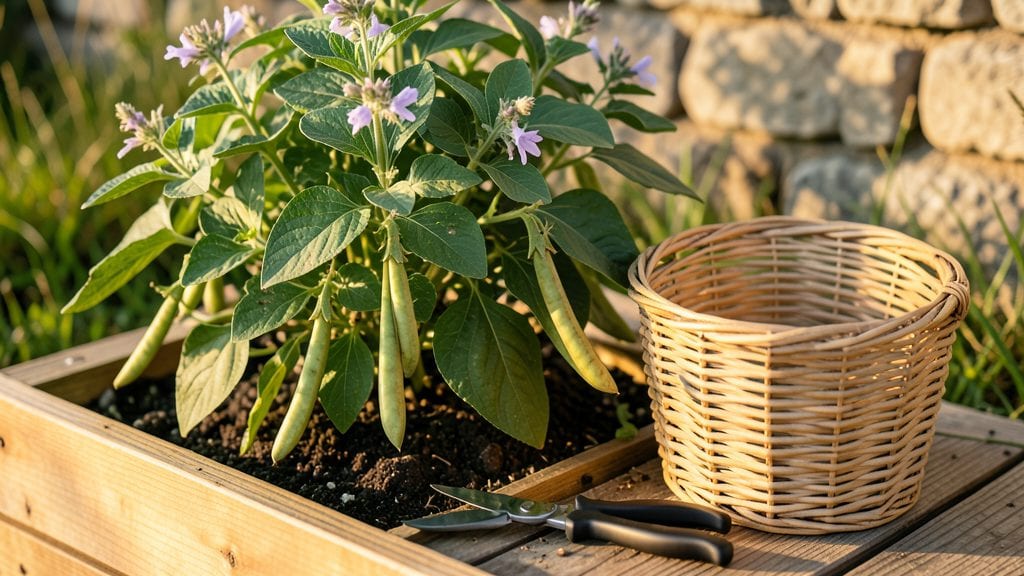
Saving heirloom plant seeds for next year’s garden starts with understanding why they matter—these are the seeds that carry history, flavor, and biodiversity in every packet. 🌱 I’ve stored my own for years, and the difference between a store-bought tomato and a homegrown heirloom like ‘Brandywine’ is night and day: deeper taste, richer colors, and plants that adapt to your local soil.
The key isn’t just saving seeds, though—it’s doing it right so they stay viable until planting time.
You’ll need just a few simple supplies: paper envelopes (not plastic—they trap moisture), a cool, dark place (like your fridge or basement), and a sharpie for labeling. Most heirloom seeds last 3-5 years if stored properly, but some, like onions, only keep for a year.
The trick is drying them completely before storage—any moisture left on seeds can trigger rot, and that’s a rookie mistake I made my first year that wasted an entire packet of ‘Black Krim’ tomatoes.
Once you’ve got them stored, the real magic happens when you plant them. Heirloom seeds often germinate slower than hybrids, so start them 2-4 weeks earlier indoors if your growing season is short.
You’ll notice the difference immediately: plants that thrive in your specific climate, produce fruit with unmatched flavor, and save you money year after year.
The first time I grew ‘Cherokee Purple’ beans from saved seeds, my neighbors asked where I bought them—I had to laugh and tell them they were from my own garden.
This method works for any heirloom crop, from tomatoes and peppers to beans and lettuce, and it’s perfect for gardeners who want to preserve biodiversity while saving money.
Whether you’re a beginner or a seasoned grower, these storage secrets will keep your garden stocked with unique varieties for seasons to come. Let’s get those seeds ready for next year!
📚 In This Guide
- What you need
- Instructions
- Tips and common mistakes
- Wrapping up and next steps
What you need
- ● Heirloom seeds: Start with high-quality, organic or untreated heirloom seeds (check seed packets for viability rates—aim for 90%+). Store them in small, labeled paper envelopes or airtight containers.
- ● Air-tight containers: Use glass jars with tight-sealing lids (e.g., mason jars, 1–4 oz size) or metal tins (like coffee cans). Avoid plastic—it can degrade over time.
- ● Desiccant packets: Place 2–3 silica gel packets (food-safe, unscented) in each container to absorb moisture. Pro tip: 💡 Label them “DO NOT EAT!”
- ● Permanent markers or labels: Waterproof labels (or masking tape + marker) to write seed names, varieties, and harvest years. Example: “Heirloom Tomato ‘Brandywine’ – 2024”
- ● Cool, dark storage space: A refrigerator crisper drawer (40–50°F) or a root cellar (32–40°F) works best. Avoid freezers or attics!
- ● Vacuum-sealed bags: For long-term storage (5+ years), use Mylar bags with oxygen absorbers (great for bulk seeds).
- ● Humidity indicator cards: Place one in your storage container to monitor moisture levels—ideal range: 5–10% humidity.
- ● Seed viability test kit: A paper towel germination test (freeze-spray bottle + paper towels) to check seed health before planting.
- ● Digital scale: Weigh seeds before storage (note the amount)—helps track moisture loss over time.
- ● Seed catalog or spreadsheet: Track planting dates, germination rates, and notes on each variety for future reference.
Step-by-Step guide to storing heirloom seeds for next season
Preserve your garden treasures with this foolproof method—your heirloom seeds will stay viable for years.
🪴 Step 1: Dry and Clean the Seeds Thoroughly
Spread seeds in a single layer on a clean, dry paper towel or mesh screen. Place them in a warm, dry spot away from direct sunlight for 3-5 days until completely dry. You'll know they're ready when they feel light and brittle—no moisture at all. This prevents mold and rot during storage.
Use a fine-mesh strainer or your fingers to remove any debris, chaff, or damaged seeds. Discard anything that looks shriveled or discolored. I like to do this on a sunny windowsill where airflow keeps things moving naturally.
🌱 Step 2: Choose the Right Storage Containers
Select airtight containers like glass jars with rubber seals, metal tins, or Mylar bags with oxygen absorbers. Label each container with the seed variety and harvest date using a permanent marker—ink fades over time. I store mine in a cool, dark pantry where temperatures stay 50-60°F year-round.
Never use plastic bags or open containers—moisture and light degrade seed viability faster than you'd think. For extra protection, place a small packet of silica gel inside to absorb any lingering moisture.
⏰ Step 3: Store in Ideal Conditions for Long-Term Viability
Keep seeds in their containers in a cool, dark, dry place like a basement, root cellar, or refrigerator crisper drawer. Avoid the freezer unless you're storing seeds for decades—standard cool storage works perfectly for most heirloom varieties. Check on them once a year to ensure no moisture has crept in.
Most heirloom seeds stay viable for 3-5 years under these conditions, but some like tomatoes and peppers may last only 2-3 years. The key is consistency—never let temperatures fluctuate or humidity rise above 40%. A simple hygrometer helps monitor this.
💧 Step 4: Test Viability Before Planting Next Season
Before sowing, perform a germination test by placing 10 seeds between damp paper towels in a sealed plastic bag. Keep them in a warm spot (70-75°F) and check daily. If 80% or more sprout within 7-14 days, your seeds are still strong and ready to plant.
If germination drops below 50%, consider saving only the best seeds or buying fresh stock. I always test a few varieties each year—it's the best way to avoid surprises when spring planting rolls around.
Tips & tricks for perfect heirloom seed storage
Keeping heirloom seeds viable for years takes more than just tossing them in a drawer—here's how to do it right.
Drying Efficiency: The 3-5 day drying time in Step 1 is non-negotiable for heirloom seeds. I've learned the hard way that rushing this step leads to moldy seeds later. Place a small fan nearby to create gentle airflow without disturbing the seeds—this cuts drying time by about 24 hours. Check daily by gently squeezing a seed between your fingers; it should feel completely dry and brittle with no give.
Container Selection: Not all airtight containers are equal for seed storage. Glass jars with rubber seals are my top choice because they're reusable and provide a perfect seal. For long-term storage beyond 5 years, consider Mylar bags with oxygen absorbers—they're the gold standard for serious seed savers. Avoid anything with plastic lids that can degrade over time and compromise your seal.
Storage Environment: The 50-60°F range mentioned in Step 2 is ideal, but consistency matters more than exact temperature. I store my seeds in the back of my refrigerator's crisper drawer where temps stay steady. If you don't have a cool spot, a basement or root cellar works perfectly. Pro tip: Place a small thermometer near your storage area to monitor temperatures—fluctuations above 70°F can reduce viability significantly.
Labeling System: Don't just write the seed type on your containers—include the harvest date and variety name. I use a permanent marker to write on both the lid and side of each jar. Between us, I've found myself with mystery seeds before, and proper labeling saves headaches. For extra organization, use different colored labels for different seed families—tomatoes, peppers, herbs—it makes spring planting so much easier.
Pro Tips for Heirloom Plant Seeds
- Keeping heirloom seeds viable for years takes more than just tossing them in a drawer—here's how to do it right.
- Drying Efficiency: The 3-5 day drying time in Step 1 is non-negotiable for heirloom seeds.
- Container Selection: Not all airtight containers are equal for seed storage.
Frequently asked questions
about heirloom plant seeds—because every gardener deserves clarity! Here are answers to the most common questions to help you preserve and plant with confidence.How long can I store heirloom seeds before they expire?
Most heirloom seeds stay viable for 3–5 years when stored properly (cool, dark, and dry). Some, like tomatoes or peppers, may last up to 10 years! Check seed packets for specific guidelines, and test germination by planting a few seeds—if they sprout, they’re still good to go. Pro tip: Label seeds with the date to track freshness.
What’s the best way to store seeds for long-term use?
Use airtight containers (like glass jars or vacuum-sealed bags) with a desiccant packet to absorb moisture. Store in a cool, dark place (like a fridge or root cellar)—never the freezer unless pre-packaged. Avoid humidity (e.g., basements) and label containers with the seed type and date. Bonus: Freeze seeds in sealed bags for decades if needed!
Can I save seeds from store-bought heirloom plants?
Only if the plant is open-pollinated or heirloom (check labels!). Hybrid or GMO seeds won’t produce true-to-type plants. For best results, save seeds from healthy, organic plants and allow them to fully mature/dry on the plant before harvesting. Warning: Avoid seeds from treated plants (e.g., those sprayed with pesticides).
What do I do if my seeds won’t germinate?
Try these fixes:
- Soak seeds overnight in warm water (especially hard-coated varieties like beans).
- Check moisture and temperature—most seeds need warmth (70–85°F) and consistent dampness.
- Test seed viability by planting a few in a separate pot.
- Consider scarification (lightly sanding hard shells) for stubborn seeds.
Are heirloom seeds worth the extra cost over hybrid seeds?
if you value flavor, biodiversity, and sustainability! Heirlooms often taste better (e.g., Brandywine tomatoes) and adapt uniquely to your climate. Hybrids may offer disease resistance, but saving heirloom seeds saves money long-term and preserves genetic diversity. Think of it as an investment in your garden’s future!
Wrapping up and next steps
Preserving heirloom plant seeds is a rewarding way to honor tradition while ensuring your garden thrives for years to come. With the right techniques—like proper drying, airtight storage, and temperature control—you can safeguard these genetic treasures for next season’s harvest. 🌱
Now that you’re equipped with the know-how, take the next step: gather your seeds, organize your storage space, and start your preservation journey today. Your future garden—and future generations—will thank you!