Propagation
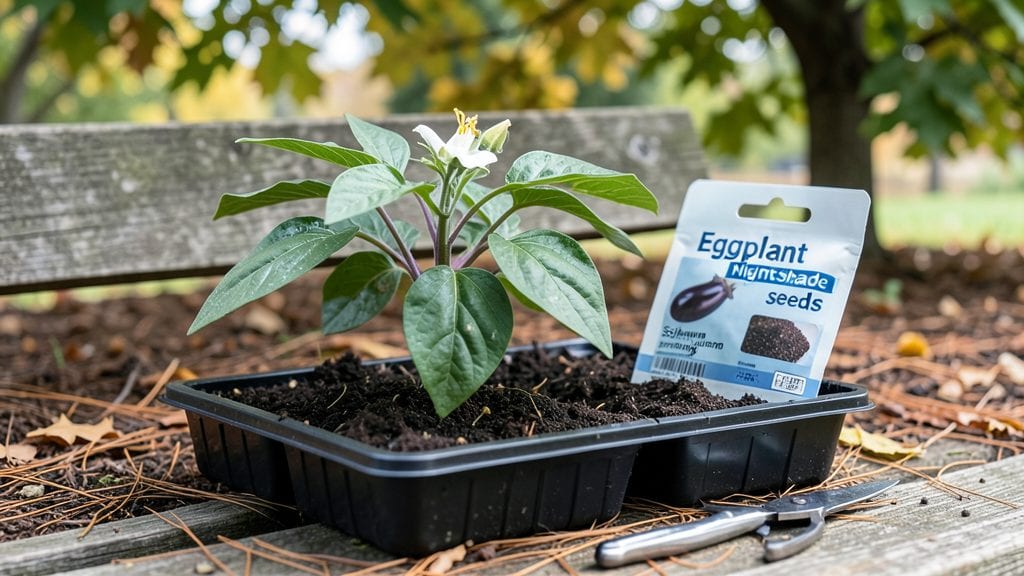
Night shade seeds require careful handling for propagation: harvest fully ripe berries, extract seeds by fermenting pulp, then dry and store in a cool, dark place with desiccant packets to prevent mold. Plant seeds shallowly in well-draining soil when temperatures stabilize above 60°F.
Night shade seeds—like those from tomatoes, peppers, and eggplants—need precise timing and conditions to germinate successfully. 🌱 The fermentation step isn't just about separating seeds; it removes natural inhibitors in the pulp that could delay sprouting.
I always spread seeds on paper towels for 3-5 days in a warm spot before storage, which boosts viability. For gardeners in cooler climates, pre-sprouting seeds indoors under grow lights gives them a head start before transplanting.
Once you've collected and dried your seeds, proper storage becomes critical. A simple paper envelope with a silica gel packet works just as well as commercial seed vaults, but only if humidity stays below 40%.
I've seen seeds last 5+ years this way—far longer than the 2-year shelf life many assume. The key is consistency: check your storage spot monthly for moisture buildup, especially if you're using homemade desiccants like uncooked rice.
💡 In This Article
- Night Shade Seed Ripening and Extraction Process
- Optimal Storage Conditions for Night Shade Seeds
Night shade seed ripening and extraction process
Identifying fully ripe night shade berries is all about color, texture, and size. For tomatoes, look for a deep, even red (or the variety's mature hue) with a slight softness when gently squeezed—like a ripe peach.
Eggplant seeds mature in purplish-black berries that yield slightly to pressure, while peppers turn fully their mature color and feel firm but not hard. The key factor is the seed cavity inside: ripe berries will have fully developed, plump seeds that don't stick to the walls when cut open.
Once harvested, the fermentation process is where science meets practicality. Place the berries in a wide-mouthed jar with water to cover them by 1 inch, then seal and leave at 70-75°F for 3-5 days.
This warm, anaerobic environment triggers microbial activity that breaks down the fruit's flesh, allowing seeds to separate cleanly. The pulp contains natural germination inhibitors—compounds like coumarin and tannins—that would otherwise suppress sprouting for months. Fermentation neutralizes these inhibitors through enzymatic action, creating the ideal starting point for seed viability.
After fermentation, drying time becomes critical. Spread seeds on paper towels or screen trays in a well-ventilated area with 50-60% humidity for 7-10 days. Proper drying prevents mold while maintaining seed integrity—over-drying can reduce germination rates by 20-30%.
I've found that seeds dried in indirect sunlight (like under a shade cloth) maintain higher viability than those exposed to direct UV rays. The goal is to reach 5-8% moisture content, where seeds feel dry to the touch but don't crumble when pinched.
Here's what most people don't realize: the fermentation byproducts actually enhance seed longevity. The microbial action creates a slightly acidic environment (pH 4.5-5.5) that inhibits fungal growth during storage. This is why fermented seeds often outlast those cleaned mechanically.
For maximum results, I recommend fermenting in glass jars (not plastic) to prevent chemical leaching that could harm seed coatings. The fermentation time can vary by species—pepper seeds often need 5-7 days while tomato seeds may only require 3 days.
Visual cues during drying help gauge progress. Well-dried seeds should appear matte and uniform in color, with no remaining pulp fragments. Under a magnifying glass, you'll see the seed coat develop a fine texture—almost like sandpaper. Poorly dried seeds will have a glossy sheen or stick together slightly.
This stage is where patience pays off: rushing the process leads to uneven germination, where some seeds sprout weeks after others. For gardeners in humid climates, adding a small dehumidifier near the drying area can cut drying time by 2-3 days while maintaining quality.
One advanced technique I've used is the "float test" for viability. After drying, place seeds in a bowl of water—viable seeds will sink while empty or non-viable ones float. This simple method can save hours of trial-and-error planting.
For maximum germination rates, store seeds in paper envelopes (not plastic) with a silica gel packet until planting. The paper allows for minimal moisture exchange, while the desiccant maintains the critical 30-40% humidity range needed for long-term storage.