
Vegetables
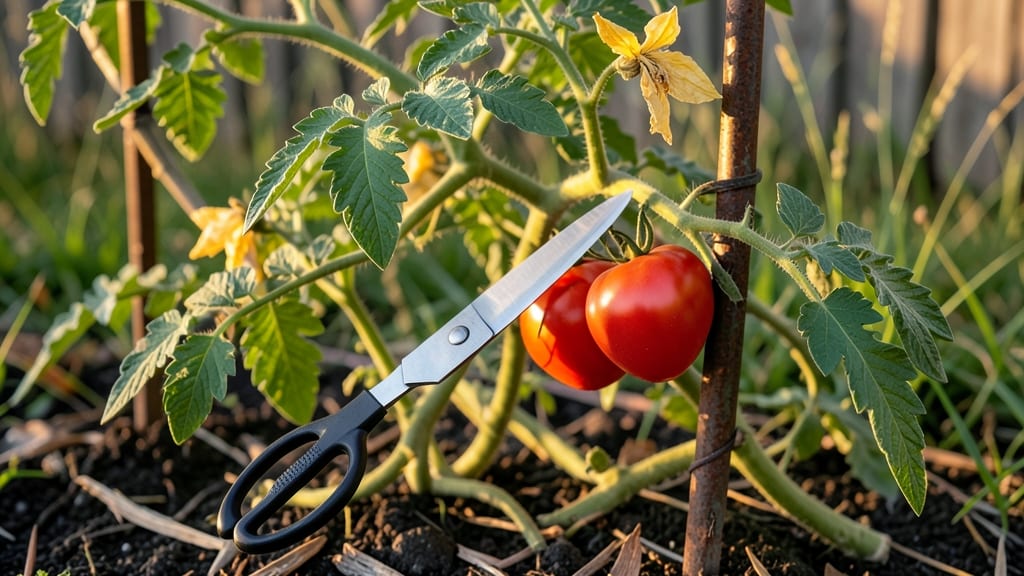
Storing tomato seeds properly means you’ll save money and grow the exact varieties you love year after year. 🌱 The fermentation trick I use separates good seeds from bad in just three days—no fancy equipment needed.
I’ve saved seeds from my favorite heirlooms for five seasons now, and the process is simpler than it sounds.
You’ll need ripe tomatoes, a jar or bowl, water, and a fine-mesh strainer. The key is letting the seeds ferment in water for 2-3 days, which removes the gel that clings to them.
Labeling your seeds with the variety and harvest date keeps you organized, and storing them in a cool, dry place—like a sealed envelope in the fridge—preserves their viability for years.
After fermentation, you’ll rinse and dry the seeds until they’re crumbly, then store them in a paper envelope with a silica packet to keep moisture out. Properly stored seeds stay viable for 3-5 years, and you’ll know exactly which tomatoes to plant next spring.
The first time you see those familiar seedlings pop up is incredibly satisfying.
Common mistakes like skipping the fermentation step or storing seeds in plastic can ruin your harvest. But once you master this method, you’ll never buy tomato seeds again. Here’s how to do it right the first time.
📚 In This Guide
- What you need
- Instructions
- Tips and common mistakes
- Wrapping up and next steps
What you need
- ● Ripe tomatoes: 3–5 medium-sized, fully ripe (but not overripe) tomatoes per batch. Choose heirloom or hybrid varieties for best results.
- ● Small bowl or jar: A clean, shallow container (e.g., a 4–6 oz glass or ceramic bowl) to hold the seed gel.
- ● Water: Enough to cover the seeds (about 1–2 cups per batch). Use distilled or dechlorinated water to avoid contaminants.
- ● Fine-mesh strainer or cheesecloth: A stainless steel or nylon strainer (or a clean cloth) to separate seeds from pulp.
- ● Paper towels or coffee filters: For drying seeds (avoid regular towels—they can harbor mold).
- ● Small envelopes or airtight containers: Paper seed envelopes (for labeling) or glass jars with tight lids (for long-term storage).
- ● Permanent marker or labels: To label varieties and dates (e.g., “Heirloom Cherry – 2024”).
- ● Plastic spoon or butter knife: For scooping out seeds without damaging the tomato.
- ● Funnel: To transfer seeds into envelopes/jars without spills.
- ● Humidity pack: A silica gel packet (for jars) to absorb excess moisture during storage.
- ● Seed catalog or notebook: To track germination rates and notes on each variety.
- ● Food-safe bleach solution (1 tsp bleach per 1 gallon water): For sanitizing tools if working with multiple varieties.
How to store tomato seeds using the fermentation trick
Here's the simple, science-backed method I use to save seeds with near-perfect viability.
🌱 Step 1: Extract Seeds from Ripe Tomatoes
Start with fully ripe, disease-free tomatoes—those deep red or yellow ones that practically fall off the vine. Cut them open and scoop the gel and seeds into a clean bowl. The gel contains enzymes that help break down the seed coat, which is key for the fermentation process.
Mash the seeds gently with your fingers until the pulp is broken down. You want the seeds exposed but not crushed—think of it like separating a smoothie from its pulp. This step ensures the seeds will ferment properly without getting stuck together.
💧 Step 2: Ferment the Seeds for 3-5 Days
Fill a jar with the seed mixture and cover it loosely with a lid or cloth. Place it in a warm spot, like near a sunny window or on top of the fridge. The goal is to let the seeds ferment for 3-5 days, which removes weak seeds and coats the viable ones with a protective layer.
You’ll see mold or a white scum on top—this is normal! Stir the mixture daily to keep the good seeds from sinking to the bottom. The fermentation is complete when the seeds sink to the bottom and the gel turns cloudy or moldy. This process mimics nature’s way of cleaning seeds for optimal germination.
⏰ Step 3: Rinse and Dry the Seeds
Once fermentation is done, pour the mixture through a fine mesh strainer under running water. Gently rub the seeds with your fingers to remove any remaining gel. Rinse until the water runs clear—this removes the fermentation byproducts and prepares the seeds for drying.
Spread the seeds on a paper towel or screen in a single layer. Place them in a warm, dry, and well-ventilated spot. Avoid direct sunlight, as it can overheat the seeds. They’re ready when completely dry and brittle—this usually takes 5-7 days. Store them in a sealed envelope or airtight container in a cool, dark place.
🪴 Step 4: Test a Few Seeds Before Long-Term Storage
Before storing all your seeds, test a small batch to confirm viability. Plant a few seeds in damp potting mix and cover lightly with soil. Keep them warm and moist, and check for sprouts in 7-10 days. If most seeds sprout, you’re good to go—your stored seeds should last 3-5 years with proper care.
If germination is poor, try storing the seeds in the fridge for another month before testing again. Cold temperatures can slow down any remaining fermentation processes, ensuring only the strongest seeds survive. Label your containers with the tomato variety and storage date for easy reference later.
Tips & tricks for perfect tomato seed storage
A few simple tricks that'll make your seed-saving process foolproof and maximize germination rates.
Tomato Selection Matters: Don't just grab any tomatoes! Choose ones that are fully ripe and disease-free—they'll yield the healthiest seeds. Look for deep red or yellow hues and slightly soft texture. I've learned the hard way that underripe tomatoes produce seeds with poor viability, so always wait until they're at peak ripeness before harvesting. This step is especially important for heirloom varieties where seed quality directly impacts next year's plants.
Fermentation Timing is Critical: The 3-5 day fermentation window is non-negotiable for proper seed cleaning. I've found that warmer environments (around 75°F) can speed up fermentation, while cooler spots may extend it to the full 5 days. Watch for that telltale cloudy appearance and sinking seeds—this is your cue that the weak seeds have been removed and the good ones are ready for the next step. Don't rush this process, as incomplete fermentation can lead to moldy seeds during storage.
Drying Technique for Success: When drying your seeds in Step 3, create good airflow by placing them on a screen or paper towel. I like to use a small fan on low setting to gently circulate air without disturbing the seeds. The goal is complete dryness—seeds should be brittle and crumble easily between your fingers. If you notice any seeds still feeling damp after 7 days, extend the drying time. Properly dried seeds store much better and maintain viability for years.
Storage Environment Secrets: For long-term storage, keep your seeds in a cool, dark place like the back of your fridge or a seed storage box. I've had great success using small glass jars with tight-sealing lids. The key is consistent temperature—fluctuations can reduce viability. Label each container with the tomato variety and date, as some seeds maintain viability for 3-5 years, while others may decline faster depending on the variety.
Pro Tips for Storing Tomato Seeds
- A few simple tricks that'll make your seed-saving process foolproof and maximize germination rates.
- Tomato Selection Matters: Don't just grab any tomatoes!
- Fermentation Timing is Critical: The 3-5 day fermentation window is non-negotiable for proper seed cleaning.
Frequently asked questions
Got questions about storing tomato seeds? You’re not alone! Here are some of the most common concerns—and their easy answers—to help you save seeds like a pro.
How long can I store tomato seeds before they lose viability?
Freshly harvested tomato seeds stay viable for 3–4 years when stored properly in a cool, dry place (like the fridge). After that, germination rates drop, but some seeds may still sprout. For best results, ferment and dry seeds within a week of harvest!
Do I need to ferment seeds if I’m storing them for later?
Yes! Fermentation removes the gel-like coating (which can mold) and boosts germination rates. Skip it, and seeds may sprout unevenly or fail entirely. The 2–3 day fermentation process is quick and worth it—think of it as a seed spa!
What’s the best way to dry tomato seeds for long-term storage?
Spread seeds on a paper towel in a single layer and let them dry for 3–5 days in a warm, dark place (like a sunny windowsill or dehydrator on low). Avoid plastic bags—moisture is the enemy! Once fully dry (they’ll look like tiny black beads), store them in an airtight container.
Can I store tomato seeds in the freezer for extra longevity?
Freezing seeds in paper envelopes or small bags extends viability to 10+ years. Label them with the variety and date, then pop them in the freezer. Just thaw seeds overnight before planting—no need to defrost quickly!
My seeds smell bad during fermentation—is that normal?
Yes! A slightly sour or yeasty smell is totally normal during fermentation (thanks to natural enzymes breaking down the fruit). If it smells rotten or overly putrid, rinse seeds immediately and dry them faster. Moldy seeds? Toss them—safety first!
How do I know if my stored seeds are still good?
Do the float test: Drop a few seeds in water. If they sink, they’re likely viable. Floaters? Discard them. For extra peace of mind, plant a small batch—if they sprout within 10–14 days, your stash is still fresh!
Wrapping up and next steps
Storing tomato seeds the right way is your ticket to a bountiful, homegrown harvest next season! By mastering the fermentation trick, you’ve unlocked a simple, cost-effective method to preserve pure, viable seeds—no fancy tools required.
Now that you’re equipped with the know-how, it’s time to put those seeds to work.
🌱 Your next step? Grab a ripe tomato, follow the steps, and start your seed-saving journey today. Share your success with fellow gardeners or experiment with heirloom varieties—every seed you save is a step toward self-sufficiency and sustainability. Happy growing! 🌿