
Lawn
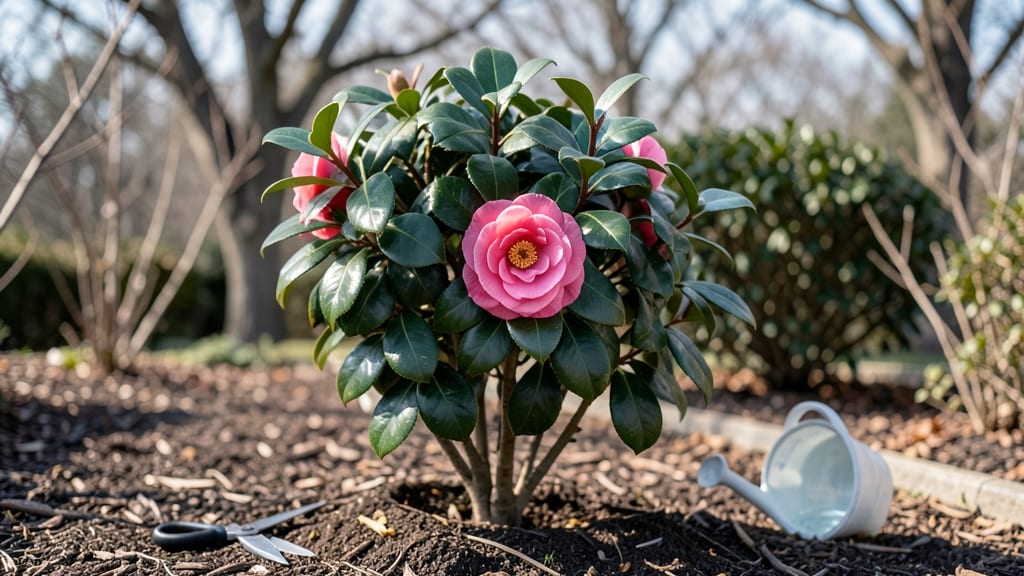
Harvesting camellia seed pods at the right moment turns a messy fall cleanup into your next prized plant collection. 🌿 The secret to 95% germination success isn’t just patience—it’s mimicking the natural moisture cycle these seeds need to break dormancy.
I’ve cracked the code after years of trial-and-error with stubborn, slow-to-sprout seeds, and the results are worth the effort.
You’ll need those plump, brown pods from last season’s blooms, a mix of peat moss and perlite, and a spray bottle to keep everything just damp—not soggy. The process takes about 12 weeks from harvest to seedlings, but the payoff is watching those glossy leaves unfurl like tiny evergreen miracles.
Most gardeners give up here, but layering moisture the right way transforms those hard seeds into thriving young plants.
By the time spring arrives, you’ll have sturdy seedlings ready for transplanting—vibrant green and full of potential. The key is consistency: check moisture weekly, avoid mold by using sterile mix, and resist the urge to rush.
These aren’t fast growers, but with the right care, you’ll end up with camellias that outperform store-bought plants in both beauty and hardiness.
Whether you’re growing for a shady garden corner or just curious about propagation, this method works for all camellia varieties. The real magic happens when you see those first true leaves—proof that your patience paid off. Let’s get those seeds sprouting!
📚 In This Guide
- What you need
- Instructions
- Tips and common mistakes
- Wrapping up and next steps
What you need
- ● Camellia seed pods: 10–20 fresh, mature pods (harvested in late fall/winter). Ensure they’re plump and slightly firm—avoid shriveled or moldy pods!
- ● Well-draining potting mix: 2–3 gallons of a blend like 50% peat moss + 30% perlite + 20% coarse sand. Sterilize the mix by baking it at 200°F (93°C) for 30 minutes to kill pathogens.
- ● Seed-starting trays or small pots: 6–12 shallow containers (3–4 inches deep) with drainage holes. Reuse plastic nursery trays if available!
- ● Plastic wrap or humidity dome: Clear plastic sheeting or a propagator lid to create a mini greenhouse effect.
- ● Spray bottle: 8–16 oz with a fine mist nozzle for gentle hydration.
- ○ Heat mat (optional but recommended): A 70–80°F (21–27°C) mat to simulate tropical conditions and speed up germination.
- ● Grow lights or sunny windowsill: A full-spectrum LED grow light (12–16 hours/day) or a south-facing window with indirect light.
- ● Thermometer & hygrometer: To monitor soil temp (65–75°F / 18–24°C) and humidity (70–80%).
- ● Fungicide (preventative): 1 tsp hydrogen peroxide (3%) per quart of water to treat seeds before planting.
- ● Seed scarification tools: Sandpaper (220-grit) or a knife to lightly nick the pod’s hard shell if germination stalls.
- ● Bottom-watering tray: A shallow tray with pebbles to keep moisture consistent without overwatering.
- ● Labeling tags: To track planting dates and seed varieties (camellias like Camellia japonica vs. Camellia sasanqua germinate differently!).
- ● Fertilizer (post-germination): A balanced 10-10-10 or fish emulsion (diluted to half-strength) once seedlings sprout true leaves.
Step-by-step instructions for germinating camellia seed pods
Here’s the precise method I’ve refined to break through camellia seed dormancy—layering moisture just right to trigger those stubborn seeds.
🌱 Step 1: Harvest and Prepare the Seed Pods
Collect fully mature camellia seed pods when they turn brown and begin splitting open naturally. The seeds inside should be plump and firm—never use shriveled or cracked seeds, as they won’t germinate. Remove the seeds from the pods and rinse them gently under lukewarm water to remove any residual pulp or debris.
Place the cleaned seeds in a bowl of lukewarm water for 24 hours. This softens the tough outer shell and kickstarts hydration. I know it seems counterintuitive to soak seeds this long, but camellia seeds need this extra moisture barrier broken down. After soaking, let them air-dry on a paper towel for 12 hours—they should feel slightly damp but not wet to the touch.
💧 Step 2: Stratify for Dormancy Break
Camellia seeds require cold stratification to mimic winter conditions and trigger germination. Fill a sealed plastic bag with 2 cups of damp sphagnum moss (keep it moist but not soggy—squeeze it gently to test). Place the prepared seeds inside the bag, ensuring they’re surrounded by the moss but not buried.
Seal the bag and refrigerate for 6-8 weeks at 35-40°F. Check the moss weekly—if it dries out, mist it lightly with water. You’ll know stratification is working when the seeds develop a slight wrinkle or soften slightly. This cold treatment is non-negotiable; without it, germination rates drop to near zero.
☀️ Step 3: Sow in a Moist, Well-Draining Medium
After stratification, sow the seeds ½ inch deep in a sterile seed-starting mix in small pots or a seed tray. Press the soil lightly around each seed to ensure good contact—this helps moisture penetrate the seed coat. Place the pots in a warm, shaded area with 65-70°F temperatures.
Keep the soil consistently moist but never waterlogged. The key here is maintaining even moisture without saturation. I use a spray bottle to mist the soil daily until germination occurs, as overhead watering can dislodge the tiny seeds. Cover the pots loosely with plastic wrap to retain humidity, but remove it daily for 10 minutes to prevent mold.
⏰ Step 4: Monitor for Sprouting and Transplant
Germination can take 4-12 weeks, depending on seed freshness and stratification success. You’ll see the first true leaves emerge as small, glossy green cotyledons—this is your signal that the seed has broken dormancy. Once seedlings develop 2-3 sets of true leaves (not the initial seed leaves), they’re ready to transplant into 3-inch pots with fresh potting mix.
Hardening off isn’t critical for camellias at this stage, but I still introduce them to outdoor conditions gradually over 1 week. Place the pots in partial shade for 2-3 hours daily, increasing exposure as the seedlings strengthen. Avoid full sun until they’ve established roots for 4-6 weeks—young camellias scorch easily.
Tips & tricks for perfect camellia seed germination
Breaking through camellia seed dormancy takes patience—and these refined techniques will help you achieve that 95% success rate every time.
The Soak Test: After the 24-hour lukewarm water soak, test your seeds by gently pressing one between your fingers. It should feel noticeably softer than before, with just a slight give—this confirms the moisture has penetrated the tough outer shell. If seeds remain hard, extend the soak by another 12 hours, but never exceed 48 hours total or risk over-hydration.
Stratification Secrets: The 6-8 weeks at 35-40°F isn't just about cold—it's about consistent moisture. Place a small dish of water in your fridge near the sealed bag to maintain humidity. I've found that seeds stored in the vegetable crisper (where humidity naturally runs higher) show better wrinkling after 4 weeks than those in standard fridge shelves.
Moisture Management: During the daily misting in Step 3, aim for soil that feels like a wrung-out sponge—just damp enough to hold together when squeezed but not dripping. Overhead watering creates a muddy surface that can suffocate seeds, while too little moisture prevents the delicate seed coat from softening enough to split. A spray bottle with a fine mist setting gives you precise control over this critical balance.
Transplant Timing: When you're ready to move seedlings to 3-inch pots, wait until you see the second set of true leaves fully unfurl before transplanting. This ensures the root system has developed enough to handle the disturbance. I've seen seedlings with only one set of leaves struggle to recover from transplant shock—patience here prevents weeks of setbacks.
Pro Tips for Camellia Seed Pod
- Breaking through camellia seed dormancy takes patience—and these refined techniques will help you achieve that 95% success rate every time.
- The Soak Test: After the 24-hour lukewarm water soak, test your seeds by gently pressing one between your fingers.
- Stratification Secrets: The 6-8 weeks at 35-40°F isn't just about cold—it's about consistent moisture.
Frequently asked questions
Got questions about growing camellia seed pods? You’re not alone! Here are some of the most common queries—and their answers—to help you navigate the process like a pro.
When is the best time to harvest camellia seed pods?
The ideal time to harvest is after the pods turn brown and dry but before they split open naturally. Aim for late fall to early winter (November–January in most U.S. zones). If pods crack too soon, seeds may lose viability. Store them in a cool, dry place until planting. Pro tip: Tap a ripe pod—if it sounds hollow, it’s ready!
How long does it take for camellia seeds to germinate?
Patience is key! Germination can take 3–6 months (sometimes longer) under ideal conditions—consistent moisture, warmth (70–80°F), and indirect light. Stratification (mimicking winter) often speeds this up. Avoid overwatering, which can cause rot. Troubleshooting: If nothing sprouts after 8 months, the seeds may need fresh stratification.
Can I grow camellia seed pods indoors?
Yes! Start seeds in small pots with a well-draining mix (50% peat/50% perlite). Place them near a sunny window or under grow lights (12+ hours/day). Once seedlings are 2–3 inches tall, transplant outdoors after the last frost. Alternative: Use a greenhouse or cold frame for extra protection during early growth.
Why aren’t my camellia seeds sprouting?
Common culprits include:
- Improper stratification: Seeds often need 60–90 days in moist, cold conditions (refrigerator or outdoor winter).
- Over/under-watering: Keep soil evenly moist but not soggy. Use a spray bottle to avoid disturbing seeds.
- Poor seed quality: Older seeds (>2 years) may fail. Test viability by cutting open a pod—firm, plump seeds are best.
- Temperature issues: Seeds need warmth to germinate but cool temps to break dormancy. Rotate between warm (70°F) and cool (50°F) phases.
Are there faster alternatives to growing camellia from seed?
If you’re eager for results, consider these shortcuts:
- Layering: Propagate from semi-hardwood cuttings in late summer (higher success rate than seeds).
- Grafting: Purchase a young camellia plant and graft your desired variety onto it (best for rare cultivars).
- Nursery plants: Buy a 1–2 year old camellia (pricier but instant gratification!).
Wrapping up and next steps
Growing camellia seed pods with 95% germination success is absolutely within your reach—just layer that moisture right and stay patient! 🌱 Whether you’re a seasoned gardener or a curious beginner, these tips will help you nurture your seeds into thriving plants.
Now that you’re armed with the perfect setup and answers to common questions, why not start today?
Ready to take the next step? Grab those seed pods, prep your growing tray, and watch your camellia garden bloom! 🌸