
Propagation
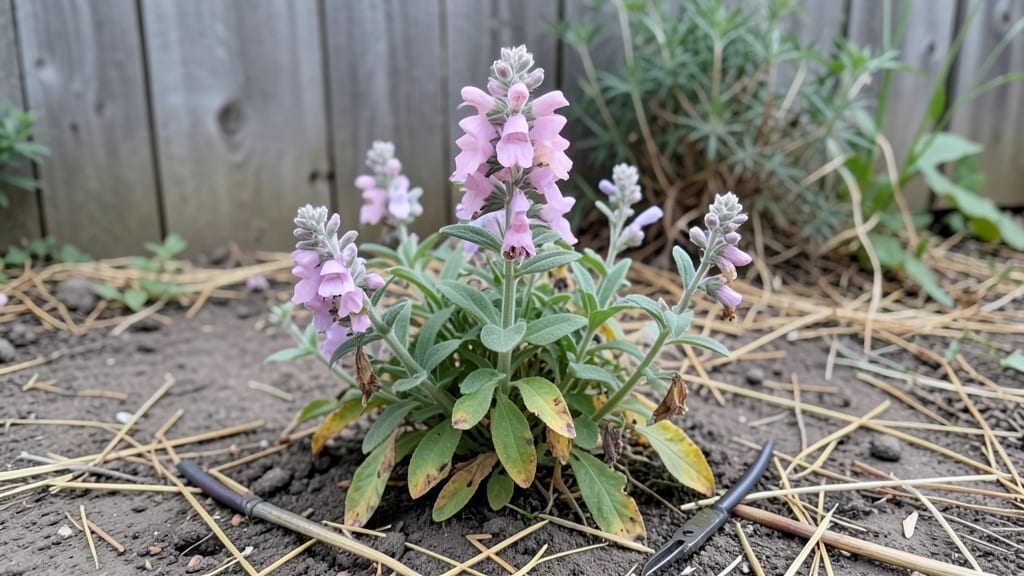
Collecting antirrhinum seeds turns last year's spent blooms into next season's vibrant snapdragons. 🌿 I learned the hard way that waiting too long means watching seeds scatter like confetti—now I time it perfectly for plump, ready-to-harvest pods.
The trick isn't just patience; it's knowing when those pods go from green to brown and how to coax them to release seeds without losing them to birds or rain.
You'll need just a few simple tools: sharp scissors, brown paper bags, and a dry spot indoors. Hand-pollination isn't usually necessary unless your garden is isolated from other snapdragons, but if you want to guarantee variety purity, a soft paintbrush works wonders.
The real secret is harvesting at the right stage—when pods turn from green to tan but haven't split open yet.
Once you've collected them, proper drying prevents mold and ensures viability. Spread seeds on a tray in a warm, dry place for about two weeks, then store them in airtight containers.
A little effort now means a head start on next year's garden, with plants that bloom true to form and resist the common issues that plague store-bought seedlings.
This method works for all snapdragon varieties, whether you're growing them in containers or garden beds. The key is consistency—check your pods regularly, and you'll have seeds ready to plant before spring even arrives. Here's how to do it right the first time.
📚 In This Guide
- What you need
- Instructions
- Tips and common mistakes
- Wrapping up and next steps
What you need
- ● Mature Antirrhinum plants: Healthy, fully bloomed snapdragons (choose varieties you love!).
- ● Brown paper bags: 1-2 per plant (or small envelopes).
- ● Scissors or pruning shears: Sharp and clean for harvesting seed pods.
- ● Labeling tags or markers: To note varieties and harvest dates.
- ● Drying surface: A flat tray, screen, or paper towels for seed pods to dry.
- ● Air-tight containers: Small jars, envelopes, or seed packets for storage.
- ○ Desiccant packets (optional but helpful): To absorb moisture and extend seed viability.
- ● Magnifying glass: For spotting tiny seeds inside pods.
- ● Fine-tip tweezers: Gently remove seeds from dried pods.
- ● Humidity monitor: Ensures pods dry properly (ideal: 40-50% humidity).
- ● Seed catalog or notebook: Track varieties, germination notes, and planting dates.
- ○ Gloves (optional): Protect hands if pods are prickly or dusty.
- ● Patience: Seed pods take 4-6 weeks to fully mature after flowering!
- ● Dry weather: Harvest pods on a sunny, dry day to prevent mold.
- ● Space: A well-ventilated area for drying pods (avoid damp basements).
- ● Labeling discipline: Snapdragons self-seed easily—keep track of varieties!
Step-by-Step guide for harvesting antirrhinum seeds
Here’s how to save seeds from your snapdragons for next season’s vibrant blooms.
🌱 Step 1: Identify and Select Healthy Seed Pods
Wait until late summer or early fall when the flowers have faded and seed pods form. Look for pods that are plump, dry, and turning brown—these are ready for harvest. Avoid pods that look shriveled or have cracks, as they won’t contain viable seeds.
Snapdragons produce long, slender seed pods that resemble tiny beans. Gently squeeze a pod to test its readiness—if it feels firm but slightly papery, it’s time to collect. I like to pick pods when they’re still attached to the plant but just beginning to dry out completely.
🌿 Step 2: Harvest and Dry the Seed Pods
Use clean, sharp scissors or fingers to snip the pods from the stem. Place them in a paper bag (not plastic) to allow airflow. This prevents moisture buildup, which can cause mold or rot. Label the bag with the snapdragon variety if you’re saving multiple types.
Set the bag in a warm, dry, and well-ventilated spot—like a sunny windowsill or a dry shelf—for 1-2 weeks. The pods will continue drying until they split open on their own, releasing seeds. If you’re impatient, you can gently crush a few pods to check for seed release.
💧 Step 3: Extract and Clean the Seeds
Once the pods are fully dry, open them carefully to release the tiny, flat, brown seeds. You’ll notice they’re quite small—about the size of a pinhead. Spread them on a clean, dry paper towel or a flat tray to separate them from any remaining pod debris.
Use a soft brush or your fingers to gently sift through the seeds, removing any chaff or empty pods. Store the cleaned seeds in a small envelope or airtight container labeled with the variety name and harvest date. This keeps them organized for next season.
⏰ Step 4: Store Seeds Properly for Long-Term Viability
Place the sealed container in a cool, dark place—like a refrigerator or basement—where the temperature stays between 35-40°F. Snapdragon seeds remain viable for 2-3 years if stored correctly. Check the envelope occasionally to ensure no moisture has seeped in.
Before planting next spring, test a few seeds by sowing them in a small pot. If they germinate within 10-14 days, your stored seeds are still good. If not, try fresh seeds from another source. This simple test saves you from wasting time on old seeds.
Tips & tricks for perfect antirrhinum seed collection
Saving snapdragon seeds successfully comes down to patience and attention to detail—here’s how to avoid common pitfalls and maximize your harvest.
Pod Selection Matters: In Step 1, when testing pod readiness, look for pods that are firm but slightly papery—this is your sweet spot. I’ve learned the hard way that shriveled pods won’t yield seeds, and cracked ones will release their seeds prematurely. If you’re unsure, wait another day or two rather than risking poor-quality seeds. The key is that perfect balance between dryness and intactness.
Drying Strategy: For Step 2, the 1-2 week drying period is non-negotiable. I’ve tried rushing this process by using an oven or heat lamp, but it always resulted in brittle seeds that wouldn’t germinate. Instead, place your paper bag in a spot with indirect sunlight—like a sunny windowsill with the curtains partially drawn. This gentle warmth mimics natural conditions and prevents moisture buildup that could lead to mold.
Storage Wisdom: When storing your seeds in Step 4, I can’t stress enough how important that cool, dark environment is. I once stored seeds in a kitchen cabinet near the stove, and they lost viability within months. A refrigerator’s crisper drawer (around 35-40°F) works perfectly, or use a dedicated seed storage container. The goal is to slow down seed respiration, which preserves their life force for those 2-3 years.
Germination Test: That 10-14 day germination test in Step 4 is your quality control. I recommend testing a small batch of seeds from each variety you’ve saved. This simple step tells you immediately whether your storage methods worked. If they don’t sprout, don’t be discouraged—just try fresh seeds next time. This test has saved me from planting entire gardens with seeds that might not have been viable.
Pro Tips for Collecting Antirrhinum Seeds
- Saving snapdragon seeds successfully comes down to patience and attention to detail—here’s how to avoid common pitfalls and maximize your harvest.
- Pod Selection Matters: In Step 1, when testing pod readiness, look for pods that are firm but slightly papery—this is your sweet spot.
- Drying Strategy: For Step 2, the 1-2 week drying period is non-negotiable.
Frequently asked questions
When is the best time to collect antirrhinum seeds?
Collect seeds when the flower pods turn brown and dry but before they split open. This usually happens in late summer to early fall (August–September), depending on your climate. Harvest them on a dry day to prevent mold.
How long do antirrhinum seeds stay viable for storage?
Antirrhinum seeds remain viable for 2–3 years if stored properly in a cool, dry place (like a sealed envelope or jar). Label them with the variety and date to track freshness. For best results, sow seeds within the first year.
What if my antirrhinum flowers don’t produce seeds?
If your plants aren’t seeding, they may lack pollination. Try planting multiple varieties nearby to encourage cross-pollination by bees. Deadhead spent blooms only if you want to redirect energy to more flowers—skip this if you’re saving seeds!
Are there alternatives if I can’t collect seeds?
Yes! Buy fresh seeds from reputable suppliers or propagate antirrhinum from cuttings. Leaf cuttings in spring or basal cuttings in early summer can yield new plants. Just ensure they’re disease-free before planting.
How do I know if my saved seeds are still good?
Test viability by placing a few seeds in a damp paper towel. If they sprout within 7–10 days, they’re good to plant. If not, try a different batch or source. Old seeds may germinate slower or less reliably.
Wrapping up and next steps
Collecting antirrhinum seeds is a rewarding way to ensure next year’s garden bursts with vibrant blooms—without breaking the bank! By following these simple steps, you’ll save money, preserve rare varieties, and enjoy the satisfaction of growing from your own harvest. 🌱
Ready to take the next step? Start by labeling your seed packets and keeping a propagation journal to track varieties and growing success. Happy gardening—your future garden will thank you! 🌸