
Propagation
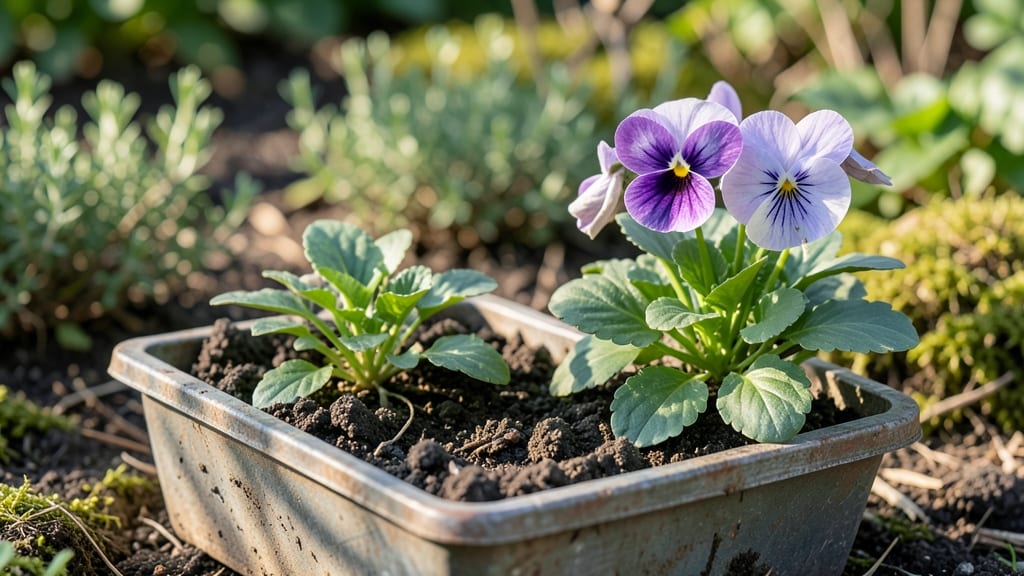
Viola seed pods hold the key to next year’s vibrant blooms—if you harvest and store them right. 🌱 I’ve learned the hard way that skipping cold stratification means seeds that won’t germinate, no matter how patient you are.
The trick is knowing when those pods are ready, how to dry them properly, and giving them the winter chill they need to break dormancy.
First, spot the mature pods—they’ll turn from green to brown and start splitting open on their own. Harvest them in late summer or early fall, then spread them in a dry, well-ventilated spot for 1-2 weeks.
Viola seeds are tiny but tough, and proper drying keeps them from molding before storage. Once dry, store them in a sealed container in your fridge until spring planting.
By following this method, you’ll end up with seedlings that emerge strong and true to their parent plants—whether you’re growing Johnny Jump-Ups, pansies, or violets. The payoff? A garden bursting with color next spring, all from seeds you collected yourself. Ready to turn those pods into next year’s showstopper?
This works for all viola varieties and even adapts to different climates—just adjust your harvest timing based on your first frost. The secret to success? Patience and paying attention to those little details. Let’s get those seeds ready for their big debut!
📚 In This Guide
- What you need
- Instructions
- Tips and common mistakes
- Wrapping up and next steps
What you need
- ● Fresh or dried viola seed pods – Collect 3–5 pods (or purchase seeds from a trusted supplier). Ensure they’re fully mature but not overly dried.
- ● Small paper or peat pots – 2–4 pots (2–3 inches in diameter) for individual seed pod placement.
- ● Potting soil – 1 bag (1–2 quarts) of well-draining, seed-starting mix (avoid garden soil—it’s too dense!).
- ● Plastic zip-top bags – 2–4 bags (quart-sized) with a small hole punched in the top for airflow.
- ● Spray bottle – For gently moistening soil (avoid oversaturating!).
- ● Permanent marker – To label pots with seed type and stratification date.
- ● Refrigerator or cold frame – A space that stays 35–40°F (2–4°C) for 4–8 weeks.
- ● Grow lights or sunny windowsill – For post-stratification germination (if starting indoors early).
- ● Humidity dome or plastic wrap – To maintain moisture during germination.
- ● Seedling heat mat – Speeds up germination if your space is chilly (70–75°F / 21–24°C ideal).
- ● Journal or app – Track stratification progress, moisture levels, and germination dates.
- ● Tweezers – For carefully handling tiny seeds (if pods split open prematurely).
How to harvest and cold stratify viola seed pods for spring blooms
Here’s my foolproof method for turning this year’s spent blooms into next year’s vibrant violas.
🌱 Step 1: Harvest Mature Seed Pods at the Right Time
Wait until the seed pods turn from green to a papery brown—this means they’re fully mature and ready for collection. I like to harvest them on a dry morning after the dew has evaporated, so the pods stay intact. Gently twist each pod off the stem, being careful not to crush it—you want the seeds inside to stay viable.
If you miss the window and pods split open, don’t worry. Scatter the seeds directly onto the soil surface (no need to bury them) and let nature handle the rest. Violas are tough little plants, and they’ll germinate just fine even if the pods burst.
💧 Step 2: Dry and Clean the Seed Pods
Spread the harvested pods on a clean, dry surface in a single layer. Let them dry for 3-5 days in a warm, shaded spot—this prevents mold and ensures the pods open naturally when ready. Once fully dry, they’ll split open on their own, releasing tiny black seeds.
To clean them, I place the dried pods in a paper bag and give it a gentle shake. The seeds will fall out while the empty pods stay behind. Sift through the debris with a fine-mesh strainer if needed—just don’t let the seeds get wet until stratification.
⏰ Step 3: Cold Stratify Seeds for Germination
Mix the cleaned viola seeds with a moistened (not soggy) sand and peat moss blend in a ratio of 1:1. Spread the mixture in a shallow container with a lid, then place it in the refrigerator for 4-6 weeks at 35-40°F. This cold period mimics winter conditions and breaks seed dormancy—critical for violas to germinate properly.
Check the mixture every 2 weeks to ensure it stays slightly damp. If it dries out, mist it lightly with water. Avoid freezing—just keep it consistently cool. After 6 weeks, transfer the container to a warm spot (65-70°F) to start the germination process.
☀️ Step 4: Plant Stratified Seeds for Spring Growth
Sow the stratified seeds directly into well-draining potting mix in small pots or trays. Scatter them lightly on the surface—violas don’t need deep planting. Press them into the soil just enough to make contact, then cover with a thin layer of vermiculite (about ¼ inch deep). Keep the soil consistently moist but never waterlogged.
Place the pots in a bright, indirect light area (like a north-facing window) until sprouts appear in 2-4 weeks. Once seedlings have 2-3 true leaves, transplant them into individual pots or directly into the garden after the last frost. Violas thrive in partial shade, so avoid harsh midday sun until they’re established.
Tips & tricks for perfect viola seed stratification
Cold stratification might sound complicated, but these simple tricks will help you avoid common pitfalls and get the best germination results.
Timing is Everything: Harvest viola seed pods when they turn papery brown—this is your window to preserve seed viability. I've learned the hard way that green pods won't yield good seeds, so wait until they're fully mature. If you miss this, don't panic—just scatter the seeds directly on soil as a backup. Violas are resilient little plants that will often germinate even from burst pods.
Drying Strategy: The 3-5 day drying period is crucial for preventing mold while allowing pods to open naturally. I spread mine on a clean towel in a warm, shaded spot—never direct sunlight. If you live in a humid climate, consider using a fan on low to circulate air. This prevents moisture buildup that could ruin your seeds before stratification.
Stratification Secrets: For the 4-6 week cold treatment, I use a simple plastic container with a lid to maintain moisture. The key is keeping it consistently damp—not soggy—at that 35-40°F range. I check every 2 weeks and mist lightly if needed. Pro tip: Place a small dish of water in the container to maintain humidity without overwatering. After 6 weeks, move it to 65-70°F to kickstart germination.
Planting Precision: When sowing stratified seeds, remember violas don't need deep planting. A light press into well-draining soil with just ¼ inch of vermiculite coverage is perfect. I use small seed trays for better moisture control and to prevent overcrowding. Place them in bright, indirect light—direct sun can scorch delicate seedlings before they're established.
Pro Tips for Viola Seed Pods
- Cold stratification might sound complicated, but these simple tricks will help you avoid common pitfalls and get the best germination results.
- Timing is Everything: Harvest viola seed pods when they turn papery brown—this is your window to preserve seed viability.
- Drying Strategy: The 3-5 day drying period is crucial for preventing mold while allowing pods to open naturally.
Frequently asked questions
Got questions about viola seed pods and their cold stratification process? You’re not alone! Here are some of the most common queries—and their straightforward answers—to help you grow next year’s vibrant blooms with confidence.
Why do viola seed pods need cold stratification?
Viola seeds require cold stratification (a period of cold, moist conditions) to break dormancy and germinate successfully. Without it, seeds may stay dormant for months—or even fail to sprout at all. Think of it as nature’s way of timing blooms for the right season!
How long should I cold stratify viola seed pods?
Most viola seeds need 4–8 weeks in the fridge (or outdoors in a protected spot during winter). For faster results, 6–8 weeks is ideal, especially if you’re impatient for spring blooms. Pro tip: Check moisture levels weekly—keep the medium damp but not soggy!
Can I cold stratify viola seeds in the ground instead of the fridge?
If you live in a cold climate, sow seeds outdoors in late fall or early winter (before freezing temps). The natural freeze-thaw cycle will handle stratification for you. Just ensure the soil is well-draining and protected from pests. No fridge? No problem!
What if my viola seeds don’t germinate after stratification?
Don’t panic! Try these fixes:
- Check moisture: Overly dry or waterlogged mediums can kill seeds.
- Verify freshness: Older seeds (over 1 year) may lose viability.
- Test light exposure: Some violas need light to germinate—try pressing seeds lightly into the soil surface.
- Re-stratify: If stored seeds were warm before cold treatment, repeat the process.
When’s the best time to plant stratified viola seeds?
Once seeds complete stratification, plant them as soon as soil is workable in spring (typically 4–6 weeks before your last frost date). For a head start, sow indoors under grow lights 6–8 weeks before transplanting outdoors. Violas thrive in cool weather, so don’t wait too late!
Wrapping up and next steps
Mastering the art of cold stratification for viola seed pods unlocks a world of vibrant blooms just waiting to burst forth next spring! 🌱 Whether you’re a seasoned gardener or a curious beginner, these steps empower you to nurture nature’s tiny miracles with confidence.
Your patience today will reward you with a garden bursting with color tomorrow—so roll up your sleeves and get ready to plant those seeds of joy!
Next step: Gather your supplies, follow the blueprint, and watch your viola seeds transform into thriving plants. Happy growing! 🌸