Lawn
Mastering the right seed storage conditions saved my heirloom tomatoes—until I ignored them and watched my stash crumble into dust. ✨ Here’s how I fixed it. on humidity, temperature, and container choices.
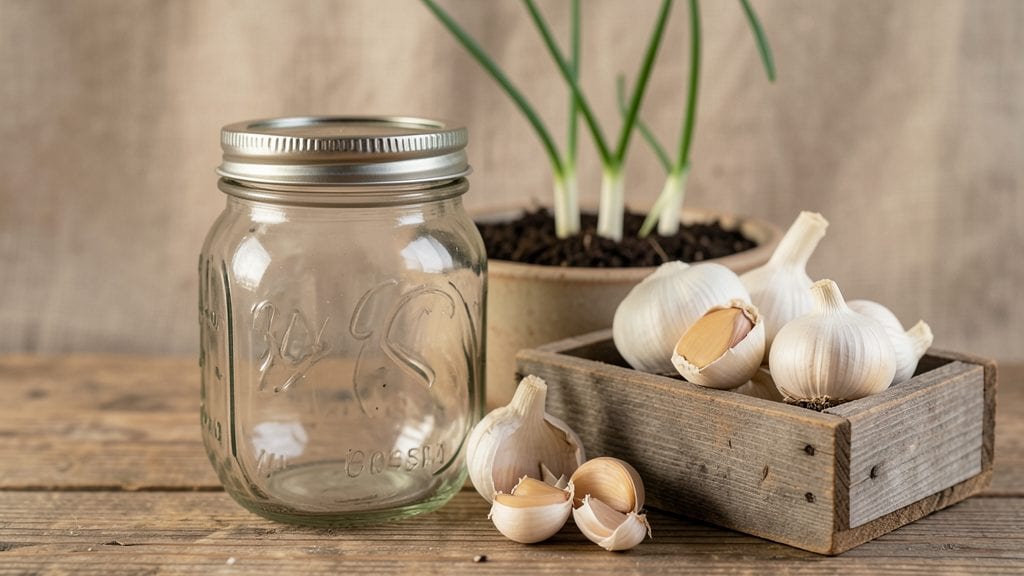
The secret isn't complicated: keep seeds in a cool, dark spot where the air stays dry but not bone-dry. A sealed container with silica gel packets or a simple mason jar with a tight lid works wonders.
Most seeds last 3-5 years when stored right, with some like peas and beans staying viable even longer.
You'll end up with seeds that germinate just as strongly as fresh ones, ready to plant when the time comes. The right setup means no more last-minute store runs or settling for hybrid varieties—just your favorite varieties, preserved perfectly until you need them.
Works for home gardeners, seed savers, or anyone tired of wasted seed packets. Here's how to set it up for your climate and collection size.
📚 In This Guide
- What you need
- Instructions
- Tips and common mistakes
- Wrapping up and next steps
What you need
- ● Air-tight storage containers: 3–5 containers (e.g., Mylar bags, food-grade buckets, or vacuum-sealed jars with oxygen absorbers). Size: Match container capacity to seed volume (e.g., 1-gallon for 1 lb of seed).
- ● Desiccant packets: 2–4 packets (e.g., silica gel or clay-based) per container to control humidity. Pro tip: 💡 Replace every 6–12 months or when damp.
- ○ Seed viability test kit (optional but helpful): A tetrazolium test kit or germination paper to check seed health before storage.
- ● Labeling supplies: Waterproof labels + permanent marker to note seed type, date, and storage conditions.
- ● Thermometer/hygrometer: A digital combo unit (e.g., 0–100°F / 0–100% RH range) to monitor conditions.
- ● Seed drying rack (if needed): A mesh screen or paper towels to air-dry seeds to <10% moisture before storage.
- ● Temperature-controlled space: Ideal range: 32–41°F (0–5°C). Options: Refrigerator (dedicated shelf, not freezer)
- ● Root cellar or basement with stable temps
- ● Climate-controlled storage unit
- ● Humidity control: Target 30–50% relative humidity (RH). Use a dehumidifier or humidifier if needed.
- ● Light protection: Store containers in opaque or light-blocking boxes to prevent seed degradation.
- ● Vacuum sealer: Extends shelf life by removing oxygen (great for bulk storage).
- ● Seed stratification kits: If storing perennial or wildflower seeds, include moist sand or peat moss for pre-treatment.
- ● Backup power: A portable generator or battery backup for climate-controlled spaces during outages.
- ● Seed catalog or database: Digital/physical records of seed sources (e.g., Burpee, Johnny’s Selected Seeds) for reordering.
Step-by-Step guide to storing seeds for maximum longevity
Preserving seeds properly means they'll stay viable for years—here's how I keep mine fresh and ready.
🪴 Step 1: Dry Seeds Thoroughly Before Storage
First, spread seeds in a single layer on a clean, dry paper towel or mesh screen. Let them air-dry for 3-5 days in a warm, dry place—like a sunny windowsill or seed drying rack. You're aiming for 5-10% moisture content (they should feel light and brittle, not damp). I test by gently squeezing a few seeds between my fingers: if they crumble easily, they're ready.
Don't rush this step. Even slightly moist seeds will mold or sprout prematurely in storage. If you're in a humid climate, use a small fan on low to speed up drying while preventing moisture buildup. Once dry, I transfer them to an envelope or small paper bag—plastic traps moisture and defeats the purpose.
⏰ Step 2: Select the Right Storage Containers
Use airtight, moisture-proof containers like glass jars with rubber seals or Mylar bags with oxygen absorbers. I avoid plastic unless it's specifically labeled for seed storage—some plastics leach chemicals over time. Label each container with the seed variety and harvest date using a fine-tip marker (ink fades, so I write lightly).
For long-term storage, I add a silica gel packet to absorb any residual moisture. Place containers in a cool, dark place—like a basement, root cellar, or refrigerator crisper drawer. The goal is consistent temperatures between 32-41°F and low humidity (10-15%). Fluctuations shorten seed life dramatically.
☀️ Step 3: Maintain Ideal Conditions Year-Round
Check stored seeds annually for signs of spoilage: musty smells, mold, or weevils. If you find any, discard the entire batch immediately—contamination spreads quickly. I also test a few seeds each year by planting them in moist paper towels. If 80%+ germinate within 10 days, they're still viable for storage.
Never store seeds in the freezer unless you're using a vacuum-sealed system—temperature swings during thawing can damage them. For most seeds, refrigerator conditions (around 35-40°F) strike the perfect balance between stability and accessibility. If you live in a damp climate, add a dehumidifier packet to the storage area.
🌱 Step 4: Organize by Viability Lifespan
Group seeds by their natural shelf life—some last 1-2 years (like lettuce or parsley), while others (like beans or peas) stay good for 5+ years. I keep short-lived seeds in the front of my storage bin and longer-lived ones in the back. This system prevents me from accidentally using seeds that have passed their prime.
For extra-long storage (decades), I use freeze-drying for rare heirloom varieties. Seal dried seeds in Mylar bags with oxygen absorbers, then store them in a vacuum-sealed container in the freezer. This method preserves seeds for 20-50 years, but it's overkill for most gardeners' needs.
💧 Step 5: Handle Seeds Gently During Retrieval
When you're ready to plant, remove seeds from storage gradually—don't pull them straight from the freezer or basement into a warm, humid room. Let them acclimate for 30-60 minutes at room temperature before opening. This prevents condensation from forming inside the container, which can ruin fresh seeds.
I always plant the oldest seeds first to maximize rotation. If a seed packet feels slightly damp when opened, spread them on a paper towel to dry for 24 hours before planting. Never store seeds in the original packaging—those thin envelopes offer zero protection against moisture or pests.
Tips & tricks for perfect seed storage conditions
A few key strategies will help you extend the life of your seeds for years to come.
Drying Precision: In Step 1, when drying seeds for 3-5 days, consistency is everything. I've found that placing a small fan on low near the drying rack helps maintain airflow without creating turbulence that could scatter seeds. The goal of 5-10% moisture content is critical—anything above 10% risks mold, while below 5% can make seeds too brittle. Test a few seeds daily by gently crushing them between your fingers; they should crumble easily but not feel powdery.
Container Selection: For Step 2, glass jars with rubber seals are my go-to because they're reusable and provide a perfect airtight seal. If using Mylar bags, always include oxygen absorbers—these tiny packets are the secret weapon against oxidation. I've ruined batches by skipping this step, especially with large seed collections. The key is creating an environment where seeds can't "breathe" moisture back in.
Temperature Stability: Maintaining the 32-41°F range mentioned in Step 2 requires more than just placing containers in a cool spot. I've learned that basements can sometimes be too damp, while refrigerators can have temperature fluctuations at the door. For most reliable results, use the crisper drawer of your refrigerator—it maintains the most stable conditions. If you're storing seeds for decades using freeze-drying, the freezer's consistent -0°F is actually safer than refrigerator temperatures.
Annual Viability Testing: The annual germination test in Step 3 is non-negotiable for serious seed savers. I've seen seeds that looked perfectly fine but failed to germinate when tested. This simple test gives you concrete data about your seeds' viability. For seeds you plan to keep long-term, I recommend testing every 2-3 years rather than annually—this balances convenience with accuracy.
Pro Tips for Seed Storage Conditions
- A few key strategies will help you extend the life of your seeds for years to come.
- Drying Precision: In Step 1, when drying seeds for 3-5 days, consistency is everything.
- Container Selection: For Step 2, glass jars with rubber seals are my go-to because they're reusable and provide a perfect airtight seal.
Frequently asked questions
What’s the ideal humidity level for storing seeds long-term?
Keep humidity between 3% and 10% for most seeds. Too much moisture (above 15%) risks mold, while too little (below 3%) can dry them out. Use silica gel packets or dehumidifiers in airtight containers to maintain balance. For grass seeds, aim for 5-8% humidity to preserve germination rates.
How long can seeds stay viable if stored correctly?
With proper conditions, many seeds last 5–10 years, though some (like lettuce or onion) may drop to 50% viability after just 1–2 years. Grass seeds typically retain viability for 3–5 years if kept cool, dry, and dark. Always label seeds with their harvest date to track freshness!
Can I use a regular fridge or freezer for seed storage?
A standard fridge (35–40°F) works for short-term storage (up to 1 year), but a freezer (0–5°F) is better for long-term preservation. For grass seeds, freezing slows moisture loss and extends viability. Just avoid frost buildup—use airtight, moisture-proof containers to prevent ice damage.
What should I do if my seeds smell musty or look damp?
Musty smells or dampness mean mold or spoilage—discard the seeds immediately. To prevent this, never store seeds in plastic bags without desiccants. If caught early, spread seeds on a paper towel in a dry, shaded area for 24 hours to dry before resealing. For grass seeds, act fast—mold spreads quickly!
Are there any DIY alternatives to commercial seed storage containers?
Yes! Use glass jars with tight lids, vacuum-sealed bags, or even metal tins lined with silica gel. For grass seeds, mason jars work well—just add a humidity indicator (like a small packet) to monitor levels. Avoid cardboard or paper; they absorb moisture and degrade faster.
Wrapping up and next steps
Mastering the humidity-temperature balance is your secret weapon for preserving seed viability long-term! 🌱 Whether you’re storing heirloom seeds or lawn grass, the right conditions—cool, dry, and dark—ensure they stay fresh and ready for planting.
Don’t let uncertainty hold you back: test, monitor, and adjust your storage setup to keep those seeds thriving.
Ready to take action? Start small—pick one seed type and experiment with storage conditions. Track your results, and soon, you’ll have a foolproof system for years of successful germination!