Lawn
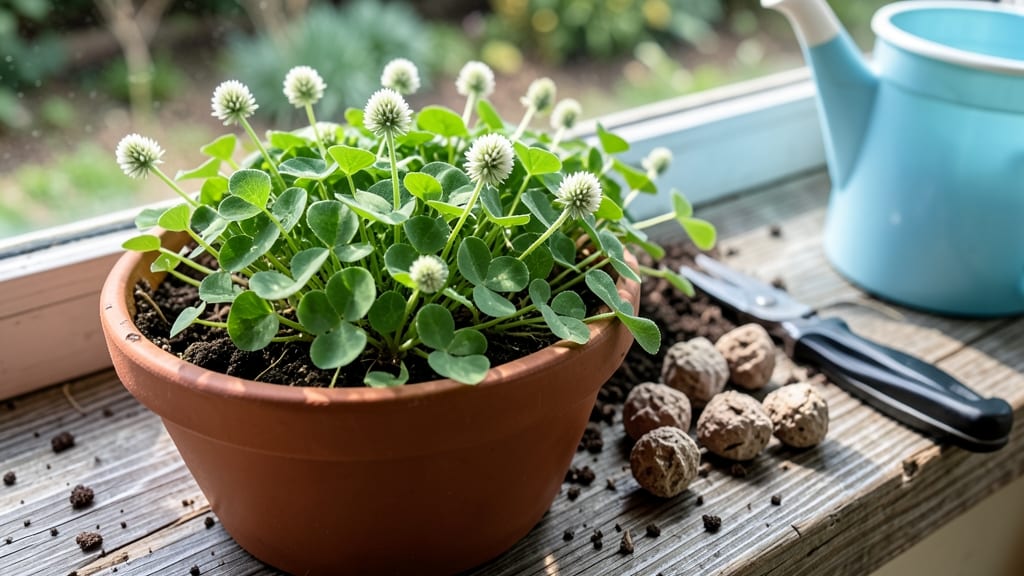
Transforming bare spots into buzzing wildflower meadows with just a handful of seeds and a little clay. 🌱 I learned about paper seed bombs when my neighbor’s overgrown lawn became a pollinator paradise overnight—no tilling, no waiting for roots to establish.
These little eco-pods pack native wildflower seeds into a crumbly paper shell that dissolves in rain, releasing life exactly where it’s needed.
The magic is in the mix: wildflower seeds, clay, compost, and a pinch of soil binder—no fancy tools required. You’ll shape them into golf-ball-sized bombs that can be tossed, rolled, or tucked into cracks in sidewalks, medians, or eroded slopes.
They’re the guerrilla gardener’s secret weapon, turning neglected spaces into instant habitats for bees, butterflies, and beneficial insects within weeks.
What you’ll end up with is a vibrant, low-maintenance garden that thrives on neglect—no watering schedule, no weeding, just pure, spontaneous beauty. The flowers attract pollinators that will visit your main garden too, creating a ripple effect of biodiversity.
Plus, they’re a fantastic way to restore degraded soil without breaking the bank.
Perfect for urban rebels, eco-conscious gardeners, or anyone tired of watching weeds win. Here’s how to make them foolproof—no green thumb required.
📚 In This Guide
- What you need
- Instructions
- Tips and common mistakes
- Wrapping up and next steps
What you need
- ● Native wildflower seeds: 1–2 tbsp (adjust based on bomb size). Choose pollinator-friendly varieties like cosmos, black-eyed Susan, or milkweed.
- ● Clay: 1 cup of air-dry clay (or bentonite clay for durability). Avoid expanded clay pellets—they’re too dense!
- ● Compost: ½ cup of finished, crumbly compost (adds nutrients for seedlings). Skip fresh manure—it can burn seeds!
- ● Water: Just enough to bind ingredients (start with ¼ cup, adjust as needed).
- ● Mold or container: Silicone molds (for uniform bombs) or small cups (yogurt containers work!).
- ● Dye or natural pigments: Turmeric (yellow), beet juice (pink), or spirulina (green) for colored bombs.
- ● Extra binders: 1 tbsp of psyllium husk powder (for extra strength) or flour (if clay is too dry).
- ● Herbs or wildflower petals: 1 tsp dried lavender or rose petals (adds fragrance and beauty!).
- ● Mixing bowl: A sturdy, shallow bowl (stainless steel or ceramic).
- ● Spoon or spatula: For stirring—wooden or silicone works best.
- ● Gloved hands: Clay can stain! Wear disposable gloves or use a damp cloth.
- ● Drying rack or tray: A wire rack or parchment paper to air-dry bombs (avoid direct sunlight).
Step-by-Step instructions for crafting paper seed bombs
Here’s how I make these eco-friendly wildflower projectiles—no special skills needed, just patience.
🌱 Step 1: Mix Clay and Soil for the Core
Start by combining 2 cups of air-dry clay with 1 cup of potting mix in a bowl. The clay acts as the binder, while the soil provides nutrients for emerging roots. I like to crumble the clay into small chunks first—this ensures even distribution and prevents clumping. Mix thoroughly until the texture resembles wet sand, with no dry patches remaining.
Add 1 tablespoon of compost to the blend. This boosts microbial activity, giving seedlings a head start once they germinate. The mixture should hold together when squeezed but still feel slightly gritty—like damp playground sand. If it’s too sticky, add a pinch more potting mix; if too dry, mist with a spray bottle.
🌿 Step 2: Incorporate Seeds and Mulch
Gently fold in 1 tablespoon of wildflower seeds (or your chosen native mix) into the clay-soil blend. I tap the bowl lightly to distribute seeds evenly—uneven seeding leads to patchy germination later. Next, sprinkle in ½ cup of mulch (like straw or coconut coir) for moisture retention and erosion protection. This keeps the bomb intact during throws and slows water loss.
Real talk: don’t skimp on seeds. If you’re making 4 seed bombs, divide the seeds equally now. I use a small scale for accuracy—uneven distribution means some bombs won’t sprout. Mix everything until the seeds are fully coated but still visible—this ensures they won’t clump together and suffocate.
💧 Step 3: Shape and Dry the Bombs
Wet your hands slightly and roll the mixture into 4 golf-ball-sized spheres (about 1.5 inches in diameter). Press gently but firmly—too loose, and they’ll crumble; too tight, and roots won’t penetrate. Place each bomb on a wire rack (or crumpled newspaper) to dry for 24-48 hours. This step is critical: dried bombs last months, while damp ones mold within days.
Here’s the thing—drying time depends on humidity. In dry climates, they’ll be ready in 12 hours; in damp weather, wait 48 hours. Test by pressing a bomb gently: if it holds shape but feels slightly crumbly, it’s ready. Store in a paper bag until use—airtight containers trap moisture and ruin the mix.
✂️ Step 4: Deploy for Maximum Impact
Choose a bare patch of soil in full sun (wildflowers need 6+ hours daily). Toss bombs 10-15 feet apart—closer spacing leads to competition. I aim for disturbed earth, like construction sites or overgrown lots, where native plants can reclaim space. Gently press each bomb into the soil to ensure contact with the earth; no need to bury them.
Water immediately after planting to activate germination. You’ll see sprouts in 7-14 days if conditions are right—60°F+ soil temps and consistent moisture. Avoid stepping on the area until plants reach 3 inches tall. This is where the magic happens: no tilling, no weeding, just throw and grow.
⏰ Step 5: Maintain and Monitor Growth
Once sprouts appear, water 2-3 times weekly (or when the top ½ inch of soil feels dry). Wildflowers are drought-tolerant, but young plants need steady moisture. I use a soaker hose to avoid disturbing delicate stems—direct streams can uproot seedlings.
Watch for first true leaves (not the tiny seed leaves) to appear. This signals the plant is photosynthesizing independently. After 4-6 weeks, you’ll see blossoms—bees and butterflies will follow shortly. The goal is self-sustaining pollinator habitat, so avoid fertilizers (they encourage invasive species). Let nature take its course.
Tips & tricks for perfect paper seed bombs
Between us, these little eco-projectiles are deceptively simple—but the devil's in the details. Here's what nobody tells you about making seed bombs that actually sprout and thrive.
Clay-to-Soil Ratio Secret: The 2:1 ratio of air-dry clay to potting mix isn't arbitrary—it's the Goldilocks zone for moisture retention without suffocating roots. I've learned the hard way that adding too much soil makes bombs crumble during throws, while extra clay creates an impenetrable barrier. For best results, use a kitchen scale to measure: 200g clay to 100g potting mix gives you that perfect wet-sand texture. The compost you add in Step 1 acts like a tiny fertilizer factory, but don't exceed that 1 tablespoon—more won't help and could encourage mold.
Seed Distribution Technique: When you're folding in those wildflower seeds in Step 2, think "snow globe" not "sandwich." I tap the bowl lightly against my palm in quick, even motions to prevent clumping. For the ½ cup of mulch, use straw over coconut coir if you want faster decomposition—it breaks down quicker, letting seeds access soil sooner. The key is complete but gentle coverage: seeds should be visible but fully embedded, like chocolate chips in cookie dough. Uneven distribution is the #1 reason some bombs fail to sprout.
Drying Strategy for Humidity Variations: That 24-48 hour drying window in Step 3 is your friend, but humidity is the wild card. In my experience, 12 hours works in dry climates (like Arizona summers), but I've seen bombs still damp after 48 hours in Pacific Northwest humidity. Test with the "gentle press" method: if it holds shape but feels slightly crumbly, it's ready. Pro tip: place your drying rack near a fan on low setting—this speeds up drying without creating dust. Store finished bombs in paper bags only, never plastic; condensation will turn them into moldy bricks overnight.
Deployment Environment Check: The "bare patch of soil in full sun" requirement in Step 4 is non-negotiable for wildflowers, but here's the thing about soil temps: 60°F is your minimum, but 70°F+ is where germination really takes off. I've had better success planting in late spring when soil naturally reaches these temps. For urban areas, test soil with your finger—if it's cool to the touch, wait a week or two. And those 10-15 feet spacing guidelines? That's for mature plants. When you first plant, you can toss them closer (6-8 feet) since they'll spread as they grow.
Pro Tips for Paper Seed Bombs
- Between us, these little eco-projectiles are deceptively simple—but the devil's in the details.
- Clay-to-Soil Ratio Secret: The 2:1 ratio of air-dry clay to potting mix isn't arbitrary—it's the Goldilocks zone for moisture retention without suffocating roots.
- Seed Distribution Technique: When you're folding in those wildflower seeds in Step 2, think "snow globe" not "sandwich."
Frequently asked questions
Got questions about paper seed bombs? You’re not alone!
Here are answers to the most common queries to help you launch your pollinator-friendly project with confidence.
What’s the best time of year to plant seed bombs?
Plant seed bombs in early spring (after the last frost) or late summer to early fall for the best results. Avoid extreme heat or freezing temps—they can dry out or damage the paper. If you’re in a mild climate, year-round planting works too, just water them well afterward!
Will seed bombs work in my yard if I have dogs or kids?
Seed bombs are non-toxic and safe for pets and children. Just avoid areas where dogs dig (they might accidentally eat the paper). For extra safety, use edible paper or biodegradable clay. If kids are helping, make it a fun project—they’ll love watching wildflowers grow!
Do seed bombs need watering after planting?
Yes! Give them a light drink right after planting to help them stick and sprout. For the first week, water gently if your area isn’t getting rain. Once established, most wildflowers are drought-tolerant, but young seedlings appreciate consistent moisture. Think of it like giving them a welcome-home shower!
Can I make seed bombs with store-bought potting soil?
Not ideal! Store-bought soil often contains chemicals or isn’t dense enough to hold the bomb’s shape. Instead, use clay-based soil (like native dirt mixed with a little compost) or buy seed bomb clay online. If you’re in a pinch, a mix of 1 part clay, 1 part compost, and 1 part sand works well. Pro tip: Sift out rocks for a smoother texture!
What if my seed bombs don’t sprout? Troubleshooting tips?
Don’t worry—seed bombs can be finicky! If they’re not sprouting, check:
Too dry? Water deeply and keep them moist for 2–3 weeks.
Pests? Birds or squirrels might snack on them. Try planting in less accessible spots.
Wrong timing? Some seeds need cold stratification (like a mini winter). Store them in the fridge for 2–4 weeks before planting if your area has harsh winters.
Bad seeds? Test a few seeds in a pot first to confirm viability.
Most bombs take 2–6 weeks to sprout—patience is key!Wrapping up and next steps
Creating paper seed bombs is a fun, eco-friendly way to boost pollinator habitats and add vibrant wildflowers to your space—no gardening experience required! 🌸 These easy-to-make seed packets transform bare patches into thriving ecosystems, supporting bees, butterflies, and birds.
Whether you’re a beginner or a seasoned green thumb, this project proves that small actions can spark big change.
Ready to take the next step? Start small: Try making a batch this weekend and toss them in a sunny spot. Need inspiration? Explore native wildflower varieties for your region or share your seed bombs with neighbors to grow a community of pollinator lovers! 🌿✨