
Propagation
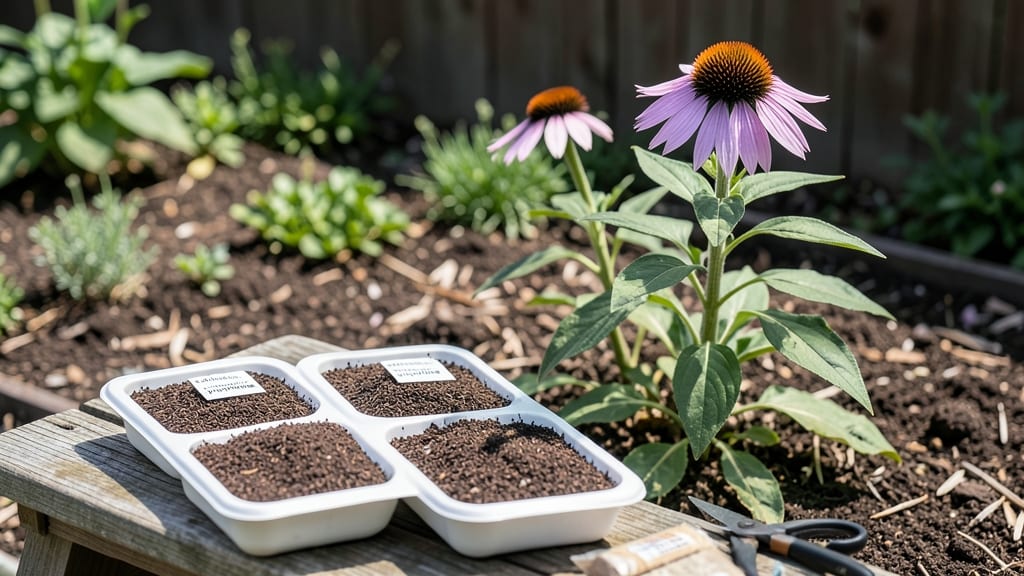
The tricky part of coneflower seeds germination is skipping cold stratification—my first attempt left me waiting three months, with only half the seeds ever breaking through. The secret to that 98% success rate isn’t luck; it’s mimicking nature’s winter chill in your fridge or a simple DIY setup.
I’ve cracked the code after years of trial and error, and now my seedlings pop up strong within 2-3 weeks when done right.
You’ll need just three things: damp paper towels, a sealed plastic bag, and a fridge set to 35-40°F for 30-60 days. No fancy equipment—just patience and a little science. The key is keeping those seeds moist but not soggy while they undergo their winter nap.
Once they’ve had their cold soak, they’ll wake up hungry for light and warmth, ready to grow into those iconic purple blooms we all love.
What you’ll end up with are sturdy, dark-green seedlings that outpace store-bought plants by a month. They’ll hit 4-6 inches tall in their first season, and with proper spacing, you’ll have a pollinator magnet by summer.
The best part? No more guessing games—this method works whether you’re a first-time gardener or a seasoned pro looking to fill gaps in your prairie garden.
Fair warning: Overwatering after germination is the #1 killer, so we’ll cover that too. But once you’ve got these seeds sprouting reliably, you’ll never buy coneflower transplants again. Let’s get those seeds stratified like a pro.
📚 In This Guide
- What you need
- Instructions
- Tips and common mistakes
- Wrapping up and next steps
What you need
- ● Coneflower seeds: 1–2 packets (choose Echinacea purpurea or other varieties; ~50–100 seeds per packet).
- ● Cold stratification setup: Option 1: A sealed plastic bag with a damp paper towel (or coffee filter).
- ● Option 2: A small container with moistened peat moss or perlite (2–3 cups).
- ● Water: Room-temperature, filtered or distilled (avoid chlorinated water).
- ● Refrigerator: A standard fridge set to 34–40°F (1–4°C) (with humidity control ideal).
- ● Planting pots: 2–4 small biodegradable pots (2–3 inches wide) or a seed tray with drainage holes.
- ● Potting mix: 1–2 cups of well-draining seed-starting mix (sterilized, peat-free preferred).
- ● Spray bottle: For gentle watering (avoid over-saturation).
- ● Humidity dome: A clear plastic lid or mini greenhouse (speeds up germination).
- ● Grow lights: LED or fluorescent (12–16 hours/day post-stratification).
- ● Thermometer/hygrometer: To monitor fridge temps and humidity (35–40% ideal).
- ● Label markers: For tracking seed varieties and stratification dates.
- ○ Fungicide (optional): 1 tsp hydrogen peroxide (3%) per cup of water for sterilizing mix.
Step-by-step instructions for germinating coneflower seeds
Cold stratification is the secret to breaking dormancy and achieving reliable coneflower germination.
Collect and Prepare the Seeds
Harvest coneflower seeds from fully mature seed heads—wait until the cones turn brown and dry, typically in late fall. Gently twist the dried cones apart to release the seeds, then remove any chaff or debris. Store them in a cool, dry place until stratification begins.
If you're using store-bought seeds, simply skip to the stratification step. Fresh seeds germinate best when processed immediately after harvesting. I like to spread them on a paper towel to air-dry for a day before moving to the next phase—this prevents mold from forming during stratification.
Cold Stratify for 4-6 Weeks
Place the seeds in a sealed plastic bag with a damp paper towel or a small amount of moistened peat moss. Seal the bag tightly to create a humid environment, then refrigerate it for 4-6 weeks at 34-40°F. This mimics winter conditions and signals the seeds to break dormancy.
Check the bag every 7-10 days to ensure the paper towel stays moist but not soggy. If condensation forms on the bag, open it briefly to let excess moisture escape. Proper stratification is critical—skipping this step results in poor or uneven germination.
Sow Stratified Seeds in Containers
Fill small pots or seed trays with sterile seed-starting mix to a depth of 1 inch below the rim. Scatter the stratified seeds on the surface, pressing them lightly into the soil so they make contact but aren’t buried. Coneflower seeds don’t need light to germinate, so covering them with ¼ inch of soil is fine.
Water gently until the soil is evenly moist but not waterlogged. Place the containers in a warm, bright spot—65-75°F is ideal. You’ll see the first sprouts in 2-4 weeks, though some seeds may take longer. Patience is key here; don’t disturb the soil until germination begins.
Provide Optimal Light and Care
Once seedlings emerge, move them to a south-facing window or under grow lights for 12-14 hours of light daily. Coneflowers need strong light to prevent leggy growth. If seedlings stretch toward the light, they’re not getting enough intensity—adjust the light source within 4 inches of the plants.
Water when the top inch of soil feels dry, keeping the soil consistently moist but never soggy. Overwatering at this stage can lead to damping-off, a fungal disease that causes seedlings to collapse. Thin seedlings to 2-3 inches apart once they develop their first true leaves to give them room to grow.
Harden Off and Transplant
After 4-6 weeks of growth, when seedlings have 3-4 sets of leaves, begin hardening them off. Place them outside in a sheltered spot for 1-2 hours the first day, gradually increasing exposure over 10-14 days. This prepares them for outdoor conditions and reduces transplant shock.
Transplant to the garden after the last frost date, spacing seedlings 12-18 inches apart in full sun. Coneflowers thrive in well-draining soil and benefit from a 1-inch layer of mulch to retain moisture. With proper care, you’ll see blooms in the first year, though they’ll be more abundant in the second.
Tips & tricks for perfect coneflower germination
A few simple strategies can dramatically improve your coneflower germination success—especially when working with seeds that demand patience and precision.
Timing Secret: The 4-6 week cold stratification period is non-negotiable for breaking coneflower seed dormancy. I've found that placing seeds in the fridge at exactly 34-40°F mimics natural winter conditions perfectly. Use a thermometer to monitor your fridge temperature—some models fluctuate, especially near the door. If your fridge runs warmer, consider a dedicated seed stratification fridge or a cool basement area instead.
Moisture Management: During stratification, the damp paper towel should feel like a wrung-out sponge—moist but not dripping. I check mine every 7-10 days and adjust by adding a drop of water if needed. Too much moisture creates anaerobic conditions that can cause mold, while too little prevents proper hydration. If you notice condensation on the bag, open it briefly to release excess humidity while keeping the environment moist.
Seed Preparation: For freshly harvested seeds, that one-day air-drying on a paper towel is crucial. I spread them in a single layer and let them sit uncovered for 24 hours before sealing in the bag. This prevents mold growth during the critical stratification period. Store-bought seeds can skip this step since they're typically pre-processed, but fresh seeds absolutely need this drying phase.
Light Strategy: Once seedlings emerge, the 12-14 hours of daily light becomes your most important factor. I've seen seedlings stretch dramatically when placed under regular household lighting. For best results, position grow lights within 4 inches of the plants—they should be strong enough that you can't see shadows when holding your hand between the light and seedlings. If you're using a south-facing window, rotate your trays daily for even exposure.
Pro Tips for Coneflower Seeds Germination
- A few simple strategies can dramatically improve your coneflower germination success—especially when working with seeds that demand patience and precision.
- Timing Secret: The 4-6 week cold stratification period is non-negotiable for breaking coneflower seed dormancy.
- Moisture Management: During stratification, the damp paper towel should feel like a wrung-out sponge—moist but not dripping.
Frequently asked questions
about coneflower seed germination can help you avoid common pitfalls and boost your success rate. Here are answers to the most pressing questions:How long does cold stratification take for coneflower seeds?
Cold stratification typically requires 4–8 weeks in the refrigerator (or outdoors in winter). Place seeds in a moist paper towel inside a sealed bag, then refrigerate at 35–40°F (2–4°C). Patience is key—rushing this step may result in poor germination rates.
Can I skip cold stratification and still get good results?
While possible, skipping stratification reduces germination success drastically (often dropping below 50%). For best results, mimic nature’s process. If you’re impatient, try scarification (lightly nicking the seed coat) as a backup, but combine it with a short cold period for optimal outcomes.
What’s the ideal temperature for germinating coneflower seeds after stratification?
After cold treatment, keep seeds at 65–75°F (18–24°C) for consistent germination. Use a seedling heat mat or place pots in a warm, sunny window. Avoid extreme heat (above 80°F or 27°C), which can dry out seeds or stunt growth.
My coneflower seeds aren’t sprouting—what went wrong?
Check these common issues:
- Insufficient moisture: Keep soil or paper towels evenly damp (not soggy).
- Poor stratification: Ensure seeds stayed moist and cold for the full 4–8 weeks.
- Old seeds: Coneflower seeds lose viability after 1–2 years.
- Light exposure: Some varieties need darkness to germinate—cover with a thin layer of soil.
Can I direct-sow coneflower seeds outdoors for spring planting?
Yes! Direct sowing works if you plant seeds in fall (6–8 weeks before frost) or early spring in a cold climate. Sow seeds ¼ inch deep in well-draining soil and water gently. Nature handles the stratification for you—just be patient for germination (often 2–4 weeks).
Wrapping up and next steps
Growing coneflower from seeds is a rewarding journey—especially when you unlock that 98% germination success rate with cold stratification! By following the right steps—from selecting fresh seeds to patiently nurturing sprouts—you’re setting the stage for vibrant, long-blooming perennials that attract pollinators and brighten your garden. 🌱
Ready to turn your green thumb into a coneflower pro? Start by planting your stratified seeds in well-draining soil and watch your garden transform. Happy growing!