
Propagation
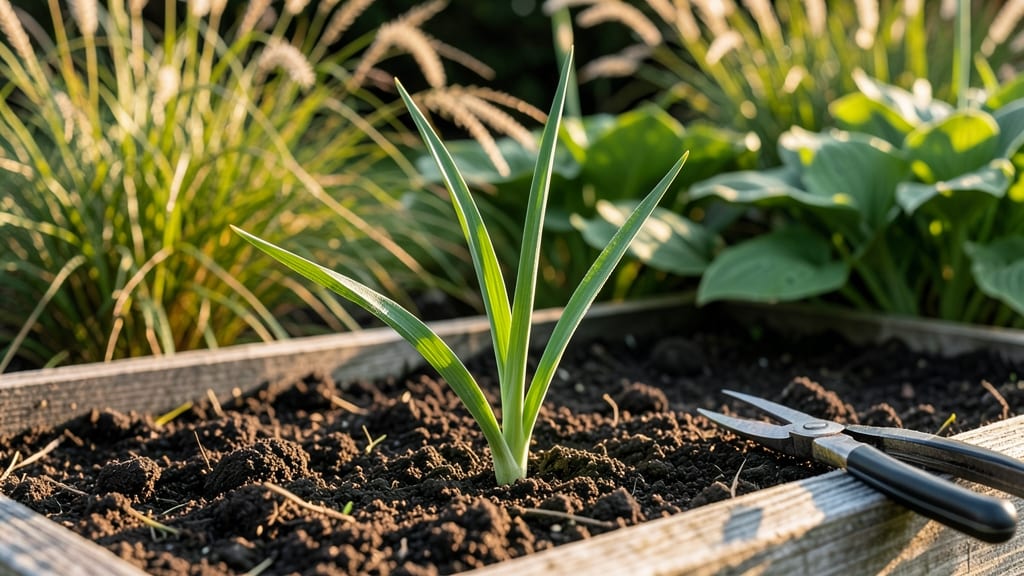
The layered chill method unlocks the secrets of iris seed germination, turning a finicky wait into a foolproof way to coax irises from tiny seeds—if you’re willing to invest time and precision.
I’ve struggled with seed germination before, but this approach finally gave me those first tentative green shoots after what felt like forever. The key isn’t just cold treatment; it’s mimicking the natural cycle that breaks seed dormancy while protecting them from rot or drying out.
You’ll need three simple supplies: iris seeds (fresh is best), a mix of peat moss and perlite for aeration, and a sealed container with a clear lid to monitor progress.
The real work happens in the fridge—stratifying seeds for 8-12 weeks at 35-40°F before transferring them to a bright, 60-65°F spot. Most gardeners rush this step, but skipping stratification means waiting years for germination—or never seeing sprouts at all.
Once sprouts appear, expect a 3-6 month wait before you see true leaves, and another 2-3 years before blooms. The payoff? Irises grown from seed develop unique color variations and hardiness that rhizome divisions often lack.
Early growth is delicate—thin seedlings carefully and keep soil consistently moist but not soggy to avoid damping-off.
This method works for all iris types, from bearded to Siberian, though some varieties (like Louisiana irises) germinate faster. If you’ve ever wondered why store-bought iris plants cost so much, this is your chance to grow them from scratch—just don’t expect overnight results.
The layered chill approach turns a gamble into a foolproof way to build your iris collection over time.
📚 In This Guide
- What you need
- Instructions
- Tips and common mistakes
- Wrapping up and next steps
What you need
- ● Fresh iris seeds: Collect seeds from healthy, mature irises (or buy from a trusted supplier). Aim for at least 10-20 seeds per batch for better success rates.
- ● Germination medium: Option 1: Peat moss or coconut coir (sterilized, moist but not soggy)
- ● Option 2: Seed-starting mix (lightweight, well-draining, with perlite or vermiculite)
- ● Containers: Shallow trays or seed flats (with drainage holes, 4-6 inches deep)
- ○ Optional: Small plastic bags or breathable lids for humidity control during stratification.
- ● Refrigerator or cold frame: A consistent 35–45°F (2–7°C) space for 6–12 weeks of stratification.
- ● Spray bottle: For gentle watering (avoid over-saturating seeds!).
- ● Labeling tags: To track seed varieties and planting dates.
- ● Patience & a growth journal! 📖✨
- ● Grow lights: For seedlings after stratification (if natural light is limited).
- ● Humidity dome: To maintain moisture during early germination.
- ● pH testing kit: Ensure your medium is slightly acidic (pH 6.0–7.0) for optimal growth.
- ● Fungicide (mild): Like hydrogen peroxide (3%) or neem oil to prevent mold.
Step-by-step instructions for iris seed germination
Here's the proven layered chill method that breaks dormancy and ensures strong, reliable iris seedlings next spring.
Collect and Prepare Fresh Iris Seeds
Harvest seeds from mature iris pods when they turn brown and papery, usually 3-4 weeks after flowering. Remove the seeds carefully—they're tiny and flat, resembling small black beans. Store them in a paper envelope (not plastic) in a cool, dry place until stratification begins. Freshness matters: older seeds germinate poorly, so use seeds from the current season only.
Before stratification, soak the seeds in lukewarm water for 12 hours to soften the tough outer coating. This step mimics natural moisture cycles and speeds up germination. After soaking, let them air-dry on a paper towel for 24 hours to prevent mold. This drying phase is critical—wet seeds left in a sealed container will rot before they even sprout.
Layer Seeds in Moistened Growing Medium
Fill a 6-inch deep container with a sterile seed-starting mix (avoid garden soil—it's too dense and may harbor pathogens). Moisten the mix until it feels like a wrung-out sponge: damp but not dripping. Iris seeds need consistent moisture without waterlogging, so avoid oversaturating.
Arrange the seeds ¼ inch deep in a single layer, spacing them ½ inch apart. Press lightly to ensure contact with the soil—this prevents them from drying out during stratification. Cover the container with plastic wrap and poke small holes to allow airflow. Place the container in a dark, cool location (like a refrigerator) where temperatures stay between 35-45°F. This stratification period mimics winter conditions and breaks dormancy.
Stratify for 8-12 Weeks
Check the seeds every 2-3 weeks to ensure the medium remains moist. If the surface feels dry, mist lightly with water—never soak the container. The goal is to maintain even moisture without creating anaerobic conditions. During this time, the seeds undergo physiological changes that prepare them for germination.
After 8-12 weeks, remove the container from cold storage and place it in a bright, indirect light area (like a north-facing window). Avoid direct sunlight at this stage—it can stress the tiny seedlings. You’ll see the first signs of germination in 4-6 weeks as small green shoots emerge. Patience is key: rushing this process often leads to weak or failed seedlings.
Transition to Warmth and Light
Once seedlings reach 1-2 inches tall, gradually introduce them to full sun over 7-10 days. Start with 2-3 hours of morning sun and increase exposure daily. This hardening process prevents shock and encourages sturdy growth. Use a grow light if natural light is insufficient—iris seedlings need 14-16 hours of light daily to thrive.
Water gently from the bottom to avoid disturbing the delicate roots. Keep the soil evenly moist but not soggy—iris seedlings are prone to rot if overwatered. Fertilize lightly with a balanced, water-soluble fertilizer (diluted to half strength) after 4 weeks of growth. This ensures they have the nutrients needed for robust development.
Transplant and Overwinter Seedlings
When seedlings develop 3-4 true leaves (about 6-8 weeks after germination), transplant them into 4-inch pots filled with a well-draining potting mix. Handle them carefully—their roots are fragile. Place the pots in a sheltered outdoor location during the day and bring them indoors at night if temperatures drop below 50°F. This gradual acclimation prepares them for permanent planting.
By late fall, the seedlings will enter dormancy naturally. Overwinter them in a cool, dark place (like a garage) with minimal watering. In early spring, transplant them into the garden or larger containers. With this method, you’ll see blooms in 3-4 years—a testament to the patience and care invested in their early stages.
Tips & tricks for perfect iris seed germination
Mastering iris seed germination requires precision at every stage—here’s how to optimize each critical step for success.
Seed Freshness and Preparation: Iris seeds lose viability quickly, so timing is everything. Harvest seeds when pods turn brown and papery, typically 3-4 weeks after flowering, and use them immediately. The 12-hour lukewarm soak in Step 1 is non-negotiable—it softens the tough seed coat, but the subsequent 24-hour drying on a paper towel prevents mold. I’ve seen seeds rot overnight when left too damp, so don’t skip this drying phase. For extra insurance, place seeds in a single layer on the towel to avoid clumping.
Stratification Temperature Control: The 35-45°F range during stratification is where dormancy breaks occur. If your refrigerator runs warmer, consider a dedicated seed fridge or a cooler with ice packs. I’ve had batches fail when stored near the fridge’s warmest area—always check the temp with a thermometer. The 8-12 week window is flexible, but consistency matters more than duration. Seeds need steady cold, not fluctuating temperatures.
Light Transition Strategy: When moving seeds to light after stratification, gradual exposure is key. Start with bright, indirect light for the first 4-6 weeks of germination—direct sun at this stage can scorch delicate seedlings. I’ve used sheer curtains to diffuse light when natural options are limited. Once seedlings hit 1-2 inches, the 7-10 day sun acclimation prevents shock. For indoor growers, a 14-16 hour grow light schedule mimics summer daylight and compensates for weak winter light.
Transplanting Technique: Iris seedlings develop 3-4 true leaves before transplanting, signaling they’ve built enough root structure. When repotting into 4-inch containers, use a well-draining mix—iris roots hate soggy conditions. Gently firm the soil around roots to eliminate air pockets, then water thoroughly from the bottom. I’ve lost seedlings to root rot when transplanted into damp, compacted soil, so this step can’t be rushed. After transplanting, keep them sheltered until nighttime temps stay above 50°F consistently.
Pro Tips for Iris Seed Germination
- Mastering iris seed germination requires precision at every stage—here’s how to optimize each critical step for success.
- Seed Freshness and Preparation: Iris seeds lose viability quickly, so timing is everything.
- Stratification Temperature Control: The 35-45°F range during stratification is where dormancy breaks occur.
Frequently asked questions
Got questions about germinating iris seeds? You’re not alone! Here are answers to the most common concerns—so you can confidently start your layered chill method and grow those dreamy blooms next season.
How long should I chill iris seeds before planting?
The layered chill method typically requires 8–12 weeks in the fridge (34–40°F). For best results, start in early fall so seeds get a natural cold snap before spring planting. If you’re impatient, a stratification tray speeds up the process—just monitor moisture levels!
When will iris seeds actually sprout after planting?
Germination can take 2–6 weeks after planting, depending on soil warmth and moisture. Keep soil consistently damp (not soggy!) and place pots in a bright, indirect light spot. Patience is key—some seeds may take months to break dormancy, but don’t give up!
Can I germinate iris seeds without cold stratification?
Yes, but success rates drop dramatically. Without chilling, seeds may rot or stay dormant for years. If you skip stratification, try soaking seeds in lukewarm water for 24 hours first, then plant in a well-draining, sterile mix. Still, cold treatment mimics nature’s cues for reliable sprouts.
Why are my iris seeds moldy or rotting?
Mold or rot usually means too much moisture or poor airflow. Use a sterile, gritty mix (like perlite + peat), and avoid overwatering—seeds should feel damp, not wet. If mold appears, discard affected seeds and repot healthy ones in fresh, dry medium. A fan on low can improve circulation!
Should I use store-bought iris seeds or collect them myself?
Both work, but fresh, home-collected seeds often germinate better since they’re adapted to your climate. If buying, choose reputable suppliers (like Pacific Bulb Society) and check for plump, firm seeds. Avoid seeds from grocery-store iris bulbs—they’re often sterile!
Wrapping up and next steps
Mastering the layered chill method for iris seed germination unlocks a world of vibrant blooms and lush foliage—right in your own garden! 🌱 With patience, precision, and the right conditions, you’ll soon watch tiny seeds transform into thriving plants.
The key? Consistency in moisture, temperature, and light, paired with a dash of optimism.
Now that you’re armed with the know-how, take the next step: start your seeds today! Whether you’re a seasoned gardener or a curious beginner, every seed planted is a promise of future beauty. Happy growing—your garden’s next masterpiece is just sprouting! 🌸