
Flowers
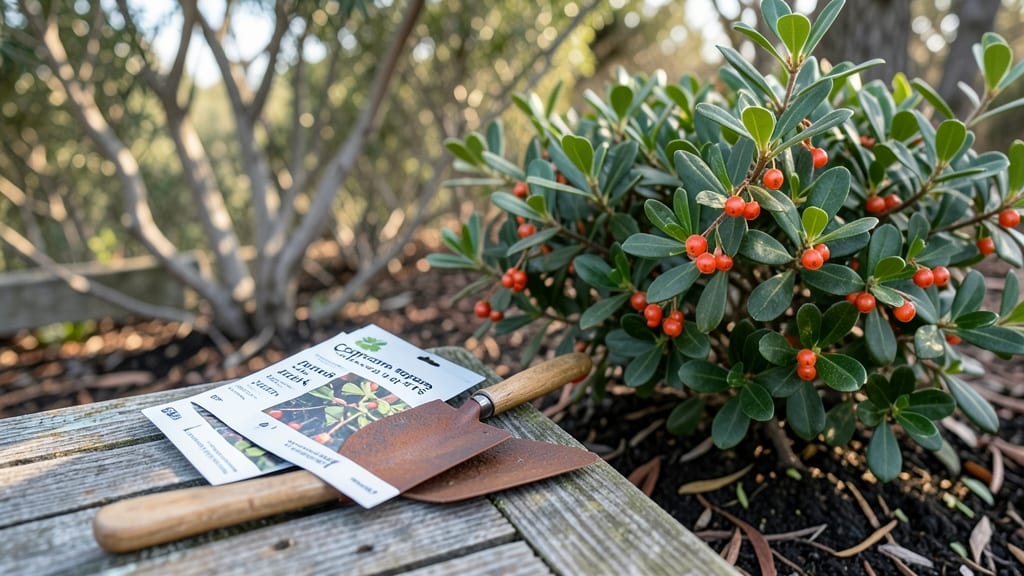
Growing Dazzle flower seeds starts with a simple trick: cold stratification, the secret to breaking their stubborn dormancy and unlocking those showstopping blooms year after year. 🌱 I’ve struggled with finicky seeds before—until I learned how a few weeks in the fridge could transform stubborn little seeds into vigorous plants.
The payoff? Flowers that bloom from early spring through frost, with colors so vibrant they’ll make your neighbors do a double take.
You’ll need just a few things: a plastic bag, some damp paper towels, and a little patience. The process mimics winter’s natural cycle, tricking seeds into thinking they’ve survived a cold snap and it’s finally safe to grow.
Most gardeners overlook this step and end up with weak seedlings or no germination at all. But once you master it, you’ll have a foolproof way to get Dazzle flowers off to a flying start—no more waiting months for blooms or dealing with floppy, leggy plants.
By the time you transplant those little seedlings into the garden, you’ll be rewarded with lush, bushy plants that burst into color. The blooms are long-lasting, too—cut them for bouquets that stay fresh for days, or let them dance in the breeze all season long.
These flowers thrive in full sun to partial shade, and they’re surprisingly tough once established, handling heat and humidity better than many fancy annuals.
Here’s the best part: this method works whether you’re planting in spring or fall, giving you flexibility to extend your blooming season. Even in cooler climates, a little cold stratification means you can enjoy Dazzle flowers when others are still waiting for their first sprouts.
Ready to turn those tiny seeds into a garden centerpiece?
📚 In This Guide
- What you need
- Instructions
- Tips and common mistakes
- Wrapping up and next steps
What you need
- ● Dazzle flower seeds – 1 packet (100-500 seeds, depending on variety)
- ● Cold stratification setup: Plastic bag or sealed container (with breathable material like paper towels)
- ● Moistened peat moss or coco coir (1 cup)
- ● Refrigerator (set to 35–40°F / 2–4°C)
- ● Planting containers: Seed-starting trays (with drainage holes) or
- ● Small pots (3–4 inches deep)
- ● High-quality potting mix (1–2 gallons, well-draining)
- ● Spray bottle (for gentle watering)
- ● Grow lights or sunny windowsill (6+ hours of light daily)
- ● Humidity dome or plastic wrap (to retain moisture)
- ● Seedling heat mat (for faster germination)
- ● Fertilizer (balanced 10-10-10 or organic compost tea)
- ● pH testing kit (ideal soil pH: 6.0–7.0)
- ● Transplanting tool (small trowel or spoon)
- ● Plant labels & markers (to track varieties!)
Step-by-Step guide to cold stratifying Dazzle flower seeds
Cold stratification mimics winter's natural process, breaking dormancy for vibrant blooms all year.
🌱 Step 1: Prepare the Seeds for Stratification
Place your Dazzle flower seeds in a clean, sealed plastic bag. Add just enough distilled water to dampen the seeds—not soaking them, but enough to feel slightly moist when squeezed. I like to add a few ice cubes to the bag first so the water starts cold. This prevents mold while keeping seeds hydrated.
Seal the bag tightly, then place it in your refrigerator's vegetable crisper drawer where temperatures stay consistently 35-40°F. Store seeds upright so excess moisture doesn't pool at the bottom. Check them weekly—if condensation forms inside, open the bag for 10 minutes to air out before resealing.
💧 Step 2: Monitor and Maintain Cold Conditions
Keep seeds stratified for 4-6 weeks, checking them every 7-10 days. You'll see the outer seed coat soften slightly—this means stratification is working. If any seeds sprout prematurely (usually after 3-4 weeks), move them immediately to a warm, bright spot (around 70°F) to prevent damping-off.
Real talk: Some seeds may not show signs of germination during stratification, and that's normal. The key is consistency—don't move them to warmer temperatures until you've completed the full 6-week period. This ensures maximum germination rates when you finally plant.
☀️ Step 3: Plant Stratified Seeds in Ideal Conditions
After stratification, sow seeds ¼ inch deep in well-draining potting mix (never garden soil—it's too dense). I use a small tray with drainage holes to prevent waterlogging. Keep the soil evenly moist but not soggy—you'll know it's right when the surface looks slightly damp but not glistening.
Place the tray in a warm, sunny window (south-facing) or under grow lights for 12-14 hours daily. You'll see tiny sprouts emerge in 7-14 days, depending on your home's warmth. Avoid moving the tray once planted—Dazzle flowers hate root disturbance and may stall growth if transplanted too soon.
🌿 Step 4: Transplant and Care for Mature Seedlings
Once seedlings develop 2-3 sets of true leaves (not just the first tiny cotyledons), transplant them to individual pots or your garden bed. Choose a spot with full sun (6+ hours daily)—Dazzle flowers bloom best when they get plenty of light. Water deeply at the base, avoiding the leaves to prevent fungal issues.
Fertilize lightly with a balanced 10-10-10 formula every 4-6 weeks once flowers appear. You'll notice buds forming in 8-10 weeks after planting, with continuous blooms if you deadhead spent flowers regularly. Mulch around the base to retain moisture and protect roots from temperature swings.
⏰ Step 5: Extend Blooms Through Seasonal Adjustments
For year-round blooms, stagger new plantings every 2-3 weeks after the first batch. In cooler climates, start a second round of stratified seeds indoors in early spring for summer blooms, then repeat in late summer for fall color. I've found that Dazzle flowers respond well to a light trim after each bloom cycle—this encourages bushier growth and more flowers.
Watch for aphids or powdery mildew on crowded plants. If you see sticky residue on leaves or white powder, spray with neem oil and improve airflow by thinning plants. With proper care, your Dazzle flowers will reward you with bold, long-lasting blooms from spring through frost.
Tips & tricks for perfect cold stratification of Dazzle flower seeds
Mastering cold stratification for Dazzle flowers takes patience, but these key insights will help you avoid common pitfalls and maximize your success.
Moisture Balance is Key: When dampening your seeds in Step 1, aim for the texture of a wrung-out sponge—not soggy, not dry. Overly wet seeds risk mold, while too-dry seeds won't break dormancy. I like to test by squeezing the bag gently—water should bead up slightly but not pool. If condensation forms inside the bag during storage, open it for exactly 10 minutes to air out before resealing. This prevents anaerobic conditions that could harm your seeds.
Temperature Consistency Matters: The 35-40°F range in your fridge's vegetable crisper is ideal, but every refrigerator varies. If your crisper runs warmer, move seeds to the coldest part of the fridge (usually the bottom shelf). For extra insurance, wrap the bag in a towel to buffer against door-opening temperature swings. Consistency is more important than exact degrees—seeds need stable cold to mimic winter conditions properly.
Premature Sprouting Rescue: If seeds sprout before the full 4-6 weeks (usually around week 3-4), don't panic! Move them immediately to a warm, bright spot at 70°F to prevent damping-off. I've found placing them on a seedling heat mat set to 70°F gives them the perfect jumpstart. Just be ready to provide 12-14 hours of light daily once they're growing actively—these young sprouts need all the energy they can get.
Planting Depth Precision: That ¼-inch planting depth in Step 3 might seem shallow, but Dazzle flower seeds need light to germinate properly. Use a toothpick to mark the depth if you're unsure—press it into the soil until the top of the pick reaches the soil surface, then plant seeds at the pick's shoulder. Too-deep planting can cause leggy seedlings that flop over, while too-shallow planting risks drying out the seeds before germination.
Pro Tips for Dazzle Flower Seeds
- Mastering cold stratification for Dazzle flowers takes patience, but these key insights will help you avoid common pitfalls and maximize your success.
- Moisture Balance is Key: When dampening your seeds in Step 1, aim for the texture of a wrung-out sponge—not soggy, not dry.
- Temperature Consistency Matters: The 35-40°F range in your fridge's vegetable crisper is ideal, but every refrigerator varies.
Frequently asked questions
What is cold stratification, and why do Dazzle Flower seeds need it?
Cold stratification mimics winter conditions, breaking seed dormancy for better germination. Dazzle Flower seeds often require this step (usually 4–8 weeks in the fridge) because they’re adapted to cooler climates. Skipping it may result in slow or uneven sprouting. Think of it as a "wake-up call" for your seeds!
When is the best time to plant Dazzle Flower seeds after stratification?
Plant seeds right after stratification (early spring or late winter) for outdoor planting. If starting indoors, sow 6–8 weeks before the last frost. Avoid planting too early—seeds may rot in cold, wet soil. Pro tip: Use a seedling heat mat if your home runs chilly!
Can I use an alternative method if I don’t have a fridge for stratification?
Try the "outdoor winter sowing" method: Plant seeds in containers with moist soil, seal them loosely, and place them outside during winter. Nature handles the cold work for you. Just move them indoors when sprouts appear in spring. No fridge? No problem!
My Dazzle Flower seeds aren’t germinating—what could be wrong?
Check these fixes: Not stratified long enough? Extend the cold treatment. Too dry? Keep soil consistently moist (not soggy). Temperature issues? Aim for 65–75°F during the day. If mold appears, repot with fresh, sterile soil. Patience is key—some seeds take 2–4 weeks to sprout!
How do I know if my Dazzle Flower seedlings are healthy?
Healthy seedlings have sturdy stems, vibrant green leaves, and no yellowing. Avoid overcrowding—thin seedlings to 2–3 inches apart. Watch for pests like aphids; blast them off with water if spotted. Strong roots mean stronger blooms later!
Wrapping up and next steps
Growing dazzle flower seeds with cold stratification isn’t just a gardening hack—it’s your ticket to vibrant, year-round blooms that’ll make your garden the envy of the neighborhood! 🌸 By following these simple steps, you’re not only ensuring healthier plants but also unlocking the full potential of your seeds.
Now that you’re armed with the know-how, there’s only one thing left to do:
🌱 Your Next Step:
- Grab your seeds and get stratifying—your future garden will thank you!
- Share your progress (or blooms!) with fellow gardeners for extra motivation.
- Experiment with other cold-hardy varieties to expand your floral repertoire.
Happy growing—your garden’s masterpiece is just seeds away! 🌿✨