
Vegetables
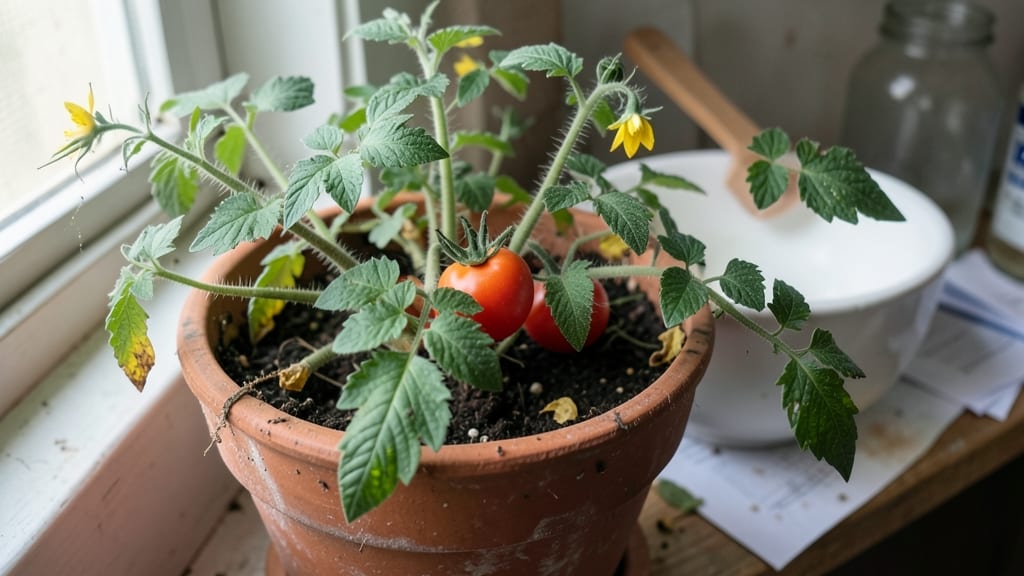
Learn how to dry tomato seeds for planting—here’s how to rescue them from overripe tomatoes that would’ve otherwise gone straight to compost, saving your spring garden. ✨ The key is patience and a few simple steps that prevent rot while preserving viability.
You’ll need ripe tomatoes, a bowl of water, a fine-mesh strainer, and a warm, dry spot like a sunny windowsill. No fancy equipment—just what you’ve got. The process takes about a week if you let the seeds air-dry naturally, but rushing leads to moldy seeds that won’t sprout.
I’ve learned that hard way.
After fermenting the pulp for 2-3 days, you’ll rinse the seeds and spread them on a paper towel to dry. Once fully dry, they’ll be ready for storage in an envelope labeled with the variety and date.
These seeds stay viable for years if kept cool and dark—perfect for swapping with fellow gardeners or saving for your own future harvests.
This method works for heirloom, cherry, and beefsteak tomatoes alike. Whether you’re a seed-saver or just want to grow next year’s favorites from scratch, these steps guarantee strong germination. Let’s get those seeds ready for planting!
📚 In This Guide
- What you need
- Instructions
- Tips and common mistakes
- Wrapping up and next steps
What you need
- ● Ripe tomatoes: Choose fully ripened (or slightly overripe) tomatoes—at least 3–5 for a good seed yield.
- ● Knife or spoon: A sharp serrated knife or a sturdy spoon for scooping out seeds.
- ● Small bowl or jar: A glass or ceramic container (8–16 oz) to hold seed pulp and water.
- ● Water: Room-temperature tap or distilled water (avoid chlorinated water if possible).
- ● Fine-mesh strainer or paper towel: A stainless steel strainer (or a folded paper towel) to separate seeds from gel.
- ● Paper plates or seed-saving envelopes: Unbleached, acid-free paper (or brown envelopes) for drying.
- ● Pencil or label maker: To label seeds with tomato variety and date.
- ● Colander: For rinsing seeds if using a strainer.
- ● Funnel: To transfer seeds into envelopes neatly.
- ● Dehydrator or food dryer: For faster drying (set to 120–135°F).
- ● Desiccant packets: Tiny silica gel packets to absorb excess moisture in sealed envelopes.
- ● Notebook or spreadsheet: To track varieties, germination rates, and planting dates.
Step-by-Step instructions for drying tomato seeds for next year
Here's how to preserve tomato seeds with maximum viability—no fancy tools needed.
🌱 Step 1: Extract Seeds from Ripe Tomatoes
Pick a fully ripe tomato (it should yield slightly when gently squeezed). Cut it open and scoop out the gel-like pulp containing the seeds. Place the pulp in a clean bowl and add 1 cup of water. Stir gently to release the seeds from the gel.
Let the mixture sit for 2-3 days at room temperature. You'll see seeds sink to the bottom while the moldy gel rises to the top. This fermentation process removes the natural coating that inhibits germination. Stir once daily to prevent mold buildup.
💧 Step 2: Rinse and Spread Seeds for Drying
After 2-3 days, pour the mixture through a fine-mesh strainer to separate seeds from the fermented pulp. Rinse the seeds thoroughly under cool water to remove any remaining gel. Shake off excess water—you want them damp but not dripping.
Spread the seeds in a single layer on a clean, dry paper towel or parchment paper. Arrange them ¼ inch apart so they don't touch. This spacing ensures even drying and prevents clumping. Place the towel in a warm, dry spot away from direct sunlight.
☀️ Step 3: Dry Seeds Completely in Controlled Conditions
Let the seeds dry for 3-5 days in a well-ventilated area. They're ready when completely dry and brittle—no moisture should remain. Test by gently pressing a seed between your fingers; it should crumble slightly but not stick.
If humidity is high, speed up drying by placing the seeds in a 100°F oven for 1-2 hours with the door slightly open. Never use high heat—this will kill the seeds. Store dried seeds in a labeled envelope or small jar in a cool, dark place.
⏰ Step 4: Test Viability Before Storing Long-Term
Before sealing your seeds, perform a quick viability test. Place 10 seeds between damp paper towels in a sealed plastic bag. Keep them in a warm spot (70-75°F) and check daily. If 50% or more sprout within 5-7 days, your drying method worked.
Seeds remain viable for 4-5 years when stored properly. Label each batch with the tomato variety and harvest date. This ensures you'll know exactly what you're planting next season and when to expect optimal germination.
Tips & tricks for perfectly viable tomato seeds
These simple strategies will help you maximize seed viability and avoid common pitfalls that reduce germination rates.
Fermentation Timing: The 2-3 day fermentation in Step 1 is crucial—don't rush it! This process breaks down the gel that inhibits germination. If your kitchen is cooler (below 70°F), extend to 3-4 days. You'll know it's ready when the gel smells tangy and the seeds sink clearly. Stirring daily prevents mold from taking over before the fermentation completes.
Drying Conditions: Humidity is your worst enemy during the 3-5 day drying phase. If your seeds aren't dry after 5 days, use the 100°F oven method for 1-2 hours with the door slightly open. This controlled heat mimics a dry climate without overheating. Test dryness by pressing seeds—they should crumble slightly but not feel damp. Never use high heat, as this will kill the seeds' viability.
Storage Wisdom: After drying, store seeds in a labeled envelope with silica gel packets or a small packet of rice to absorb moisture. Keep them in a cool, dark place (like your fridge) to extend viability beyond the 4-5 year standard. I always include the tomato variety and harvest date on my labels—this helps me remember which seeds to plant when for optimal growing conditions.
Viability Test: The 50% sprout rate in 5-7 days during your viability test is the gold standard. If fewer seeds sprout, your drying process may need adjustment. Keep test seeds in a warm spot (70-75°F) near a sunny window or under a grow light. This mimics ideal germination conditions and gives you the most accurate results before long-term storage.
Pro Tips for Dry Tomato Seeds For Planting
- These simple strategies will help you maximize seed viability and avoid common pitfalls that reduce germination rates.
- Fermentation Timing: The 2-3 day fermentation in Step 1 is crucial—don't rush it!
- Drying Conditions: Humidity is your worst enemy during the 3-5 day drying phase.
Frequently asked questions
Got questions about drying tomato seeds? You’re not alone! Here are answers to the most common queries to help you master the process like a pro.
How long do tomato seeds need to dry before planting?
Seeds should dry for 3–7 days in a warm, dry place (like a paper towel-lined tray) until they’re completely brittle and dark. Test by crushing one—if it shatters easily, they’re ready! Over-drying can reduce viability, so avoid rushing.
Can I dry tomato seeds in the sun?
While sunlight speeds up drying, direct sun exposure can overheat seeds (above 90°F/32°C) and kill them. Instead, place seeds in a shady, well-ventilated spot or use a fan to circulate air. A dehydrator on low (115°F/46°C) is ideal for even drying.
What if my seeds mold or smell bad?
Mold or a funky odor means moisture or bacteria is present. Discard contaminated seeds immediately. To prevent this, ensure your fermentation jar is clean, use distilled water, and dry seeds in a sterile environment (like a sealed container with a breathable lid).
How long can dried tomato seeds stay viable?
Properly dried seeds stored in a cool, dark, airtight container (like a glass jar with silica gel) can last 2–5 years. Check viability by planting a few—if germination drops below 50%, it’s time to harvest fresh seeds!
What’s the best alternative if I don’t have time to ferment?
Skip fermentation for heirloom or hybrid tomatoes by rinsing seeds clean, then drying them directly. However, fermentation removes gelatinous coatings that can inhibit germination, so expect slightly lower success rates. For best results, ferment when possible!
Wrapping up and next steps
Drying tomato seeds for planting is simpler than you think—and with these foolproof steps, you’ll be ready to grow a thriving garden next season! 🌱 By saving seeds, you’ll cut costs, preserve heirloom varieties, and enjoy the satisfaction of nurturing plants from your own harvest.
Now that you know the best methods, grab those ripe tomatoes, follow the process, and store your seeds with confidence.
Your next step? Label your seed packets with the variety and date, then tuck them away in a cool, dark place. Soon, you’ll be watching tiny seedlings sprout into lush, flavorful tomatoes—all thanks to your preserved seeds! Happy gardening! 🌿