
Pests
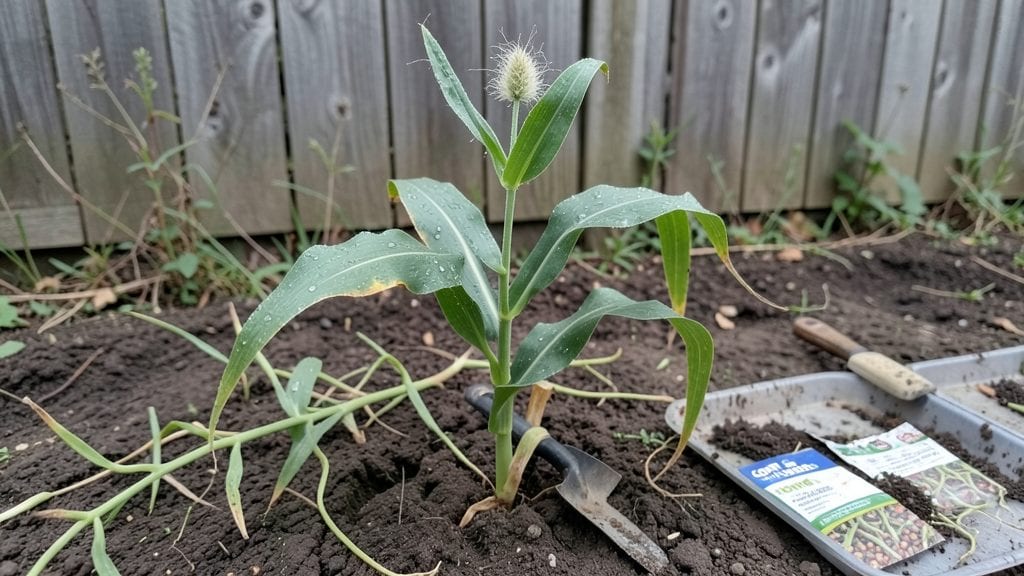
Getting corn seeds starts with knowing where to look—and how to keep them viable for years. 🌽 I’ve saved seeds from my own harvests, ordered from specialty catalogs, and even traded with neighbors, and each method has its own tricks for quality.
The right seeds mean the difference between a 12-foot stalk and a puny 6-footer.
Your best options are seed companies for hybrids (like Golden Bantam) or local seed banks for heirlooms (try Black Mexican Sweet). Saving your own requires letting ears dry fully on the stalk, then shelling and storing in a cool, dry place. Just remember: hybrids won’t breed true, while heirlooms will.
Proper storage is everything—seeds last 3-5 years in the fridge if kept dry. Test viability by floating them in water (sinkers are good, floaters are duds). By planting the right seeds the right way, you’ll go from store-bought cobs to homegrown ears that taste like summer.
Whether you’re a first-timer or a seasoned grower, these methods work for backyard plots or community gardens. Let’s get those seeds planted—and watch your corn grow tall and sweet.
📚 In This Guide
- What you need
- Instructions
- Tips and common mistakes
- Wrapping up and next steps
What you need
- ● Mature corn cobs: Choose fully dried, healthy cobs from non-GMO varieties (if possible). Aim for 10–20 cobs for a small batch of seeds.
- ● Sharp knife or corn husker: A serrated knife or a manual husker (for efficiency) to remove kernels.
- ● Drying tray or paper towels: A baking sheet or clean, flat surface to spread kernels for drying.
- ● Fine-mesh sieve or colander: A stainless-steel sieve (0.125-inch holes) to separate kernels from husks and debris.
- ● Air-tight storage containers: Glass jars with lids (quart-sized for short-term storage).
- ● Mylar bags with oxygen absorbers (for long-term viability, 5+ years).
- ○ Desiccant packets: 2–3 silica gel packets (optional but recommended for humidity control).
- ● Permanent marker & labels: To mark seed variety, harvest date, and storage conditions.
- ● Seed testing kit: To check germination rates before planting (e.g., paper towel germination test).
- ● Food dehydrator: For faster drying if humidity is high (set to 135°F for 4–6 hours).
- ● Vacuum sealer: Extends shelf life by removing air (great for 1–2 year storage).
- ● Humidity monitor: Ideal for climates with >50% humidity to prevent mold.
Step-by-Step guide to harvesting and saving corn seeds
Here’s how to rescue seeds from your homegrown corn—no specialized tools needed.
🌽 Step 1: Select the Best Ears of Corn
Pick ears that are fully mature and dry on the cob. Look for kernels that are hard, plump, and a deep golden color—these are ready for seed saving. Avoid ears with any signs of disease, pests, or poor development. I usually wait until the husks turn completely brown and dry, which means the kernels have reached full maturity.
Harvest the corn by cutting the entire stalk at the base with a sharp knife or pruners. Hang the stalks upside down in a dry, well-ventilated area for about 2 weeks. This allows the kernels to dry out completely before removing them from the cob.
🌽 Step 2: Dry and Remove the Kernels
Once the husks are completely dry and brittle, rub the cobs gently between your hands or use a clean cloth to remove the kernels. Store the kernels in a dry, airtight container while they finish drying for another 7-10 days. This extra drying step ensures the seeds won’t mold or spoil during storage.
Spread the kernels on a clean, dry surface in a single layer. Stir them occasionally to promote even drying. You’ll know they’re ready when they’re hard to the touch and no longer feel damp. Avoid using a microwave or oven—this can damage the seed viability.
🌱 Step 3: Test and Store the Seeds
Before storing, do a quick viability test by placing 10 seeds in a small container with a damp paper towel. Fold the towel and seal it in a plastic bag, then place it in a warm spot (around 70-75°F) for 5-7 days. After this time, check for sprouts—if 80% or more of the seeds sprout, your batch is viable and ready for storage.
Store the viable seeds in an airtight container, like a glass jar or sealed plastic bag, with a desiccant packet to absorb moisture. Label the container with the corn variety and the harvest date. Keep the container in a cool, dark place—like a pantry or fridge—to maintain seed quality for up to 3-5 years.
⏰ Step 4: Maintain Seed Quality Over Time
Check your stored seeds annually for signs of moisture or pests. If you notice any mold, discard the entire batch immediately—even a few bad seeds can ruin the whole container. For long-term storage, consider vacuum-sealing the seeds to further protect them from humidity and air exposure.
When planting, use seeds within 2-3 years for the best germination rates. Older seeds may still sprout, but their vigor and yield will be reduced. If you’re saving seeds for heirloom varieties, keep detailed notes on each batch to track performance over time.
Tips & tricks for perfect corn seed harvesting
Avoid these common pitfalls to ensure your corn seeds stay viable and ready for next season's planting.
Selection Matters: Don't be tempted to use corn that's still slightly green or soft—these kernels won't produce good seeds. Look for ears where the husks have turned completely brown and the kernels are hard as stones when pressed. I learned this the hard way after trying to save seeds from underripe corn that produced weak, inconsistent plants. The 2-week drying period after harvest is non-negotiable for proper seed development.
Drying Strategy: For even drying in Step 2, spread your kernels on a mesh screen or clean window screen instead of just any surface. This allows air to circulate on all sides, preventing moisture pockets that could lead to mold. Stir them every few hours to ensure all kernels dry uniformly. I've seen batches where some kernels stayed damp in the middle and spoiled the entire batch.
Viability Test Insight: The 70-75°F temperature for your viability test is crucial—too cold and seeds won't sprout, too hot and they'll overheat. Place your test container near a sunny window during the day and move it to a warmer spot at night if needed. You'll know you've hit the right temp when you see condensation forming on the inside of the bag—this indicates proper humidity levels for germination.
Long-Term Storage: While the instructions mention 3-5 years, I've found that seeds stored in the fridge actually last closer to 7 years when properly sealed. Use glass jars with airtight lids rather than plastic bags—they provide better moisture protection. Add a small packet of silica gel to absorb any residual moisture that might develop over time.
Pro Tips for Get Corn Seeds
- Avoid these common pitfalls to ensure your corn seeds stay viable and ready for next season's planting.
- Selection Matters: Don't be tempted to use corn that's still slightly green or soft—these kernels won't produce good seeds.
- Drying Strategy: For even drying in Step 2, spread your kernels on a mesh screen or clean window screen instead of just any surface.
Frequently asked questions
Got questions about corn seeds?
You’re not alone! Here are answers to the most common concerns—whether you're just starting or troubleshooting your harvest.
How do I know if my corn seeds are still viable?
Test viability by placing a few seeds in a damp paper towel, sealing them in a plastic bag, and storing them in a warm spot for 5–7 days. If half or more sprout, they’re good to plant! For older seeds, aim for at least 70% germination.
What’s the best time to harvest corn seeds from my crop?
Wait until the corn kernels are completely dry and hard (like popcorn) and the husks are brown and brittle. Harvest seeds when the moisture content drops below 14%. Remove them from the cob, dry them further in a warm, dry place (or a dehydrator at 90°F for 2–3 hours), then store in airtight containers.
Can I save seeds from store-bought corn?
Unfortunately, no! Most grocery-store corn is hybridized for sweetness, not reproduction. Hybrid seeds often won’t grow true to the parent plant. Stick to heirloom or open-pollinated varieties from seed banks or specialty stores for reliable harvests.
How do I prevent pests from damaging my corn seeds before planting?
Store seeds in a cool, dry place (below 50°F and 40% humidity) to deter mold and insects. Use airtight containers with silica gel packets or food-grade diatomaceous earth. Check for signs of weevils or mold before planting—discard any suspicious seeds!
What’s the best way to store corn seeds long-term?
Keep seeds in a sealed, opaque container (like a glass jar with a tight lid) in a cool, dark place (e.g., fridge or freezer). Label with the variety and date! Under ideal conditions, corn seeds stay viable for 2–4 years. For extra protection, add a desiccant packet.
Wrapping up and next steps
Getting corn seeds—whether from your own harvest or trusted sources—is a rewarding way to ensure fresh, high-quality crops for years to come.
By following best practices for drying, storing, and testing viability, you’ll set yourself up for a thriving garden. Now’s the perfect time to take action: gather your seeds, prep your storage space, and get ready to grow corn that’s as vibrant as your next harvest! 🌽✨
🌱 Next Steps:
- Label and organize your seeds for easy access next planting season.
- Experiment with varieties—try heirloom or hybrid seeds to see what grows best in your climate!
- Share the knowledge with fellow gardeners or local farming groups.