
Size
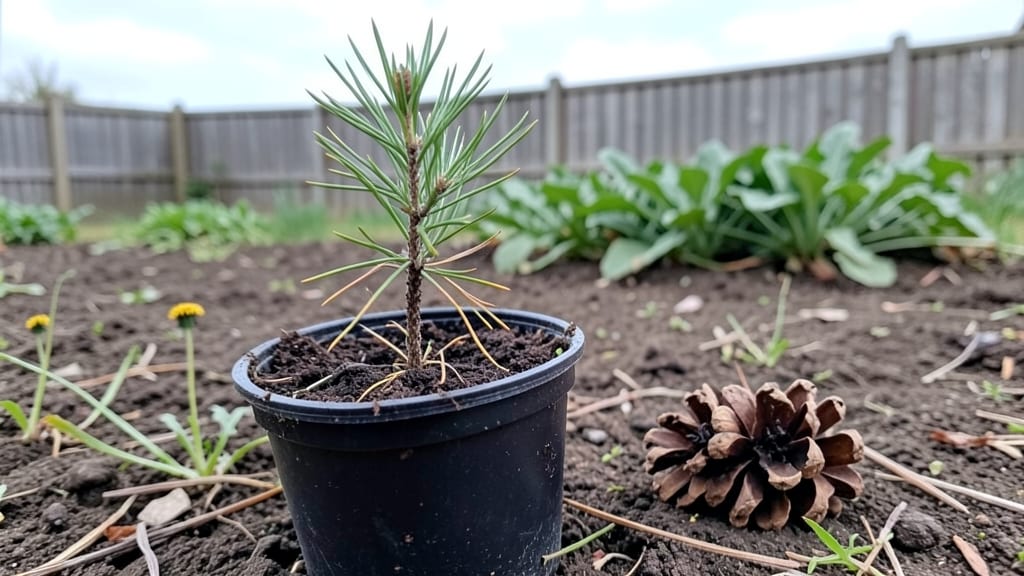
Growing pine cone seeds reveals nature’s hidden speed—some varieties sprout in as few as 4 weeks with the right tricks. 🌱 I’ve watched tiny pine seedlings push through soil faster than expected, and it all starts with understanding how these seeds break their dormancy.
Most people give up after months of waiting, but a few simple steps—like mimicking winter’s cold snap indoors—unlock germination in record time.
The key supplies are simple: pine cones (from any local tree), a plastic bag, damp paper towels, and a sunny windowsill. You’ll need patience for the stratification process—where seeds experience cold and moisture to trick them into thinking winter’s passed—but the payoff is worth it.
Even in small spaces, you can grow these slow-maturing trees from seed, and the results are shockingly lush for something that starts as a tiny nut.
By the time you’re pinching off new growth, you’ll have a head start on nursery plants that cost $10+ each. These seedlings grow into towering pines, perfect for shade, wildlife habitat, or even edible pine nuts (if you’re growing the right species).
The best part? You’ll spot the first sprouts peeking through soil within weeks, not years.
Works for both outdoor plantings and indoor starts, though larger varieties need outdoor space eventually. Here’s how to skip the guesswork and get those seeds moving—fast.
📚 In This Guide
- What you need
- Instructions
- Tips and common mistakes
- Wrapping up and next steps
What you need
- ● Fresh pine cones – Look for open cones from pine trees (like Pinus species) that have recently released seeds (fall/winter is ideal). Avoid cones that are already closed or crumbling.
- ● Seeds (pine nuts or winged seeds) – Extract them carefully from the cones (see extraction tips below!). Aim for 5–10 seeds if starting small.
- ● Seed-starting mix – A light, well-draining potting soil blend (e.g., 50% peat moss + 50% perlite or sand). Avoid garden soil—it’s too dense!
- ● Small pots or seed trays – Use 3–4 inch pots (or a tray with drainage holes) for each seed. Plastic or biodegradable pots work great!
- ● Drainage tray or saucer – To catch excess water and prevent root rot.
- ● Spray bottle – For gentle watering (avoid over-saturating the soil).
- ○ Plastic wrap or humidity dome – Keeps moisture locked in during germination (optional but highly recommended).
- ● Grow lights or sunny windowsill – Pine seeds need bright, indirect light (6–8 hours/day). A south-facing window or LED grow light works best.
- ● Patience (and a magnifying glass!) – Pine seeds are tiny (some as small as a grain of rice), so a magnifier helps with planting.
- ● Seed stratification setup – If your seeds aren’t fresh, a refrigerator (34–41°F for 4–8 weeks) can mimic winter conditions and boost germination.
- ● Fungicide (like hydrogen peroxide or cinnamon) – A 1:9 ratio mix with water prevents mold if your soil stays too damp.
- ○ Heat mat (optional) – Speeds up germination if your home is below 60°F (15°C).
- ● Label markers – Track planting dates and seed types (especially if experimenting with different pine species!).
- ● Outdoor nursery bed – Once seedlings sprout, transplant them to a protected outdoor area for stronger growth.
Step-by-Step instructions for growing pine cone seeds
Here’s how to unlock those hidden seeds and get them sprouting in just a few weeks.
🌱 Step 1: Collect and Prepare Pine Cones
Gather pine cones from the ground or branches—look for ones that are closed and dry (they should feel light and resist opening). Avoid cones still attached to trees or those with visible mold. Place them in a paper bag and leave them in a warm, dry spot for 2-4 weeks. The seeds inside need this time to fully mature.
Once the cones open naturally, shake them gently over a large sheet of newspaper to collect the seeds. You’ll need about 40-50 seeds for 4 healthy seedlings. Discard any seeds with damage or discoloration—they won’t germinate. Store the good seeds in a paper envelope in a cool, dry place until ready to plant.
💧 Step 2: Soak Seeds for Faster Germination
Pine seeds have a hard outer shell that slows germination. To speed things up, soak them in lukewarm water for 24-48 hours. Place them in a small bowl or jar, ensuring they’re fully submerged. Change the water every 12 hours to prevent mold. You’ll see the water turn slightly cloudy—that’s normal and a sign the seeds are softening.
After soaking, drain the seeds and let them sit on a paper towel for 1-2 hours to dry slightly. This prevents them from rotting when planted. Now they’re ready to sprout—within 2-4 weeks if conditions are right. Keep them in a warm, dark place (like a sealed container) until you see tiny roots forming.
☀️ Step 3: Plant Seeds in Moist, Well-Draining Soil
Fill small pots (3-4 inches deep) with a mix of 50% peat moss and 50% perlite—this keeps soil light and airy, which pine seeds love. Moisten the mix until it’s damp but not soggy (squeeze a handful; water should drip out slightly). Plant the soaked seeds ½ inch deep, spacing them 1 inch apart in each pot.
Cover the pots with clear plastic wrap to trap warmth and moisture. Place them in a bright, indirect light spot (like a sunny windowsill). Keep the soil evenly moist—not wet, not dry. You’ll know it’s right when the surface feels like a wrung-out sponge. Germination can take 2-4 weeks, so stay patient!
🌿 Step 4: Transplant Seedlings to Larger Pots
Once seedlings reach 2-3 inches tall (usually after 6-8 weeks), they’re ready for bigger space. Use 6-inch pots filled with the same peat-perlite mix. Gently remove the seedlings from their starter pots, keeping the roots intact. Plant them 1 inch deeper than they were before—this stabilizes their stems.
Place the pots in full sun (at least 6 hours daily) and water deeply once a week, letting the top ½ inch of soil dry out between waterings. Pine seedlings are tough but need consistent light to avoid leggy growth. You’ll see new growth within 2-3 weeks—that’s your sign they’re thriving!
⏰ Step 5: Harden Off and Plant Outdoors
After 4-6 weeks in pots, your seedlings are ready for the great outdoors. Start by moving them to a shaded outdoor spot for 1 hour the first day, then gradually increase time over 7-10 days. This hardening-off process helps them adjust to wind and sun without shock.
Plant them in well-draining garden soil (or large containers) with full sun exposure. Space them 3-4 feet apart to give their roots room to grow. Water deeply once a week unless it rains. With care, your pine seedlings will grow into mature trees in 5-10 years—worth the wait!
Tips & tricks for perfect pine cone seed germination
Here's what nobody tells you about speeding up those tiny pine seeds into thriving seedlings.
Patience in Step 1 Pays Off: Those 2-4 weeks in the paper bag aren't just waiting—they're letting the seeds mature properly. I've seen cones open in just 10 days if they're extra dry, but don't rush it. Place your bag near a sunny window or under a grow light to maintain warmth without direct heat. The seeds need this time to fully develop their potential.
Soaking Science in Step 2: The 24-48 hour soak is your secret weapon for breaking those tough outer shells. I like to use a shallow bowl so I can easily change the water every 12 hours—this prevents mold while keeping the seeds hydrated. After draining, that 1-2 hour drying period on paper towels is crucial. It's the difference between seeds that rot and seeds that sprout.
Soil Mix Secrets in Step 3: That 50/50 peat moss and perlite mix might seem simple, but it's the perfect balance. The peat holds moisture while the perlite prevents compaction. When planting your ½ inch deep, make sure each seed has its own space—crowding leads to competition for nutrients. The plastic wrap creates a mini greenhouse effect that speeds up germination by keeping things warm and humid.
Lighting Up Step 4: Those 6 hours of daily full sun are non-negotiable once you transplant. I've seen seedlings stretch painfully toward light when they don't get enough, creating weak stems. If you're indoors, supplement with a grow light 12 inches away. The "wrung-out sponge" test for moisture is foolproof—you'll know exactly when to water without overdoing it.
Pro Tips for Grow Pine Cone Seeds
- Here's what nobody tells you about speeding up those tiny pine seeds into thriving seedlings.
- Patience in Step 1 Pays Off: Those 2-4 weeks in the paper bag aren't just waiting—they're letting the seeds mature properly.
- Soaking Science in Step 2: The 24-48 hour soak is your secret weapon for breaking those tough outer shells.
Frequently asked questions
Got questions about growing pine cone seeds? You’re not alone! Here are some of the most common queries—and their answers—to help you succeed like a pro.
How long does it take for pine cone seeds to germinate?
Germination can take anywhere from 2 to 6 weeks, depending on the species, moisture, and temperature. Some pine cones (like those from ponderosa or jack pines) may sprout faster with consistent warmth (around 70–80°F) and humidity. Patience is key—keep the soil moist and check regularly!
Do pine cone seeds need light to grow?
Yes! Once the seeds sprout, they’ll need bright, indirect light (like a sunny windowsill or grow light) to thrive. Before germination, keep them in darkness or partial shade to encourage root development. After the first leaves appear, move them to a sunny spot for 6+ hours daily.
Can I grow pine trees from store-bought pine cones?
Not all pine cones contain viable seeds—especially those from ornamental or hybrid varieties. Look for open, mature cones from native pines (like loblolly or white pine) in forests or nurseries. If unsure, try stratification (cold treatment) to boost germination chances.
Why aren’t my pine cone seeds sprouting?
Common culprits include:
- Damp soil: Overwatering can rot seeds—keep soil moist but not soggy.
- Wrong temperature: Most pine seeds need cool stratification (40–50°F for 30–90 days).
- Old seeds: Fresh seeds (from the current year) germinate best.
- No light: Some seeds need light to trigger growth.
How big should my pine tree get if I grow it from a seed?
Pine trees grown from seeds can vary wildly in size! Dwarf varieties (like mugo pine) may stay under 10 feet, while species like ponderosa pines can tower over 100 feet in nature. If space is limited, opt for slow-growing cultivars or prune young saplings regularly.
Wrapping up and next steps
Growing pine cone seeds is a rewarding journey that brings a touch of nature’s magic to your space—and you’ve got all the tools to succeed! 🌱 From preparing the right soil to nurturing your seedlings with patience, these steps simplify what nature does effortlessly.
Whether you’re aiming for a lush garden or just a fun indoor project, your green thumb is ready to shine.
Now that you’re armed with knowledge, why not take the next step? Start with just one pine cone, follow the guide, and watch your tiny seeds transform into vibrant life. Share your progress or tips with fellow plant lovers—every gardener’s journey is a story worth telling! 🌿