How To
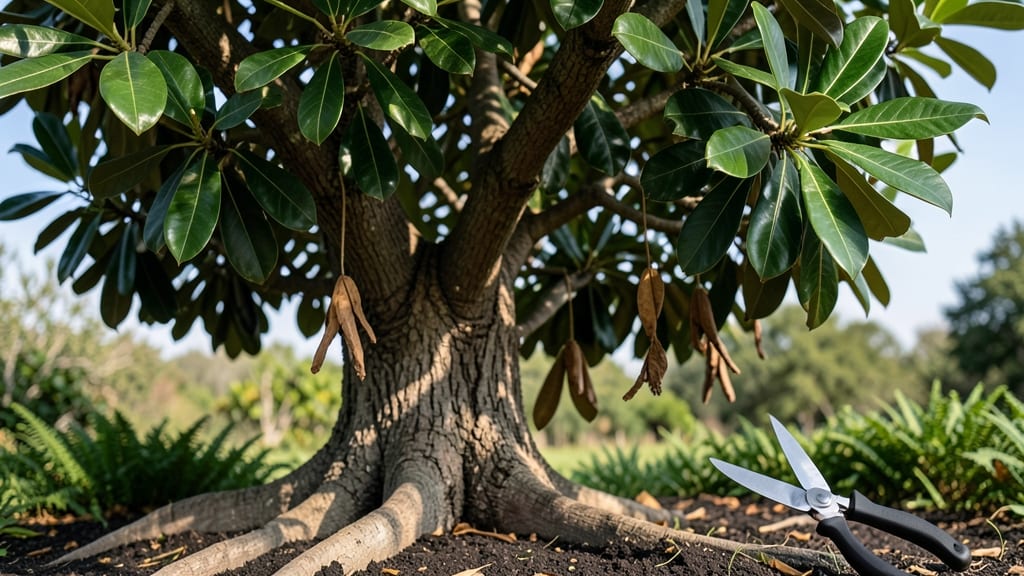
Harvesting magnolia seeds at the right time 🌸 ensures you get the best chance at growing strong, healthy trees—don’t miss this critical step in propagation.
Magnolia trees produce stunning flowers and unique seeds, but harvesting them at the right time ensures high germination rates—don’t miss this critical window!
If you’ve ever watched seed pods turn brown and crack open only to find the seeds inside still soft or underdeveloped, you know timing is everything. The key is knowing when those pods are ready—usually between late fall and winter—and how to extract the seeds without damaging them.
In this guide, I’ll walk you through everything from identifying ripe seeds to safely removing them, plus storage tips to keep those seeds viable until planting season. Whether you’re a seasoned gardener or just starting with magnolias, these steps will help you avoid common mistakes and boost your success rate.


When and how to identify ripe magnolia seeds for harvesting
Magnolia seeds are nature's way of propagating these majestic trees, but timing is everything. Harvesting too early means poor germination, while waiting too long risks losing seeds to pests or weather.
The key lies in recognizing visual maturity cues and understanding the seasonal window—typically late fall to winter when pods naturally open.
Start by observing the seed pods on your magnolia tree. These cone-like structures begin as bright green but gradually transition to brown when fully mature.
This color change signals that the seeds inside are ready for harvest. The pods will also start to crack open slightly, revealing the seeds beneath.
Here’s where attention to detail pays off: ripe magnolia seeds are typically dark red or black and feel firm to the touch. If you gently squeeze a mature pod, seeds should easily release without resistance. This tactile test is your best indicator of readiness.
Timing matters too—harvest in November through January for optimal results. This aligns with the tree’s natural dormancy period, ensuring seeds have fully developed. Miss this window, and you risk collecting seeds that are either underdeveloped or overripe.
Pro Tip: Check pods weekly during harvest season. Overripe seeds may scatter naturally, so act quickly once you spot the first signs of browning. Use a small pruning shears to snip open pods for inspection.
Now, let’s break down the essential cues in a quick-reference table to help you spot ripe seeds effortlessly:
| Cue | Description | Action |
|---|---|---|
| Pod Color | Fully brown (not green or partially brown) | Harvest ready |
| Seed Color | Dark red or black | Collect immediately |
| Pod Texture | Dry and cracking open | Inspect weekly |
| Seed Firmness | Hard and dry | Store for germination |
| Season | Late fall to winter (Nov-Jan) | Avoid summer harvest |
One common mistake is harvesting seeds when pods are still partially green. These seeds are often underdeveloped and won’t germinate well. Always wait until the entire pod is uniformly brown before collecting. This ensures the highest chance of successful propagation.
If you’re unsure whether a pod is ready, perform the squeeze test: Gently press the pod between your fingers. If seeds pop out easily, they’re ripe. If the pod resists or feels moist inside, it’s not ready yet. Patience here saves hours of frustration later.
For best results, harvest seeds on a dry, overcast day. This minimizes moisture exposure, which can lead to mold or premature sprouting. Collect pods in a paper bag to allow airflow, then store them in a cool, dry place until you’re ready to extract the seeds.
Once you’ve identified ripe pods, the next step is extracting seeds carefully to avoid damage. Use a small knife or your fingers to open the pods gently, then separate the seeds from any remaining pulp. This process prepares them for stratification, a critical step for breaking dormancy.
By mastering these visual cues and timing strategies, you’ll maximize your chances of growing healthy magnolia seedlings. Happy harvesting—and may your garden soon be filled with the sweet fragrance of new magnolia blooms! 🌿🌱
Step-by-step guide to safely extracting magnolia seeds from pods
Once you’ve identified ripe magnolia seed pods, the next step is careful extraction to preserve seed viability. Magnolia seeds are delicate—handling them improperly can crush the seed coat or introduce mold risks.
Use the right tools and follow these steps to maximize your chances of successful germination. Timing is everything, so act quickly once the pods are ready!
Gather your supplies first: sterilized pruning shears, a paper towel or breathable mesh bag, a small tray or container, and a labeling marker. Work in a clean, dry area to avoid contamination.
The goal is to remove seeds without damaging their protective outer layer, which is crucial for long-term storage and germination.
-
Step 1: Collect the Pods
Gently snip open fully brown, dry pods with sterilized shears. Avoid crushing pods—this can damage seeds inside. Place pods in a paper bag to catch falling seeds. -
Step 2: Extract Seeds
Lay pods on a paper towel and carefully pry open with your fingers or a small tool. Remove seeds one by one, discarding any that are soft or discolored. -
Step 3: Clean Seeds
Use a soft brush to remove debris from seeds. Avoid water—moisture can cause rot or mold. Let seeds air-dry completely on the towel for 24 hours. -
Step 4: Dry Thoroughly
Spread seeds in a single layer on a tray in a well-ventilated area (like a greenhouse or sunny windowsill). Ensure 100% dryness before storage—test by gently squeezing a seed (it should feel hard). -
Step 5: Store Seeds
Place dried seeds in a paper envelope or breathable bag with a silica gel packet to absorb moisture. Label with the harvest date and store in a cool, dark place (like a fridge).
After extraction, seed stratification is key for germination. Magnolia seeds need a cold period to break dormancy—place them in the fridge for 60-90 days before sowing.
This mimics winter conditions and triggers sprouting. Always test a few seeds first to check viability by scratching the seed coat lightly with a knife.
Common mistakes include over-handling seeds or storing them in plastic bags, which traps moisture. If seeds develop white mold or a musty smell, discard them immediately. For best results, harvest seeds in late fall to winter when pods are fully mature and dry.
With patience and care, your magnolia seeds can yield healthy seedlings ready for transplanting in spring. Keep a seed journal to track harvest dates and germination success—this helps refine your technique year after year!