How To
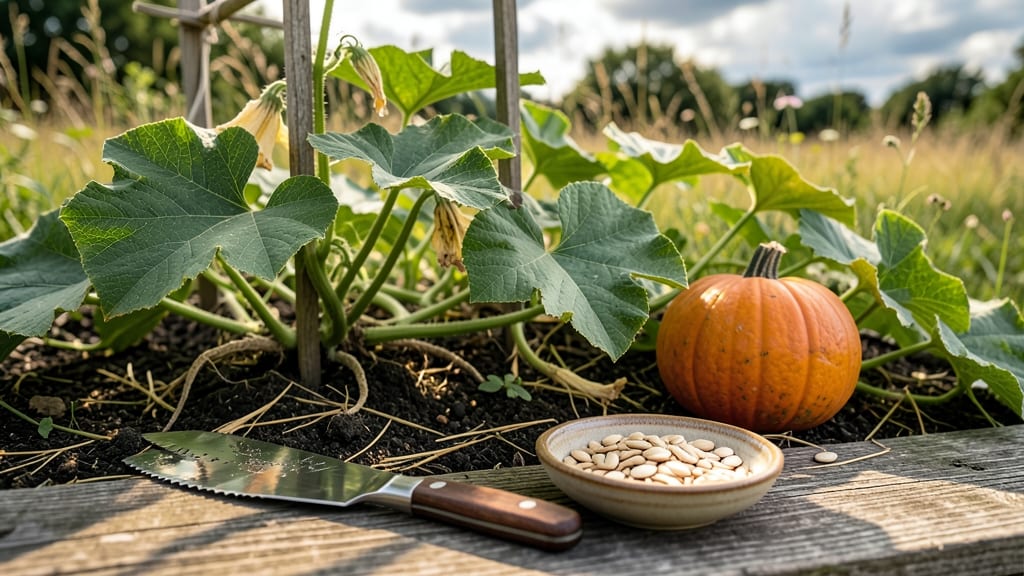
Harvesting pumpkin seeds from your 🎃 harvest is easier than you think—and it turns your fall pumpkins into next year’s garden starters (or a tasty snack).
Did you know that saving pumpkin seeds from your harvest can give you free, organic plants for next year—while also creating a delicious snack? Here’s how to turn your jack-o’-lantern into a seed-saving goldmine.
Most gardeners skip this step, but with just 10 minutes of work, you’ll have seeds ready for planting or roasting. The key? Picking the right pumpkins, cleaning them properly, and drying them correctly to avoid mold.
Below, I’ll walk you through the exact steps—from scooping out seeds to storing them for months—so you never waste another pumpkin again.

Step-by-step guide to extracting fresh pumpkin seeds from the flesh
Harvesting pumpkin seeds is one of my favorite parts of the growing season—it’s like unlocking a free, organic treasure for next year’s garden. The process starts with selecting the right mature pumpkins that have fully developed seeds.
Look for pumpkins with a hard rind and a dry stem, which means the seeds inside are ready for extraction. This guide will walk you through every step, from scooping out the pulp to separating clean seeds in minutes.
Before you begin, gather your essential tools: a large bowl, a spoon or melon baller, a colander, a fine-mesh strainer, and paper towels. For large harvests, a food processor or blender can save time, but I’ll show you how to do it by hand too.
The key is working quickly to prevent the pumpkin pulp from drying out and sticking to the seeds. Let’s dive into the step-by-step process!
Once you’ve separated the seeds, resist the urge to eat them right away—unless you’re roasting them for a snack! The next step is drying, which ensures the seeds stay viable for planting.
I recommend spreading them on a baking sheet lined with parchment paper in a well-ventilated area away from direct sunlight. This prevents overheating and maintains even drying. For faster results, a seed dehydrator set to 95°F works wonders, but a sunny windowsill or dry pantry also does the trick.
Pro tip: If you’re saving seeds for planting, avoid using pumpkins from hybrid varieties—they may not grow true to type. Stick to heirloom pumpkins like Cinderella or Jack Be Little for reliable seedlings.
Once dried, store the seeds in a paper envelope or airtight container in a cool, dark place. Label them with the pumpkin variety and the year to keep track of your seed library.
Timing is everything when harvesting seeds. Aim to process them within 24 hours of cutting open the pumpkin to avoid spoilage. If you’re dealing with a large harvest, like from a community garden, divide the pumpkins into smaller batches to streamline the process.
This keeps everything organized and prevents the pulp from fermenting, which can ruin your seeds.
Don’t throw away the pulp! It’s packed with nutrients and can be composted or used as a natural fertilizer for your garden. If you’re feeling adventurous, ferment the pulp with water and a little salt to create a nutrient-rich liquid for your plants.
It’s a fantastic way to upcycle your pumpkin harvest and reduce waste.
Finally, if you notice any seeds developing mold or discoloration, discard them immediately. Moldy seeds won’t sprout, and they can contaminate your entire batch. Always inspect your seeds before storing them long-term. With these steps, you’ll have a stash of high-quality pumpkin seeds ready for next year’s planting season!
Now that your seeds are clean and ready, you’re one step closer to growing your own pumpkins again. Whether you’re saving them for gardening or roasting them for a snack, this process is a rewarding part of the pumpkin-growing journey. Happy harvesting! 🎃🌱
Best methods for cleaning, drying & storing pumpkin seeds long-term
Once you’ve extracted your pumpkin seeds, the next critical steps are cleaning, drying, and storing them properly to maintain viability for next year’s garden.
Skipping these steps risks mold growth or seed spoilage, so let’s dive into the best techniques to preserve your seeds like a pro.
After rinsing seeds thoroughly, you’ll need to choose between sun-drying and oven-drying—each method has pros and cons depending on your climate and tools. For storage, airtight containers and low humidity are non-negotiable to prevent moisture damage. Let’s compare your options in detail below.
comparison-table
For sun-drying, spread seeds in a single layer on a mesh screen or paper towel in a well-ventilated area with direct sunlight. Stir seeds every 2-3 hours to ensure even drying, which typically takes 5-7 days in ideal conditions.
If you’re in a humid climate, switch to oven-drying at 170°F (77°C) for 2-4 hours, checking frequently to avoid burning.
Once fully dry, store seeds in airtight containers like glass jars or zip-top bags with silica gel packets to absorb moisture. Label each container with the pumpkin variety and harvest date—this helps track seed viability over time.
For long-term storage, keep containers in a cool, dark place like a pantry or refrigerator to prevent temperature fluctuations.
To test seed viability before planting, perform a simple water float test: Place 10 seeds in a bowl of water. After 15 minutes, discard any that float—they’re non-viable.
Sinkers should be 80%+ viable if stored properly. For best results, plant seeds within 1-2 years of harvest, as germination rates decline over time.
Pro tip: Add a few drops of mineral oil to stored seeds to create a moisture barrier and extend shelf life. This trick works especially well for seeds stored in paper envelopes or cardboard containers, where moisture can sneak in.