How To
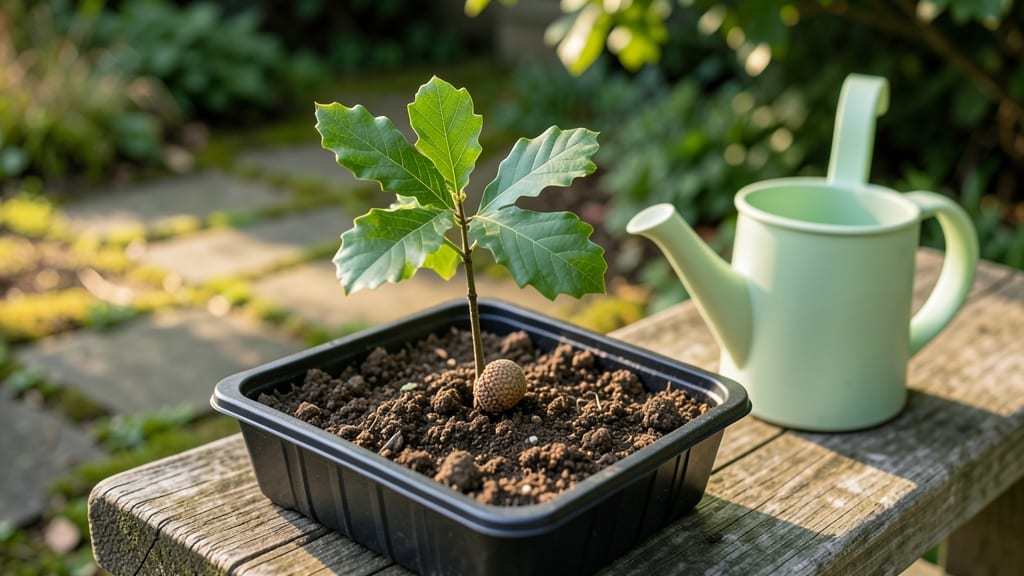
To plant an oak seed successfully, start by collecting mature acorns in fall and preparing them with cold stratification—a process that mimics winter’s natural conditions.
Growing an oak tree from seed is a rewarding long-term project that connects you to nature’s timeless cycle—but patience and precision are key. With the right techniques, you can nurture an acorn into a mighty sapling that will thrive for decades.
Many gardeners skip the stratification step, only to watch their seeds rot or fail to sprout. That’s why I’ll walk you through every critical step, from selecting the best acorns to planting depth and long-term care.
By the end, you’ll know exactly when to plant, how deep to bury those seeds, and what to expect as your 🌳 oak tree grows from a tiny sprout into a towering giant.

Step-by-step guide to germinating oak seeds for maximum success
Germinating oak seeds requires patience and attention to detail, as these seeds have a natural dormancy period that mimics winter conditions. Without proper preparation, your acorns may never sprout—or worse, rot before they have a chance.
The key to success lies in cold stratification, which breaks dormancy and tricks the seed into thinking winter has passed. I’ve learned through trial and error that even the healthiest acorns need this step to wake up from their slumber.
Once you’ve selected your acorns and prepared them, the next phase is creating the ideal environment for germination. This means balancing moisture levels, temperature control, and light exposure to encourage strong root development.
I’ve found that using a simple setup—like a plastic container with a damp paper towel—can yield impressive results with minimal effort. Let’s walk through the exact steps to maximize your chances of success.
How to Plant an Oak Seed: Step-by-Step
-
Step 1: Select and Clean Acorns
Choose plump, undamaged acorns with thick shells. Remove any debris or mold with a damp cloth, but avoid soaking them to prevent rot. -
Step 2: Scarify the Shell
Use a knife or sandpaper to lightly scratch the hard outer shell—this helps water penetrate and speeds up germination. I nick the shell near the flat base for best results. -
Step 3: Cold Stratification (Critical Step!)
Place acorns in a sealed container with damp peat moss or vermiculite. Store in the refrigerator (34–40°F) for 60–90 days to simulate winter. Check moisture weekly—never let it dry out. -
Step 4: Prepare Germination Setup
Fill a clear plastic container with a damp paper towel or seed-starting mix. Arrange acorns 1 inch apart on the surface, then lightly cover with another damp paper towel or 1/4 inch of soil. -
Step 5: Create a Humid Environment
Seal the container with a plastic wrap or lid to maintain high humidity (80–90%). Place in a warm location (70–75°F), like near a sunny window or under grow lights. Avoid direct sunlight at this stage—it can overheat the setup. -
Step 6: Monitor and Transplant
Check daily for sprouts (2–12 weeks). Once roots appear, transfer seedlings to individual pots with well-draining soil. Keep soil moist but not soggy and place in bright, indirect light until ready for outdoor planting.
One of the biggest mistakes I’ve seen is skipping the cold stratification step, which can leave acorns dormant for months—or forever. Even with the best acorns, without this process, germination rates plummet.
I’ve also noticed that overwatering during stratification leads to mold, so always use a lightly damp (not soaked) medium. If your acorns start to smell or develop fuzzy mold, toss them and start fresh.
Germination timing varies widely—some acorns sprout in 2 weeks, while others take 3–4 months. Patience is key here. I’ve had acorns that finally cracked open after 6 months in the fridge, only to shoot up within days of being moved to a warm spot.
If nothing happens after 4 months, it’s safe to assume those seeds won’t germinate, and you can try new ones.
Once your seedlings emerge, they’ll be delicate and slow-growing at first. This is normal! Avoid transplanting them until they have 2–3 true leaves and a strong root system. I’ve learned that rushing this step often leads to shocked seedlings that struggle to recover.
Harden them off gradually by moving them outdoors for a few hours daily before permanent planting in spring or fall.
For outdoor planting, choose a sunny, sheltered spot with well-draining soil. Oaks thrive in full sun but can tolerate partial shade in hot climates. I’ve planted mine in raised beds to prevent waterlogging, which can rot young roots.
Mulch around the base with wood chips to retain moisture and protect against weeds.
Remember, oak trees grow slowly—don’t expect instant results! With the right care, your sapling could become a 100-foot giant in just a few decades. The real reward isn’t the speed, but the satisfaction of nurturing a tree that will outlive you. 🌳
Choosing and preparing acorns: best practices for healthy saplings
Not all acorns are created equal—selecting the right ones is the first step to growing a strong oak sapling. Focus on large, plump acorns with thick, unbroken shells, as these typically contain healthier embryos.
Avoid acorns with cracks, holes, or signs of insect damage, as they’re less likely to germinate successfully.
Freshness matters too. Collect acorns in late fall when they’ve naturally fallen from the tree, as they’ve completed their natural drying process. Store them in a cool, dry place until you’re ready to plant, but never refrigerate them—this can trigger premature germination.
Before planting, give your acorns a thorough cleaning and inspection. Rinse them gently under lukewarm water to remove dirt and debris, then let them air-dry completely. This step reduces the risk of fungal infections and rot during stratification.
Planting Oak Seeds: Pros and Cons
✅ Pros
- Natural growth: Authentic oak genetics
- Cost-effective: Free from nature
- Long-term reward: Decades of shade and beauty
- Eco-friendly: Supports local ecosystems
❌ Cons
- Slow germination: Takes 4-6 weeks
- Requires patience: Years before maturity
- Stratification needed: Cold treatment essential
- Variable success: Not all acorns sprout
💡 Pro Tip:
For best results, scarify acorns by lightly sanding the shell or making a small nick with a knife. This helps water penetrate and mimics natural wear.
Cold stratification is non-negotiable for oak seeds. Place your cleaned acorns in a moistened mix of peat moss and perlite (or a damp paper towel) inside a sealed container.
Store them in your refrigerator’s crisper drawer for 60-90 days to simulate winter conditions. This process breaks dormancy and significantly boosts germination rates.
After stratification, your acorns are ready for planting. Choose a well-draining soil mix with 50% sand or perlite to prevent root rot—a common issue with young oak seedlings. Plant them ½ inch deep in individual pots or directly outdoors in spring after the last frost.
Monitor your acorns closely during stratification. If you notice mold growth or an unpleasant odor, discard those seeds immediately and adjust your moisture levels. Healthy acorns should remain firm and slightly plump throughout the process—never mushy or shriveled.