
Vegetables
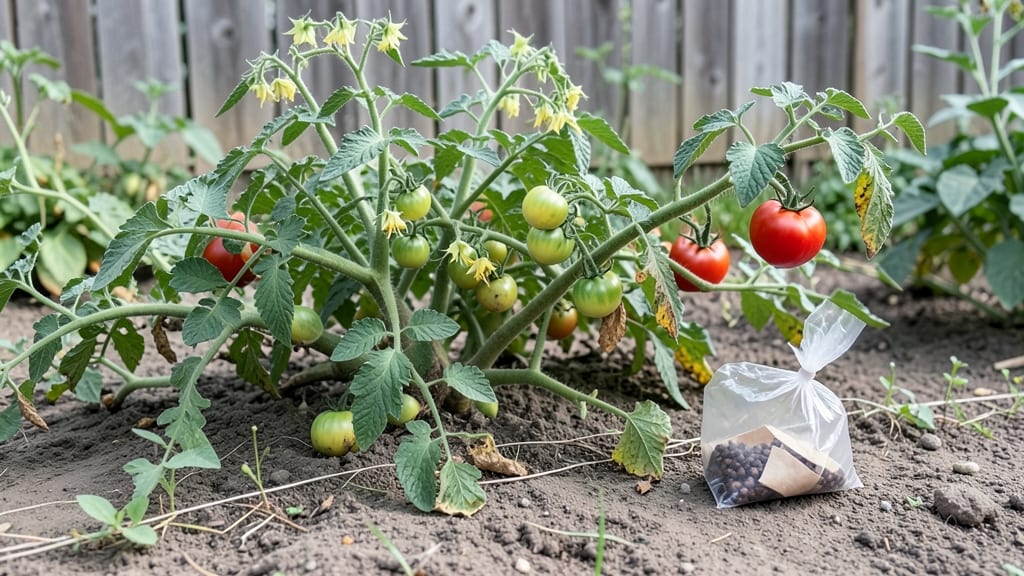
Saving heirloom tomato seeds lets you grow the same flavorful varieties year after year—no store-bought seeds needed. 🌱 I’ve saved seeds from my favorite beefsteak tomatoes for three seasons now, and the process is simpler than most gardeners think.
The key is patience: letting nature do the heavy lifting through fermentation and drying.
You’ll need just a few supplies: ripe tomatoes, a jar, water, a spoon, and paper towels. The fermentation step removes the gel that inhibits germination, while proper drying locks in viability. Most people skip the drying phase or rush it, which leads to moldy seeds—don’t make that mistake.
With the right technique, you’ll end up with seeds that sprout just as reliably as the ones you buy.
By next spring, you’ll be planting seeds that taste exactly like the tomatoes you grew this year. The first seedlings will emerge in 10-14 days, and you’ll know you’ve done it right when those familiar leaves unfurl.
This method works for any heirloom variety, from cherry tomatoes to paste types.
Fair warning: cross-pollination can happen, so isolate plants if you’re saving multiple varieties. But even with that challenge, the payoff—homegrown tomatoes that taste like your garden’s best memories—is worth every step. Let’s get those seeds ready for next season.
📚 In This Guide
- What you need
- Instructions
- Tips and common mistakes
- Wrapping up and next steps
What you need
- ● Mature heirloom tomatoes: Choose fully ripened, disease-free tomatoes (at least 3–4 per variety for genetic diversity).
- ● Small bowl or container: A shallow, wide dish (glass or ceramic) to hold tomato pulp and water.
- ● Water: Distilled or dechlorinated water (to avoid seed contamination).
- ● Fine-mesh strainer or cheesecloth: A non-metallic strainer (plastic or nylon) or cheesecloth to separate seeds from pulp.
- ● Paper towels or coffee filters: For drying seeds (unbleached, if possible).
- ● Pencil or toothpick: To label seed packets (avoid ink that may fade).
- ● Small envelopes or seed packets: Paper envelopes (2–3 inches) or reusable seed saver bags.
- ○ Air-tight containers: Glass jars or resealable plastic bags with silica gel packets (optional but recommended for long-term storage).
- ○ Fermeter or hydrometer: To check seed fermentation progress (optional but helpful for precision).
- ● Spray bottle with water: For misting seeds during drying (keeps humidity even).
- ● Desiccant packets: Extra silica gel to absorb moisture in storage containers.
- ● Printable seed-saving log: To track varieties, harvest dates, and germination notes.
- ● Fine-tip markers: Permanent markers for labeling (test on paper first!).
Step-by-step instructions for saving heirloom tomato seeds
Here’s the simple method I’ve used for years to preserve heirloom tomato seeds—no fancy tools or guesswork.
🌱 Step 1: Select and Extract Ripe Tomatoes
Pick only the ripest, healthiest heirloom tomatoes from your plants. Look for deep color, softness when gently squeezed, and no cracks or bruises. I usually wait until they’re slightly overripe—this ensures the seeds are fully mature and viable.
Cut the tomato open and scoop out the gel-like pulp and seeds into a clean bowl. Avoid using metal bowls, as they can introduce unwanted minerals. The pulp contains a natural gel that helps separate the seeds, so don’t strain it out yet.
💧 Step 2: Ferment the Seeds for 2-4 Days
Fill the bowl with water until the seeds are fully submerged, then stir gently to break up the pulp. Cover the bowl loosely with a cloth or plastic wrap to keep pests out. Place it in a warm spot—around 70-75°F works best.
Let the mixture ferment for 2-4 days. You’ll notice the good seeds sink to the bottom while the bad ones (and pulp) float to the surface. Stir the mixture once a day to prevent mold. This fermentation step is crucial—it removes the gel coating that can inhibit germination.
☀️ Step 3: Rinse and Dry the Seeds
After fermentation, pour the mixture through a fine-mesh strainer to separate the seeds from the remaining pulp and debris. Rinse the seeds under cool water until the water runs clear. Spread them out on a clean, dry paper towel or a seed-saving screen.
Place the seeds in a warm, dry spot with good airflow—like a sunny windowsill or a dehydrator set to 95°F. Stir them gently every few hours to prevent clumping. The seeds are ready when they’re completely dry and crumbly to the touch, which usually takes 3-5 days.
🪴 Step 4: Store the Seeds Properly
Once fully dry, transfer the seeds to a small envelope or airtight container. Label it with the tomato variety and the year saved. Store the seeds in a cool, dark place—like a sealed jar in the fridge or freezer. Properly stored seeds can last 3-5 years or even longer.
Here’s the thing—don’t rush the drying process. If seeds aren’t fully dry, they’ll mold or lose viability. I like to double-check by pressing a seed between my fingers; if it feels powdery, it’s ready for storage.
Tips & tricks for perfect heirloom tomato seed preservation
This method is all about patience and precision—here's how to avoid common pitfalls and get the best germination rates.
Fermentation Temperature: The 70-75°F range during fermentation is crucial for breaking down the gel that coats the seeds. If your kitchen is cooler, place the bowl near a sunny window or on top of your fridge. Too cold, and the process slows down; too hot, and you risk mold. I've seen fermentation take up to 6 days in cooler spaces—just keep stirring daily and watch for that clear separation.
Drying Technique: When drying at 95°F, don't stack seeds on top of each other—they need maximum airflow. I use a screen with tiny holes to elevate them slightly above the surface. If you don't have a dehydrator, a warm oven with the light on works too, but monitor closely to avoid overheating. The goal is slow, even drying—not crispy seeds.
Storage Wisdom: For maximum longevity, store seeds in the freezer rather than just the fridge. The cold slows down metabolic processes that degrade viability. I like to use small glass vials with airtight lids—they keep out moisture better than paper envelopes. Don't forget to include the tomato variety and year on your label—next year's you won't remember which seeds are which!
Common Mistake Fix: If your seeds develop mold during fermentation, don't panic—just rinse them thoroughly and start over. The key is daily stirring to prevent buildup. For drying, if seeds clump together, spread them out again and give them another 24 hours. The powdery texture test is foolproof—if they feel dry enough to crush between your fingers, they're ready for storage.
Pro Tips for Save Heirloom Tomato Seeds
- This method is all about patience and precision—here's how to avoid common pitfalls and get the best germination rates.
- Fermentation Temperature: The 70-75°F range during fermentation is crucial for breaking down the gel that coats the seeds.
- Drying Technique: When drying at 95°F, don't stack seeds on top of each other—they need maximum airflow.
Frequently asked questions
Do I need to save seeds from heirloom tomatoes?
Heirloom tomatoes are open-pollinated, meaning their seeds produce plants identical to the parent. Saving seeds ensures you preserve unique flavors, colors, and traits—plus, it’s cost-effective and sustainable. If you love a specific variety, seed-saving is the way to keep it growing for generations!
How long does it take for tomato seeds to dry properly?
Drying seeds thoroughly is key to preventing mold. After fermenting (if needed), spread them on a screen or paper towel in a warm, dry place for 7–14 days. They’re ready when they’re brittle and rattle in the envelope. Check daily—humidity can slow the process!
What if my seeds don’t germinate after drying?
Low germination can happen if seeds weren’t fully dried, were stored in high humidity, or are old. Try these fixes:
- Test viability: Soak a few seeds in water for 24 hours—if they float, they’re likely bad.
- Re-dry: Spread seeds on a screen for another 3–5 days.
- Store better: Use silica gel packets or a vacuum-sealed bag for long-term storage.
Can I store tomato seeds in the fridge instead of a freezer?
Yes! While a freezer extends seed life to 10+ years, the fridge works for 3–5 years if stored properly. Use airtight containers with desiccant packets (like those in shoe boxes) to keep moisture out. Label seeds with the variety and date—organization is everything!
What’s the best way to save seeds from cherry tomatoes?
Cherry tomatoes work the same way as larger varieties, but their small size means extra care! Scoop seeds from 3–5 ripe, healthy fruits (ferment if needed), then dry them on a tiny piece of paper towel or a coffee filter. Store in a tiny envelope—just don’t overcrowd, or they’ll clump together!
Wrapping up and next steps
Saving heirloom tomato seeds is a rewarding way to preserve biodiversity and ensure next year’s garden thrives with the same flavors you love! 🌱 With just a little patience and the right steps—fermenting, drying, and storing—you’ll have a stash of seeds ready to grow into vibrant, homegrown tomatoes. Now’s the perfect time to celebrate your efforts and share your newfound skills with fellow gardeners!
Ready to take it further? Plant your saved seeds this spring and watch your heirloom legacy grow. 🌿 Or, if you’re feeling inspired, experiment with new varieties—your garden (and future harvests) will thank you!