Vegetables
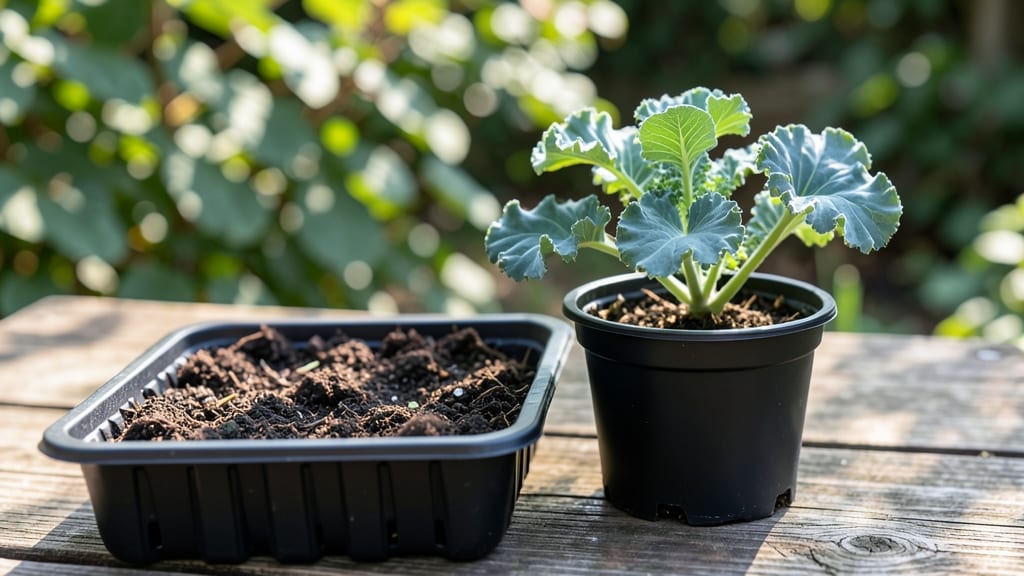
How soaking kale seeds boosts germination rates by up to 80%
If you've ever planted kale seeds only to watch them sit stubbornly in the soil for weeks, you're not alone. The key to unlocking faster germination lies in a simple pre-planting step: soaking your seeds.
This process can dramatically improve your kale seed germination rates by breaking down the hard outer shell, activating enzymes, and ensuring proper hydration. Studies show that properly soaked seeds can sprout up to 80% faster than dry-seeded varieties, giving you a head start on your homegrown harvest.
The science behind seed soaking is fascinating. When you soak kale seeds, you trigger three critical processes: enzyme activation (which kickstarts metabolism), seed hydration (softening the seed coat), and oxygen exchange (preparing the seed for respiration).
Without this preparation, seeds may struggle to absorb moisture from the soil, leading to slow or uneven germination. For kale specifically, which has a thick seed coat, soaking is almost essential for consistent results.
Not all soaking methods are created equal, though. The solution you choose—whether it's plain water, hydrogen peroxide, or a specialized seed starter—can make a big difference in both speed and success.
Below, we'll break down the best options, including their benefits and exact soaking times to maximize your kale's potential.
Before diving into methods, let’s compare the most effective soaking solutions side by side. This will help you decide which approach aligns best with your gardening goals, whether you prioritize speed, organic ingredients, or convenience.
| Soaking Method | Germination Boost | Prep Time | Best For | Safety Notes |
|---|---|---|---|---|
| Room-Temp Water | Up to 60% faster | 5-12 hours | Quick, no-prep solution | Risk of fungus if over-soaked |
| Hydrogen Peroxide (3%) | Up to 80% faster | 6-8 hours | Disinfects seeds, boosts oxygen | Use diluted (1:10 ratio) |
| Seed Starter Solution | Up to 75% faster | 4-6 hours | Pre-mixed nutrients for growth | Check for chemical additives |
| Apple Cider Vinegar (1 tsp/gallon) | Up to 55% faster | 8-12 hours | Natural antifungal properties | Avoid concentrated vinegar |
Now that you’ve seen the options, let’s dive into the best soaking method for your kale seeds: room-temperature water. This is the simplest and most accessible approach, requiring just a bowl, clean water, and a little patience.
To start, place your seeds in a clean mesh bag or paper towel (to prevent them from floating or sticking together) and submerge them in water at 65-75°F. Soak for 8-12 hours, checking periodically to ensure they don’t dry out.
Once the seeds look plump and slightly swollen, they’re ready for planting.
For even faster results, consider using a hydrogen peroxide solution. Mix 1 part 3% hydrogen peroxide with 9 parts water to create an oxygen-rich environment that not only hydrates the seeds but also disinfects them, reducing the risk of mold or rot.
Soak your kale seeds in this solution for 6-8 hours, then rinse thoroughly before planting. This method is especially useful if you’re dealing with older seeds or seeds stored in less-than-ideal conditions.
If you’re using a commercial seed starter solution, follow the manufacturer’s instructions carefully. These solutions often contain growth hormones and nutrients designed to jumpstart germination. Typically, you’ll soak seeds for 4-6 hours, which is shorter than water soaking but equally effective.
The advantage here is convenience—no mixing or measuring required—but be mindful of any chemical additives that might not align with organic gardening goals.
After soaking, the next critical step is planting your kale seeds within 24 hours. Delaying planting can cause the seeds to dry out or even sprout prematurely, which can damage the delicate seedling.
Plant your soaked seeds 1/4 inch deep in well-draining soil, spacing them 18 inches apart to allow room for growth. Keep the soil consistently moist (but not soggy) and maintain a temperature between 60-75°F for optimal germination.
One common mistake gardeners make is over-soaking their seeds, which can lead to rot or mold. To avoid this, never exceed the recommended soaking time, and always use fresh, clean water.
If you notice any seeds developing a fuzzy coating or unpleasant odor, discard them immediately and replant fresh seeds. With the right soaking technique, you’ll see your kale seeds sprouting in as little as 3-5 days—a far cry from the weeks it might take with dry seeds.
Pro tip: If you’re growing kale indoors under grow lights, maintain a consistent humidity level around your seedlings. A simple humidity dome or plastic wrap over the tray can create the ideal environment for those first few critical days.
Once sprouts emerge, remove the dome gradually to harden off the seedlings and prevent disease.
Soaking your kale seeds isn’t just a trick—it’s a science-backed way to ensure a stronger, healthier start for your plants. By understanding the role of hydration, enzyme activation, and oxygen exchange, you’re giving your kale the best possible foundation for a bountiful harvest.
Give it a try, and you’ll be enjoying homegrown kale in record time! 🥬
5 Common mistakes that kill kale seed germination (and how to fix them)
Even the most patient gardeners can struggle with kale seed germination. Seeds that refuse to sprout often point to avoidable mistakes in moisture, temperature, or seed preparation. I’ve seen kale seeds fail to germinate because of simple oversights—like leaving them too wet or planting them too deep.
The good news? Most of these issues have quick fixes that can save your harvest.
Understanding the ideal germination conditions for kale is key. These hardy greens need consistent moisture, stable warmth, and proper airflow to break dormancy. When one of these factors goes wrong, your seeds may rot, mold, or simply sit dormant.
Let’s tackle the top 5 mistakes that sabotage germination—and how to correct them before it’s too late.
⚠️ Warning: Over-Soaking Destroys Viability
Soaking kale seeds for more than 12 hours triggers oxygen starvation, causing them to suffocate. I once left seeds in water for 24 hours—by morning, they were mushy and lifeless. The fix?
Soak for 6-8 hours max in room-temperature water, then plant immediately. For faster results, use a hydrogen peroxide solution (3%) for just 4-6 hours—it sterilizes without drowning the seeds.
Improper moisture levels are another silent killer. Kale seeds need consistent dampness, not soggy conditions. Overwatering suffocates seeds, while dry soil prevents hydration. I’ve found that using a spray bottle to mist seeds keeps moisture even while allowing airflow.
Aim for soil that feels like a wrung-out sponge—damp but not dripping.
Temperature extremes can halt germination entirely. Kale thrives when soil stays between 60-75°F. If your seeds sit in cold soil (<50°F), they’ll stall. Use a seedling heat mat ($15-$25) for indoor starts or plant in warmer microclimates, like near a south-facing window.
Pro tip: Place a thermometer in your seed tray to monitor temps—consistency is critical.
Poor seed quality often goes unnoticed until it’s too late. Old or improperly stored seeds lose viability. Always check the packaging date—kale seeds germinate best within 1-2 years of harvest. For extra insurance, conduct a float test: Drop seeds in water.
Viable seeds sink; floaters are dead. Store seeds in a cool, dry place (like a sealed jar in the fridge) to extend their life.
Planting too deep or shallow also kills germination. Kale seeds need light to sprout, so bury them only ¼ inch deep. Deeper planting starves them of oxygen, while shallow planting risks drying.
Use a toothpick to create precise furrows—this ensures even depth. For container gardens, mix seeds with sand to prevent clumping and maintain proper spacing.
Finally, patience is your ally. Kale seeds can take 5-14 days to germinate, depending on conditions. If you’re not seeing sprouts within 2 weeks, gently press the soil—sometimes seeds are just waiting for the right moment.
Keep a journal of your attempts: note moisture, temps, and seed age. With these fixes, your next batch of kale seedlings will emerge strong and ready to thrive! 🥬