
Lawn
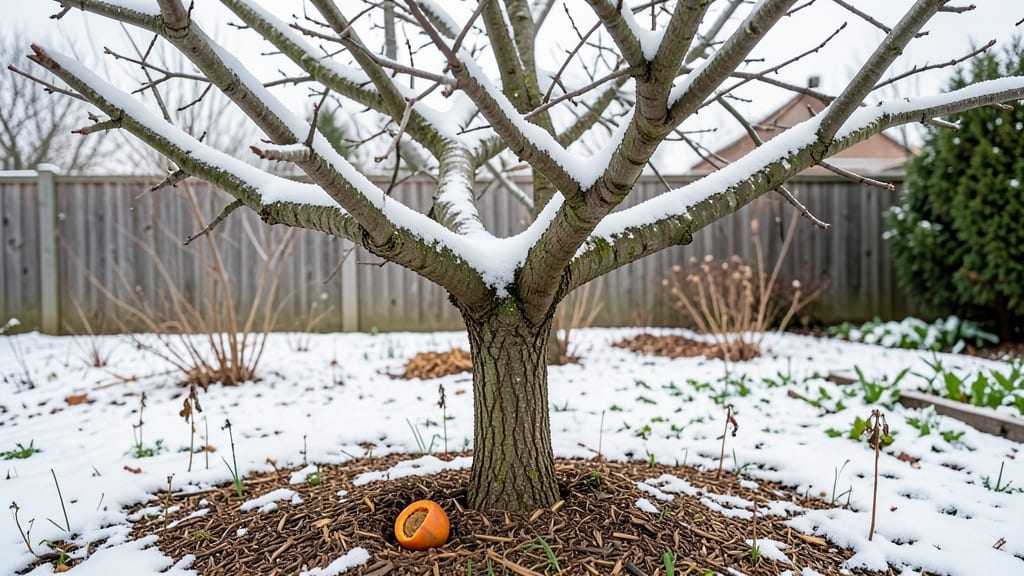
To coax a persimmon seed winter through dormancy, soak it in moist conditions before planting—this simple trick guarantees robust sprouts by spring. After harvesting ripe fruit this fall, I discovered that simply storing seeds dry leads to poor germination—until I learned this simple, science-backed method that mimics natural winter conditions.
The key is balancing moisture and cold over 8 weeks, which triggers the seeds to sprout reliably when planted in spring.
You’ll need a moist paper towel or peat moss, a sealed plastic bag, and a refrigerator set to 34–40°F. The process takes minimal effort but delivers dramatic results: seeds that would otherwise rot or stay dormant now germinate within 7–14 days after chilling.
This method works especially well for gardeners in USDA zones 5–8, where winters are cold enough to naturally stratify seeds—but controlled conditions guarantee success even in milder climates.
The payoff comes when those first bright green seedlings push through the soil in spring, signaling a thriving persimmon tree. Properly chilled seeds produce stronger roots and earlier blooms, setting your tree up for years of abundant fruit.
The moist-chill method also reduces the risk of mold or rot, which can plague improperly stored seeds.
This technique adapts easily to urban gardeners with limited space—just use a small container instead of a bag. Whether you’re growing Fuyu, Hachiya, or native American persimmons, the same principles apply. Ready to transform last fall’s seeds into next year’s harvest? Let’s get started.
📚 In This Guide
- What you need
- Instructions
- Tips and common mistakes
- Wrapping up and next steps
What you need
- ● Persimmon seeds: 10–20 fresh, plump seeds (harvested from ripe fruit, cleaned and dried for 1–2 days).
- ● Small pots or seed trays: 2–4 (3–4 inches deep, with drainage holes). Use biodegradable pots if transplanting directly.
- ● Well-draining potting mix: 2–3 cups (sterilized, seed-starting blend or a mix of 50% peat moss, 30% perlite, and 20% vermiculite).
- ● Plastic wrap or clear lid: 1 (to create a humidity dome).
- ● Spray bottle: 1 (for gentle watering).
- ● Refrigerator or cool storage: Access to a fridge (set to 34–40°F (1–4°C)) for the moist-chill phase.
- ● Grow lights or sunny windowsill: A spot with 6–8 hours of indirect light daily (or a LED grow light for 12–14 hours/day).
- ● Labeling tags: 2–4 (to track seed varieties and planting dates).
- ● Seed stratification kit: If your fridge lacks humidity control, a small container with a damp paper towel can mimic ideal conditions.
- ● Heating mat: 1 (to maintain consistent soil warmth post-chilling, if needed).
- ● Humidity tray: 1 (for extra moisture during germination).
- ● Fertilizer (balanced, water-soluble): 1 small bottle (e.g., 5-5-5 NPK, diluted to half-strength for seedlings).
- ● Pruning shears: 1 (for trimming seedlings later if needed).
Instructions for moist-chilling persimmon seeds
This precise method ensures high germination rates by mimicking natural winter stratification conditions.
Extract and Clean the Seeds
Open the persimmon fruit and remove the seeds, ensuring they're free of pulp or gel-like residue. Rinse them under cool running water to remove any remaining fruit tissue, then pat them dry with a paper towel. The goal is to start with clean, viable seeds—any leftover pulp can attract mold or pests during stratification.
Inspect each seed for cracks or damage—discard any that appear compromised. Healthy seeds will be plump and firm, with a smooth, unbroken surface. Store them in a labeled paper envelope or small mesh bag to allow airflow while preventing desiccation.
Stratify Seeds Using the Moist-Chill Method
Place the cleaned seeds in a quart-sized resealable plastic bag and add enough distilled water to create a moist, not soggy, environment. The seeds should feel damp to the touch, but no excess water should pool at the bottom. Seal the bag, leaving it slightly ajar or using a small vent hole to allow minimal airflow.
Store the bag in your refrigerator’s crisper drawer, where temperatures typically range between 35-40°F. This cold, moist environment mimics winter conditions, breaking seed dormancy. Check the seeds every two weeks—they should remain uniformly moist but not waterlogged. If the bag feels overly damp, open it briefly to allow excess moisture to evaporate.
Monitor and Prepare for Germination
After 8 weeks of stratification, remove the seeds from the refrigerator and inspect them for signs of germination. Some may already have sprouted, while others will still appear dormant. Place the bag in a warm, dark location—such as on top of the refrigerator or in a seedling heat mat set to 70-75°F—to encourage consistent germination.
Within 7-14 days, you should see the first signs of root emergence. This is your cue to prepare sterile seed-starting mix in 2-3 inch deep pots. The mix should be lightly moistened but not saturated, as persimmon seeds are sensitive to overwatering during early growth. Avoid using garden soil, as it can introduce pathogens or compact too easily.
Sow Stratified Seeds for Sprouting
Plant each seed ½ inch deep in its own pot, pressing the soil gently around it to ensure good contact. Use a fine misting bottle to water the soil surface, ensuring it’s evenly moist but not soggy. Place the pots in a warm, bright location—such as a south-facing windowsill or under a grow light—where temperatures stay between 65-75°F. Persimmon seedlings are delicate and require consistent warmth to avoid stunting.
Cover the pots loosely with a clear plastic dome or plastic wrap to retain humidity, but remove it daily for 10-15 minutes to prevent fungal growth. Keep the soil surface evenly moist—not dripping wet—by misting lightly as needed. Germination typically occurs within 2-4 weeks, though some seeds may take longer. Patience is key, as rushing watering or warmth can stress the seedlings.
Transition to Light and Establish Seedlings
Once the first true leaves (not the initial seed leaves) appear, remove the plastic covering entirely and gradually introduce the seedlings to indirect sunlight for 2-3 hours daily, increasing exposure over 7-10 days. Persimmon seedlings are sensitive to sudden light changes, so a slow transition prevents leaf scorch or leggy growth.
After 4-6 weeks, when seedlings reach 3-4 inches tall and develop 4-5 true leaves, they’re ready for transplanting into larger containers or outdoor planting after the last frost. Harden them off by placing them outdoors in a sheltered, shaded area for 1-2 hours daily, gradually increasing exposure over 10-14 days. This acclimation ensures they thrive in their permanent environment.
Tips & tricks for perfect persimmon seed germination
Mastering the moist-chill method transforms ordinary persimmon seeds into thriving spring blooms. These precision tips ensure optimal conditions at every critical stage.
Moisture Balance is Critical: During the 8-week stratification in Step 2, maintaining the right moisture level is everything. The seeds should feel damp like a wrung-out sponge, not soggy or bone-dry. I've learned the hard way that excess water encourages mold while insufficient moisture prevents dormancy breaking. Use distilled water exclusively—tap water's minerals can inhibit germination. After sealing your quart-sized bag, gently squeeze it to test moisture; if condensation forms on the inside, open it briefly to release excess humidity.
Temperature Consistency in Step 3: The refrigerator's crisper drawer provides the ideal 35-40°F environment, but every fridge varies. Place a small thermometer inside your bag to monitor temperatures—some models can fluctuate by 5°F or more. If your fridge runs warmer, consider a dedicated seed stratification fridge or move the bag to the coldest section. After 8 weeks, transitioning to 70-75°F warmth triggers germination, but sudden temperature swings can shock the seeds. Use a seedling heat mat for precise control during this delicate phase.
Light Transition Strategy in Step 5: When introducing seedlings to sunlight in Step 5, gradual acclimation prevents leaf scorch. Start with just 2-3 hours of indirect light on day one, then increase by 30 minutes daily. I've seen seedlings develop sunburn after just 2 hours of direct exposure—look for pale, papery leaves as an early warning sign. For indoor growing, position pots near an east-facing window where morning light is gentler. If using grow lights, maintain 12 hours of light daily from the moment true leaves appear to prevent leggy growth.
Seedling Care After Germination: Once roots emerge in Step 4, resist the urge to overwater. The sterile seed-starting mix should feel like a damp sponge—press your finger an inch deep; if moisture clings to your skin, you're golden. If water beads on the surface, let it dry slightly. Persimmon seedlings are particularly sensitive to overwatering, which can cause root rot. Use a fine misting bottle to water the soil surface rather than pouring from above, ensuring even moisture without disturbing delicate seedlings.
Pro Tips for Persimmon Seed Winter
- Mastering the moist-chill method transforms ordinary persimmon seeds into thriving spring blooms.
- Moisture Balance is Critical: During the 8-week stratification in Step 2, maintaining the right moisture level is everything.
- Temperature Consistency in Step 3: The refrigerator's crisper drawer provides the ideal 35-40°F environment, but every fridge varies.
Frequently asked questions
Got questions about germinating persimmon seeds using the moist-chill method for winter? You’re not alone! Here are answers to the most common queries—so you can tackle this project with confidence and avoid pitfalls.
When should I start the moist-chill process for persimmon seeds?
The best time to begin is late fall (October–November), about 8–10 weeks before your last expected frost. This gives seeds enough cold stratification to break dormancy by spring. If you miss this window, you can still chill seeds in the fridge (35–40°F) for 6–8 weeks, but outdoor exposure to natural temperature fluctuations works best!
Do I need to remove the seed coat before chilling?
Nope! Persimmon seeds have a hard, woody shell that actually helps protect the embryo during stratification. Simply clean off any fruit flesh, let the seeds dry slightly, and place them whole in your moist medium. The seed coat will naturally soften over time—no pre-treatment required!
What if my seeds mold or rot during chilling?
Mold or rot usually means too much moisture or poor airflow. Use a well-draining mix (like peat moss + perlite) and store seeds in a breathable container (e.g., a mesh bag or perforated box). If mold appears, remove affected seeds immediately and adjust your setup. A 50% moisture level (like a damp sponge) is ideal—never soggy!
How long can I keep seeds chilled before planting?
Persimmon seeds can safely stay in cold, moist conditions for 3–4 months without harm. Beyond that, germination rates may drop. If spring arrives and your seeds haven’t sprouted yet, gently check for signs of life (a tiny root or crack in the seed coat) before deciding to replant or start fresh.
Can I use this method for other seeds, like pecans or walnuts?
The moist-chill method works for many hard-shelled, slow-germinating seeds, including pecans, walnuts, and even some fruit tree seeds. However, stratification times vary—pecans often need 90–120 days of cold, while persimmons thrive in 60–80. Always research your specific seed’s requirements for best results.
Pro Tip:
Label your containers with the start date and seed type to avoid confusion. A simple marker on a popsicle stick works perfectly! Also, patience is key—persimmon seeds can take 2–4 weeks to sprout after warming, so don’t give up if nothing happens immediately.
Wrapping up and next steps
There you have it—your persimmon seeds are on their way to becoming vibrant spring blooms with just a little patience and the moist-chill method! 🌱 By following these steps, you’re not only nurturing future trees but also embracing a rewarding, low-cost gardening project.
Whether you’re a seasoned gardener or a beginner, this process is simple and so satisfying.
Ready to take the next step? Mark your calendar for spring planting—once your seeds sprout, give them the love they deserve, and watch your garden transform. Happy growing! 🌿✨