Landscaping
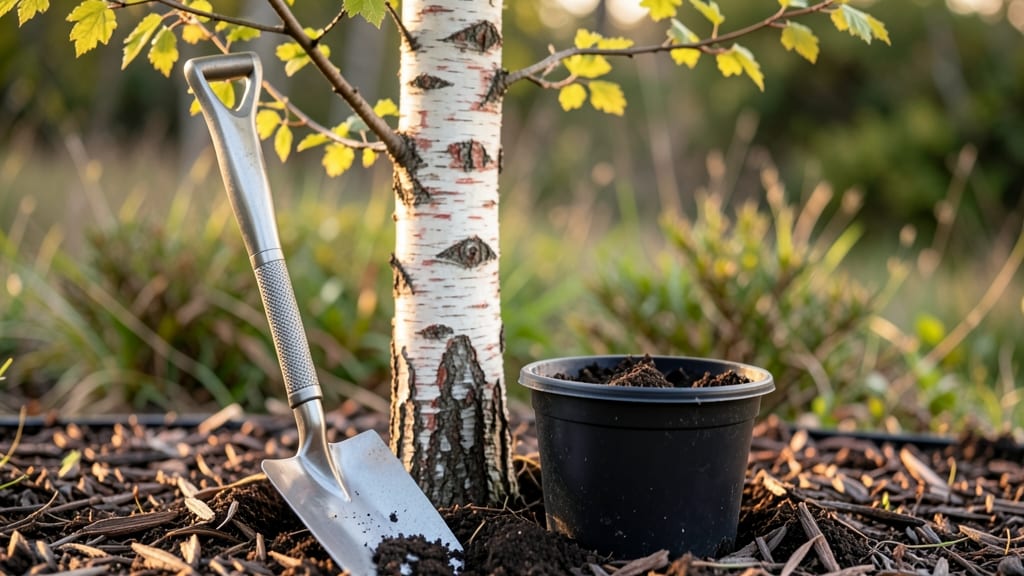
Growing a river birch seedling from cold-stratified seeds cuts weeks off the wait—here’s my foolproof trick for fast germination and stunning peeling-bark trees. 🌱 No more staring at empty pots! a seed tray wondering if anything will ever sprout.
The secret lies in mimicking winter’s chill, which breaks dormancy naturally. You’ll need a few supplies: damp paper towels, a sealed plastic bag, and a fridge’s vegetable drawer (the coldest spot without freezing).
Most gardeners overlook this step, but it’s what turns stubborn seeds into eager little seedlings in just 4-6 weeks instead of months.
Once those first pale green leaves push through the soil, you’ll know you’re on the right track. River birch seedlings thrive in moist, well-draining soil and partial shade, though they tolerate full sun once established.
The key is patience—these trees grow slowly at first but reward you with that signature bark and shade for decades.
Perfect for gardeners in zones 4-9 who want a low-maintenance, drought-tolerant tree that adds texture and movement to landscapes. Here’s how to skip the guesswork and get those seeds sprouting faster than you’d expect.
📚 In This Guide
- What you need
- Instructions
- Tips and common mistakes
- Wrapping up and next steps
What you need
- ● River birch seeds: Fresh or stored seeds (ensure they’re viable—test a few in warm water to check for sinkers). Aim for at least 10 seeds to account for germination variability.
- ● Cold stratification supplies: Moist peat moss or coconut coir (2–3 cups, enough to fully submerge seeds).
- ● A ziplock bag or airtight container (quart-sized works well).
- ● Growing containers: Small seedling trays or pots (3–4 inches deep) with drainage holes.
- ● Potting mix designed for seedlings (sterilized, well-draining).
- ● Basic tools: Spray bottle (for gentle watering).
- ● Small hand trowel or spoon (for transplanting).
- ● Growth aids: Seedling heat mat (to maintain warmth post-stratification).
- ● Grow lights (if natural light is limited).
- ● Monitoring tools: Hygrometer (to track humidity levels).
- ● Journal or app (to log stratification progress).
- ● Outdoor prep: Stakes or labels (for marking young seedlings).
Step-by-Step instructions for fast river birch seedling germination
Cold stratification is the secret weapon for breaking river birch dormancy quickly—here's how to do it right.
🌱 Step 1: Collect and Prepare Seeds
Harvest seeds from mature river birch catkins in late fall when they've fully dried and turned brown. I like to collect them directly from the tree using a small mesh bag to avoid contamination. Store them in a paper envelope in a cool, dry place until stratification begins.
Before starting, soak the seeds in lukewarm water for 24 hours to soften the hard outer shell. This step dramatically improves germination rates. After soaking, drain them thoroughly but don't let them dry out completely—just damp to the touch.
⏰ Step 2: Stratify in Moist Media
Fill a quart-sized container with a mix of equal parts moist peat moss and perlite. The medium should feel like a wrung-out sponge—damp but not dripping. Spread the soaked seeds evenly across the surface, spacing them about 1 inch apart to prevent crowding.
Cover the container loosely with plastic wrap, poking small holes for airflow. Place it in a refrigerator at 35-40°F for 60-90 days. This cold period mimics winter conditions and tricks the seeds into thinking spring has arrived. Check monthly to ensure the medium stays moist but never soggy.
☀️ Step 3: Move to Warm Germination Zone
After stratification, transfer the container to a warm, bright location (around 70°F) with indirect light. You'll see the first signs of germination in 10-21 days—tiny white roots breaking through the soil surface. This is your cue to move them to individual pots.
Use 2-inch biodegradable pots filled with a sterile seed-starting mix. Plant each seedling ½ inch deep, firming the soil gently around the base. Keep the soil consistently moist but never waterlogged—river birch seedlings hate soggy roots.
🌿 Step 4: Provide Optimal Growing Conditions
Place the pots under grow lights or in a south-facing window where they'll receive 12-14 hours of light daily. River birch seedlings grow best with bright, indirect light—direct sun can scorch their delicate leaves. You'll know they're thriving when new leaves emerge with a vibrant green color.
Fertilize lightly with a balanced liquid fertilizer (10-10-10) diluted to half-strength every 4-6 weeks. Avoid over-fertilizing—young seedlings are sensitive to salt buildup. Keep the soil consistently moist but allow the top inch to dry slightly between waterings.
🪴 Step 5: Harden Off and Transplant
When seedlings have developed 4-6 true leaves and are about 6 inches tall (typically after 8-12 weeks of growth), they're ready for outdoor hardening. Start by placing them outside in a sheltered, shaded spot for 2-3 hours the first day, gradually increasing exposure over 10-14 days.
Transplant to their permanent location in late spring after the last frost when soil temperatures reach 55°F. Dig a hole twice as wide as the root ball but only as deep as the container. Water deeply after planting to settle the soil and encourage root growth. Mulch around the base with 2-3 inches of organic mulch to retain moisture and regulate soil temperature.
Tips & tricks for perfect river birch seedling germination
Cold stratification might seem like a slow process, but these pro tips will help you speed up germination while avoiding common pitfalls that can derail your river birch seedlings.
Timing Secret: The 24-hour soak in Step 1 is non-negotiable for breaking dormancy—don't rush it! I've found that using lukewarm water (around 70°F) works better than cold water, as it softens the seed coats more efficiently. After draining, place the seeds on a paper towel to dry slightly—this prevents mold while keeping them ready for stratification.
Stratification Strategy: For the 60-90 day cold period in Step 2, consistency is key. I place a small dish of water near the container to maintain humidity without overwatering. The 35-40°F range is critical—any warmer and dormancy won't break properly. If your fridge runs hotter, consider a basement or unheated garage for more stable conditions. Pro tip: Label your container with the start date to track progress!
Germination Cues: When transferring to 70°F warmth in Step 3, watch for the first signs of germination—tiny white roots breaking through the soil surface. This usually happens within 10-21 days, but if nothing appears after 21 days, gently check one seed to confirm viability. If it's still hard, return the container to cold stratification for another 30 days.
Lighting Hack: For the 12-14 hours of light in Step 4, grow lights are ideal, but a south-facing window works too—just rotate pots daily for even growth. River birch seedlings hate direct sun, which can scorch their delicate leaves. I've had success using sheer curtains to diffuse harsh sunlight while maintaining brightness. The vibrant green color of new leaves is your best indicator of thriving seedlings!
Pro Tips for River Birch Seedling
- Cold stratification might seem like a slow process, but these pro tips will help you speed up germination while avoiding common pitfalls that can derail your river birch seedlings.
- Timing Secret: The 24-hour soak in Step 1 is non-negotiable for breaking dormancy—don't rush it!
- Stratification Strategy: For the 60-90 day cold period in Step 2, consistency is key.
Frequently asked questions
Got questions about growing river birch seedlings from scratch?
Here are answers to the most common queries to help you succeed with your cold-stratified saplings!
How long does cold stratification take for river birch seedlings?
Cold stratification typically requires 60–90 days in a moist, chilled environment (like a fridge). Place your seeds in a sealed container with damp peat moss or paper towels, then refrigerate. Pro tip: Check moisture weekly—seeds should stay damp but not soggy!
Can I stratify river birch seeds outside instead of in the fridge?
Yes! For a natural method, plant seeds in a protected outdoor bed in fall (before hard frost). Cover with 1–2 inches of soil and mulch heavily. They’ll stratify over winter and germinate in spring. Bonus: This mimics their wild growth cycle!
What’s the best soil mix for river birch seedlings after germination?
Use a well-draining mix of 60% peat moss or coco coir, 30% perlite/sand, and 10% compost. River birch dislikes soggy roots—ensure pots have drainage holes. Troubleshooting: Yellow leaves? Overwatering may be the culprit!
How long until river birch seedlings are ready for transplanting?
Seedlings can stay in containers for 1–2 growing seasons before transplanting. Aim for 6–12 inches tall with a sturdy root system. Plant in early spring or fall, spacing them 15–20 feet apart for mature trees. Tip: Harden off seedlings 2 weeks before moving!
Why aren’t my river birch seeds germinating after stratification?
Check these fixes:
- Temperature: Ensure fridge temps are 34–40°F (1–4°C).
- Moisture: Seeds must stay consistently damp (not dry or waterlogged).
- Depth: Plant seeds ¼ inch deep in soil after stratification.
- Patience: Some seeds take up to 6 months to sprout.
Wrapping up and next steps
Growing a river birch seedling from scratch is a rewarding journey that combines patience with the joy of nurturing life. By mastering cold stratification and providing the right care, you’ll unlock the potential for fast germination and a thriving tree.
Whether you’re a seasoned gardener or a beginner, this guide gives you the tools to succeed—so grab those seeds and get planting! 🌱
Ready to take the next step? Start by ordering high-quality river birch seeds or harvesting them from a mature tree. Then, follow your stratification plan and watch your tiny seedling grow into a stunning landscape feature!