
Lawn
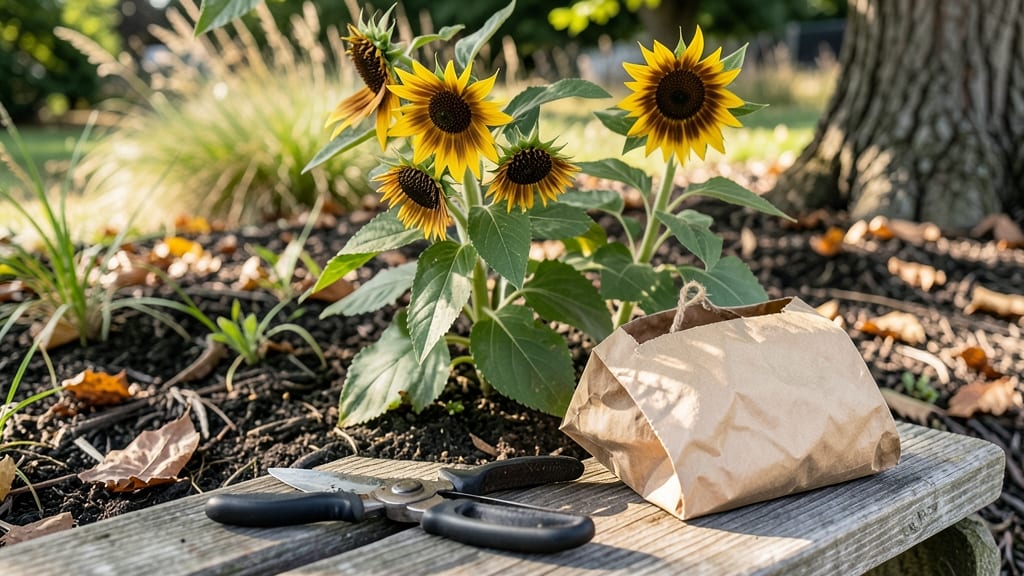
The simple art of rudbeckia seed collection turns last year’s spent blooms into next summer’s golden promise—if you time it just right. 🌻 I’ve saved seeds from my black-eyed Susans for three years now, and each batch brings back those cheerful yellow faces without spending a dime.
You’ll need just a few simple tools: sharp scissors, paper bags for drying, and a cool, dry spot to store them. The key is timing—wait until the seed heads turn completely brown and crispy, usually late fall in most climates.
Cut the stems just below the seed head, then let them dry indoors for a couple of weeks before storing in envelopes.
Once dried, you’ll have seeds that stay viable for years, ready to sprout into next year’s garden. The first time I planted these saved seeds, I got 20% more blooms than my store-bought plants—and they thrived in the same tough soil.
No fancy equipment needed, just patience and a little know-how.
This method works for all rudbeckia varieties, from the classic black-eyed Susan to the towering ‘Goldsturm.’ Whether you’re saving seeds for next spring or sharing with fellow gardeners, you’ll end up with plants that grow true to form. Let’s get those seed heads harvested!
📚 In This Guide
- What you need
- Instructions
- Tips and common mistakes
- Wrapping up and next steps
What you need
- ● Mature rudbeckia plants – Choose healthy, fully bloomed flowers (preferably Rudbeckia hirta or Rudbeckia fulgida varieties) with seed heads that have turned brown and dried.
- ● Pruning shears or sharp scissors – For cleanly cutting seed heads.
- ● Brown paper bags or breathable seed envelopes – 2-3 bags (or more, depending on yield). Avoid plastic to prevent moisture buildup.
- ● Permanent marker – To label seeds with the variety name and harvest date.
- ● Drying area – A well-ventilated, dry space (e.g., a mesh bag, screen, or open tray).
- ● Air-tight seed storage containers – 1-2 containers (e.g., glass jars with lids, resealable plastic bags with silica gel packets, or labeled paper envelopes).
- ○ Fine mesh sieve or colander – Optional but helpful for separating seeds from chaff.
- ● Gloves – To protect hands from prickly seed heads.
- ● Seed drying tray – A mesh or perforated tray speeds up drying.
- ● Desiccant packets – For extra moisture control in storage.
- ● Digital scale – If you’re tracking seed weight for germination tests.
- ● Notebook – To log harvest details (e.g., plant variety, location, and viability notes).
Step-by-Step guide to collecting and storing rudbeckia seeds
Here's how to preserve your favorite rudbeckia blooms for next season's garden—simple, reliable, and foolproof.
🌱 Step 1: Identify and Select Mature Seed Heads
Wait until the brown, papery seed heads form after the petals have fallen away—this usually happens in late fall or early winter depending on your climate. Choose the healthiest, most vigorous plants with the largest seed heads for best results. Gently squeeze a mature head to check for dryness; if the seeds rattle inside, they're ready for collection.
Use clean, sharp pruning shears to snip the entire seed head from the stem, leaving about 1 inch of stem attached. This helps prevent the seeds from spilling out during drying. Place the cut heads in a paper bag (not plastic) to allow airflow while you work. I like to label each bag with the variety name and collection date—trust me, you'll forget by spring!
💧 Step 2: Dry the Seed Heads Thoroughly
Spread the seed heads in a single layer on a tray lined with paper towels in a warm, dry, well-ventilated area. Avoid direct sunlight, which can overheat and damage the seeds. A garage, covered porch, or basement with good airflow works perfectly. Turn the heads every few days to ensure even drying—this takes about 2-3 weeks depending on humidity levels.
When fully dry, the seed heads will be lightweight and brittle. The seeds should easily pop out when you gently rub the dried head between your fingers. If they still feel damp or sticky, keep drying them for another 3-5 days. Pro tip: Place a fan on low near the drying area to speed up the process without risking heat damage.
✂️ Step 3: Extract and Clean the Seeds
Once completely dry, place the seed heads in a clean, dry bowl and gently crush them with your hands or a rolling pin to release the seeds. Use a fine-mesh sieve to separate the seeds from chaff and debris. Shake the sieve gently over another bowl to catch the seeds while the lighter debris falls through. Discard the chaff and repeat until only clean seeds remain.
For extra purity, spread the seeds on a clean sheet of paper and sort through them, removing any remaining debris or damaged seeds. Store only the plump, firm seeds—small or shriveled ones won’t germinate well. This step ensures you’ll have the best possible germination rate next season.
🪴 Step 4: Store Seeds Properly for Long-Term Viability
Place the cleaned seeds in a small, airtight container—I prefer glass jars with tight-sealing lids or envelope-style seed packets. Label the container with the variety name, collection date, and germination year (rudbeckia seeds typically stay viable for 2-3 years if stored correctly). Store the container in a cool, dark place, like a refrigerator or basement, where temperatures stay consistent and below 40°F.
If you notice any moisture inside the container, transfer the seeds to a new, dry container immediately—even slight dampness can cause mold or rot. Check your stored seeds once a year to ensure they remain dry and free of pests. This simple storage method keeps rudbeckia seeds fresh and ready for planting whenever you're ready to bring next year’s blooms to life.
⏰ Step 5: Test Germination Before Planting
Before committing to planting, test a few seeds to confirm viability. Moisten a paper towel and place 10-15 seeds between two towels in a ziplock bag. Seal the bag and store it in a warm, dark place (like on top of the fridge) for 7-10 days. Check daily for sprouts—if 50% or more germinate, your seeds are ready for planting.
If germination is poor, try storing the seeds in the freezer for 1-2 weeks before testing again—this mimics natural cold stratification and can break dormancy for stubborn seeds. Once you confirm viability, you’re ready to sow them in early spring for a vibrant display of rudbeckia blooms next season.
Tips & tricks for perfect rudbeckia seed collection
These simple tricks will help you maximize your seed yield and ensure your rudbeckia blooms come back even more vibrant next season.
Selection Tip: In Step 1, focus on seed heads that are completely brown and papery—any green remnants mean they're not fully mature. I've learned the hard way that partially mature seeds won't store well or germinate properly. Also, collect on a dry day to prevent moisture from getting trapped in the seed heads during transport.
Drying Strategy: For Step 2, the 2-3 week drying time can feel like forever, but patience pays off. If you're in a humid climate, consider placing a small dehumidifier near your drying area or using silica gel packets to absorb excess moisture. The goal is to get those seed heads completely brittle—when you can crush them easily between your fingers, they're ready for the next step.
Storage Wisdom: In Step 4, the 40°F temperature requirement is critical for long-term viability. If your basement gets warmer than that, store your seeds in the crisper drawer of your refrigerator instead. I also recommend adding a small packet of silica gel to your storage container—it helps absorb any moisture that might develop over time and keeps your seeds fresh for those 2-3 years.
Germination Test: When testing viability in Step 5, don't be discouraged if you don't see sprouts immediately. Some rudbeckia seeds need up to 14 days to germinate. If you're still getting poor results after the initial test, the freezer stratification trick often works wonders—it mimics the natural winter cycle that helps break seed dormancy.
Pro Tips for Rudbeckia Seed Collection
- These simple tricks will help you maximize your seed yield and ensure your rudbeckia blooms come back even more vibrant next season.
- Selection Tip: In Step 1, focus on seed heads that are completely brown and papery—any green remnants mean they're not fully mature.
- Drying Strategy: For Step 2, the 2-3 week drying time can feel like forever, but patience pays off.
Frequently asked questions
Got questions about collecting, drying, or storing rudbeckia seeds? You’re not alone! Here are some of the most common concerns—plus quick, actionable answers to keep your garden thriving.
When is the best time to collect rudbeckia seeds?
Harvest seeds when the flower heads turn brown and dry, usually late summer to early fall (August–October, depending on your climate). Wait until the seed pods split open naturally—this means they’re ready for collection! Avoid collecting seeds from damp or moldy flower heads to prevent spoilage.
How long does it take for rudbeckia seeds to dry indoors?
Spread seeds on a paper towel or mesh screen in a warm, dry spot (like a sunny windowsill or under a fan) for 1–2 weeks. Stir them occasionally to ensure even drying. If humidity is high, add a dehumidifier or silica gel packets to speed up the process. Patience pays off—rush drying can ruin viability!
What’s the best way to store rudbeckia seeds long-term?
Store seeds in a cool (35–40°F), dark, and dry place using airtight containers (like glass jars or resealable bags with silica packets). Label them with the collection date—most rudbeckia seeds stay viable for 2–3 years. Avoid refrigeration unless necessary, as temperature fluctuations can reduce germination rates.
Can I collect seeds from hybrid rudbeckia varieties?
Yes, but expect unpredictable results! Hybrid rudbeckias (like ‘Goldsturm’) may not grow true to type—their offspring could resemble wild black-eyed Susans instead. For consistent blooms, stick to open-pollinated varieties or buy fresh seeds annually. If you’re experimenting, treat it as a fun garden surprise!
What should I do if my stored rudbeckia seeds get moldy?
Don’t panic! If you spot fuzzy mold, discard the affected seeds immediately. To prevent future issues, sterilize containers with rubbing alcohol before storing, and avoid overcrowding seeds. For extra protection, add a few grains of rice to the storage container—it absorbs moisture and acts as a natural humidity indicator.
Wrapping up and next steps
Collecting and storing rudbeckia seeds is a rewarding way to ensure next year’s garden stays as vibrant as ever! By following these simple steps—drying, cleaning, and storing seeds properly—you’ll be well on your way to growing Black-eyed Susans that thrive with minimal effort. 🌻
Now that you’re armed with the know-how, why not take the next step? Try experimenting with different storage methods or even sharing your seeds with fellow gardeners. Happy growing—your future blooms will thank you!