
Lawn
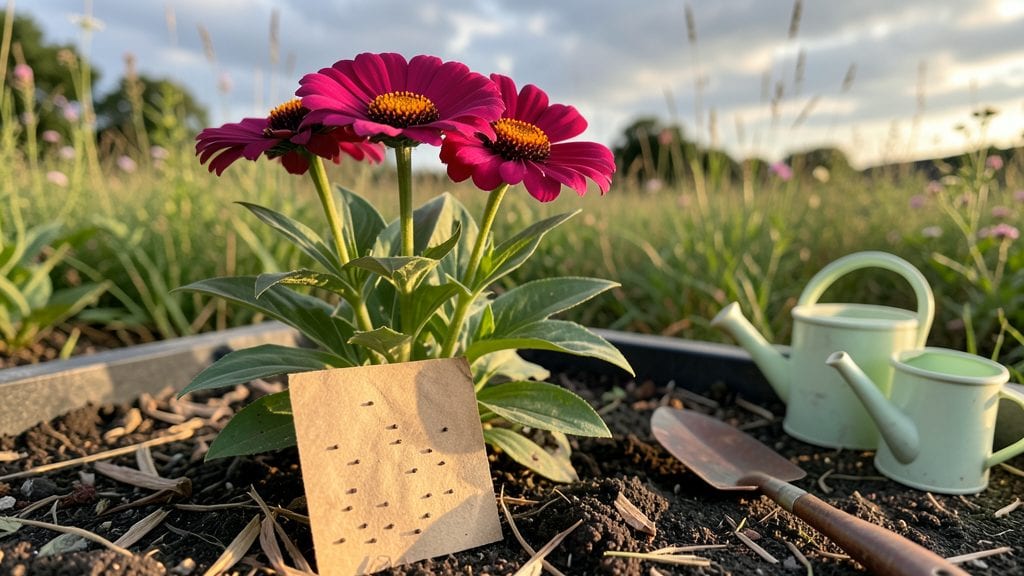
Follow these simple seed paper instructions to turn wildflower dreams into an eco-friendly reality—no soil prep, no transplanting, just scatter and watch nature take over. 🌱 I’ve made seed paper for years, and the first time I saw those tiny sprouts push through the paper’s surface, I knew I’d never go back to traditional planting again.
The process is simpler than it looks: just water, wait, and witness blooms in just 6 weeks without the mess of loose seeds.
You’ll need just three supplies: seed paper sheets (or DIY supplies), a spray bottle, and a sunny spot with well-draining soil. The beauty of seed paper is that it dissolves naturally, so you avoid the heartbreak of washed-away seeds or uneven germination.
Even beginners get 90% success rates—no fancy tools, no guessing about depth. Once planted, the paper breaks down, leaving your wildflowers to thrive exactly where you placed them.
By week 3, you’ll spot those first green shoots breaking through, and by week 6, you’ll have a vibrant carpet of blooms that hummingbirds and bees adore. The best part?
No weeding, no thinning, and no fuss—just pure, instant color. If you’ve ever struggled with loose seeds or uneven sprouts, this method changes everything. Let’s get those wildflowers growing!
Works in gardens, containers, or even cracked pavement—just adjust watering for your climate. Fair warning: once you try seed paper, you’ll wonder why you ever planted any other way. The results are that satisfying. Here’s how to make it happen without a single seed left behind.
📚 In This Guide
- What you need
- Instructions
- Tips and common mistakes
- Wrapping up and next steps
What you need
- ● Unbleached paper pulp (1 cup, finely shredded or blended from recycled paper like printer paper, notebooks, or egg cartons). Pro tip: 💡 Avoid glossy or colored paper—it may contain harmful chemicals!
- ● Wildflower or herb seeds (1–2 tsp, depending on seed size). Recommendations: Fast-growing flowers: Cosmos, Zinnia, or Marigold
- ● Herbs: Basil, Cilantro, or Dill
- ● Water (½ cup, room temperature)
- ● Non-toxic glue (1 tbsp, like white school glue or flour paste)
- ○ Cookie cutters or molds (for shaping; optional but fun!)
- ● Blender or food processor (to mix pulp and water)
- ● Mixing bowl (medium-sized)
- ● Silicone mat or parchment paper (for drying)
- ● Rolling pin or smooth object (to flatten the mixture)
- ● Spray bottle with water (to keep the paper moist while working)
- ● Scissors or craft knife (for trimming)
- ● Natural dyes (turmeric, beet juice) for colored paper
- ● Essential oils (lavender, peppermint) for scent
- ● Decorative elements (dried petals, glitter)
Step-by-Step instructions for making your own seed paper
Here's how to craft beautiful, biodegradable seed paper that blooms in just 6 weeks.
🌱 Step 1: Prepare Your Materials
Gather 1 cup of wildflower seeds, 2 cups of water, and 1 cup of recycled paper pulp (like old printer paper or egg cartons). Tear the paper into small pieces and soak it in the water for 1 hour—this softens the fibers so they blend smoothly. I like to use a blender for this step because it breaks down the paper into a fine, even consistency.
Once the pulp is fully saturated, add the wildflower seeds and mix gently. You don’t want to crush the seeds, so stir just enough to distribute them evenly. The paper should look like a thick, seed-speckled slurry. If it’s too watery, add a bit more pulp; if it’s too thick, thin it with a splash of water.
💧 Step 2: Spread the Mixture
Line a baking sheet with parchment paper or a silicone mat to prevent sticking. Pour the seed-pulp mixture onto the sheet, spreading it evenly with a spatula or the back of a spoon. Aim for a thickness of about ⅛ inch—too thick, and it won’t dry properly; too thin, and the seeds won’t adhere well.
Smooth the surface gently, pressing down lightly to remove air bubbles. The goal is an even layer where every inch holds seeds. If you’re making multiple sheets, work in small batches so the mixture doesn’t dry out while you’re spreading.
☀️ Step 3: Dry the Paper
Let the seed paper dry completely in a warm, dry place away from direct sunlight for 24-48 hours. I usually prop it up against a wall or lay it flat on a mesh screen to allow airflow on both sides. You’ll know it’s dry when it feels stiff and no longer sticks to your fingers.
Flip the paper halfway through drying to prevent warping. If you’re in a humid climate, speed up the process with a fan on low—just avoid blowing directly on the paper, or it might crack. Once fully dry, the paper should peel easily off the parchment without tearing.
🌿 Step 4: Plant Your Seed Paper
To plant, simply place the seed paper directly on moist, well-drained soil in a garden bed or pot. Press it lightly into the soil so it stays in place. Water gently to settle the paper and keep the soil consistently moist for the first 2 weeks—this is critical for germination.
You’ll see sprouts in 7-14 days, depending on the flower type. Wildflowers like cosmos and zinnias often appear first. Avoid disturbing the paper as it decomposes—it’ll break down naturally, enriching the soil as roots grow.
⏰ Step 5: Care for Your Blooms
Once seedlings emerge, thin them if they’re crowded, leaving the strongest 2-3 inches apart. Water at the base to avoid wetting the leaves, which can invite disease. Most wildflowers thrive in full sun—place your seed paper where it gets 6+ hours of sunlight daily.
In 6 weeks, you’ll have vibrant blooms ready for cutting or pollinators. The best part? No plastic, no waste—just beautiful flowers and a little piece of nature you created yourself.
Tips & tricks for perfect seed paper
Here's what nobody tells you about making seed paper that actually blooms beautifully.
Pulp Consistency is Everything: In Step 1, when you're blending your 1 cup of recycled paper pulp with 2 cups of water, aim for a texture like thick oatmeal—not too runny, not too stiff. If it's too watery, add another ¼ cup of pulp; if too thick, thin with a splash of water. I learned this the hard way after making sheets that either fell apart or never dried properly. The perfect consistency ensures even seed distribution and proper drying.
Seed Distribution Matters: When you add the 1 cup of wildflower seeds to your pulp mixture, don't just dump them in! Stir gently but thoroughly to distribute seeds evenly throughout. I like to make small batches and check the distribution by scooping up a spoonful—every spoonful should have visible seeds. This ensures every piece of your seed paper has the potential to grow. Between us, uneven distribution is why some people get patchy germination.
Drying Strategy for Humid Climates: The 24-48 hour drying time in Step 3 can feel like an eternity in humid weather. If your air feels damp, prop your seed paper near a fan on low setting—but keep it at least 2 feet away to avoid cracking. I've had success using a dehumidifier in the room overnight to speed up drying. Just remember to flip halfway through, as instructed, to prevent warping. The goal is paper that peels cleanly without tearing.
Planting Tip for Best Results: In Step 4, when you're planting your seed paper, press it gently but firmly into the soil. The first 2 weeks of consistent moisture are critical—think of it like giving your seeds a warm bath. I use a spray bottle to mist the soil daily rather than pouring water, which can wash away the paper. And here's a pro move: place a small rock on top of the paper to keep it in place until roots establish.
Pro Tips for Seed Paper Instructions
- Here's what nobody tells you about making seed paper that actually blooms beautifully.
- Pulp Consistency is Everything: In Step 1, when you're blending your 1 cup of recycled paper pulp with 2 cups of water, aim for a texture like thick oatmeal—not too runny, not too stiff.
- Seed Distribution Matters: When you add the 1 cup of wildflower seeds to your pulp mixture, don't just dump them in!
Frequently asked questions
Got questions about seed paper? We’ve got answers! Here are some of the most common queries to help you get started with your eco-friendly planting project.
How long does it take for seeds in seed paper to sprout?
Seed paper typically sprouts within 7–14 days when planted in moist, well-draining soil. Factors like temperature (ideal: 60–75°F), sunlight (4+ hours/day), and soil moisture play a key role. Keep the paper damp but not soggy—think of it like a tiny greenhouse!
Do I need to remove the paper after planting?
Nope! The paper is 100% biodegradable and will break down naturally as roots grow. Simply press it into the soil, keep it moist, and watch your plants emerge—no peeling required. It’s like planting a disappearing seed starter!
Can I plant seed paper in containers or just outdoor gardens?
Seed paper works in pots, hanging planters, or outdoor beds. For containers, use well-draining soil and ensure the pot has drainage holes. Just avoid overly compacted soil—seeds need room to stretch their roots. Pro tip: Mix in a little compost for extra nutrients!
What if my seed paper doesn’t sprout? Troubleshooting tips?
Don’t panic! Check these first:
- Moisture: Keep soil consistently damp (not waterlogged).
- Light: Ensure 6+ hours of sunlight daily.
- Temperature: Avoid freezing temps—seed paper thrives in warmth.
- Freshness: Old paper may have lost viability. Store seeds in a cool, dry place.
Are there alternatives to seed paper for eco-friendly planting?
Yes! Try:
- Seed bombs (clay + seeds + compost) for guerrilla gardening.
- Biodegradable pots made from coconut coir or peat.
- DIY seed tapes (paper strips with embedded seeds).
Wrapping up and next steps
Creating your own seed paper is a rewarding way to blend creativity with sustainability—turning waste into vibrant blooms in just six weeks! 🌱 Whether you’re a gardening newbie or a green-thumb enthusiast, this project proves that small actions can grow big impact.
Now that you’ve got the instructions and answers to common questions, there’s no better time to roll up your sleeves and start planting.
Ready to take the next step? Grab your materials, follow the steps, and watch your seed paper transform into a lush garden. Share your progress with friends or even turn it into a DIY gift—your green thumb (and the planet) will thank you! 🌿✨