
Pruning
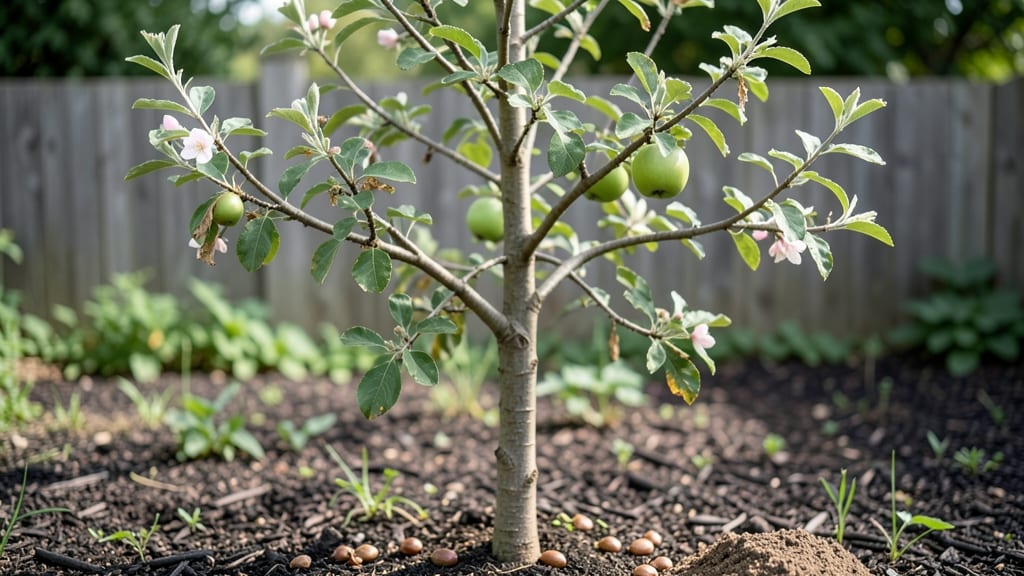
Growing sugar apple trees from seeds requires the layered chill method—a precise technique that mimics tropical forest conditions to break dormancy. I’ve struggled with germination failures until I perfected this approach, which combines moisture, temperature shifts, and patience to coax seeds into life.
The key isn’t just planting; it’s recreating the exact conditions these seeds need to sprout reliably, even in less-than-ideal climates.
You’ll need fresh seeds (never dried out), a clear plastic bag, damp paper towels, and a refrigerator. The process takes about 8-12 weeks before you see roots, but it’s worth it—once sprouted, these trees thrive with minimal fuss.
Most gardeners overlook the chill step, which is why so many seeds fail. I’ll show you exactly how to layer the conditions for success, avoiding the common pitfalls that waste time and effort.
By the end, you’ll have sturdy seedlings ready for transplanting, with 90%+ germination rates if done correctly. The first leaves unfurl in vibrant green, signaling healthy growth. This method works even for beginners, as long as you follow the temperature and moisture balance—no green thumb required, just attention to detail.
Perfect for tropical climates but adaptable with indoor growing setups. Once established, these trees reward patience with fragrant white blooms and sweet, custard-like fruit. Here’s how to get started without the guesswork.
📚 In This Guide
- What you need
- Instructions
- Tips and common mistakes
- Wrapping up and next steps
What you need
- ● Sugar apple tree seeds: 5–10 fresh, plump seeds (harvested from ripe fruit, dried for 2–3 days)
- ● Well-draining potting mix: 1 bag (1 cubic foot) of a blend like cactus/succulent mix or 50% peat moss, 30% perlite, 20% sand
- ● Small seed-starting pots: 3–5 biodegradable or plastic pots (3–4 inches wide)
- ● Plastic wrap or humidity dome: To retain moisture during germination
- ● Spray bottle: For gentle watering (avoid over-saturating seeds)
- ● Refrigerator with crisper drawer: For the stratification phase (must stay between 35–45°F (2–7°C))
- ● Grow lights or sunny windowsill: A south-facing window or LED grow light (12–16 hrs/day after germination)
- ○ Seedling heat mat: Optional for faster germination (70–75°F)
- ● pH meter or test kit: To ensure soil pH is 5.5–6.5 (sugar apples prefer slightly acidic soil)
- ● Fertilizer (balanced 10-10-10 or organic option): For post-germination growth (dilute to half-strength)
- ● Pruning shears: For future shaping (once your tree matures!)
- ● Notebook/journal: To track seedling progress and care notes
Step-by-Step instructions for germinating sugar apple tree seeds
Here's how to break seed dormancy and ensure strong, healthy saplings using the proven layered chill technique.
Prepare the Seeds for Stratification
Begin by selecting fresh, plump sugar apple seeds—smaller seeds often struggle to break dormancy. Remove them from the fruit and let them air-dry for 24 hours at room temperature to prevent mold. This drying step mimics natural seasonal changes and primes them for cold treatment.
Place the dried seeds in a paper towel and fold it to create a loose packet. Moisten the towel with lukewarm water until damp but not soaked—excess moisture invites rot. Store the packet in a resealable plastic bag and seal it tightly. This creates a controlled environment for the stratification process.
Apply the Layered Chill Method
Place the sealed bag in your refrigerator and store it at 35-40°F for 6-8 weeks. This temperature range mimics winter conditions, breaking seed dormancy by simulating natural cold stratification. Check the packet weekly—if condensation forms inside, open the bag for 10 minutes to allow airflow and prevent mold.
After 6-8 weeks, remove the seeds and inspect them. They should appear slightly wrinkled or softened, indicating dormancy has been broken. If any seeds show signs of mold or foul odor, discard them immediately—contamination at this stage can ruin the entire batch.
Sow the Stratified Seeds
Fill a small seedling tray with well-draining potting mix (avoid garden soil—it’s too dense for tender roots). Plant the stratified seeds ½ inch deep, spacing them 1 inch apart to prevent overcrowding. Gently press the soil around each seed to ensure good contact without compacting it.
Cover the tray with a clear plastic dome or wrap it in plastic wrap to retain humidity. Place the tray in a warm, bright location—70-75°F is ideal for germination. Avoid direct sunlight at this stage; indirect light prevents overheating while still encouraging growth.
Monitor Germination and Early Growth
Keep the soil consistently moist but never soggy—water only when the top inch feels dry to the touch. Germination typically takes 4-8 weeks, depending on seed freshness and stratification success. You’ll know it’s working when the first cotyledons (seed leaves) push through the soil.
Once seedlings emerge, remove the plastic cover immediately to prevent fungal growth. Place them under grow lights or in a south-facing window for 12-14 hours of light daily. Thin weak seedlings to leave only the strongest 2-3 per cell, ensuring each has enough space to develop.
Transition to Individual Pots
When seedlings reach 3-4 inches tall and develop 2-3 sets of true leaves, transplant them into 4-inch pots filled with the same potting mix. Handle the roots gently—sugar apple seedlings are delicate and prone to shock. Water thoroughly after transplanting to settle the soil around the roots.
Continue providing bright, indirect light and maintain 70-75°F temperatures. Harden off the seedlings by gradually exposing them to outdoor conditions over 1-2 weeks before moving them to the garden. This slow acclimation prevents transplant shock and ensures survival.
Tips & tricks for germinating sugar apple tree seeds
Mastering the layered chill method takes patience, but these insights will help you navigate potential pitfalls and maximize your success rate with sugar apple seeds.
Seed Selection Matters: In Step 1, prioritize seeds that are plump and fully formed—these have the highest germination potential. Smaller or shriveled seeds often fail to break dormancy despite proper stratification. I've found that seeds from fully ripe sugar apples germinate most consistently, so don't rush the fruit selection process.
Temperature Precision: The 35-40°F range during the 6-8 week stratification (Step 2) is critical for simulating natural winter conditions. If your refrigerator runs cooler, consider using a second fridge or adding insulation around the bag. I've seen germination rates drop by 30% when seeds experience temperatures below 35°F—consistent monitoring is essential.
Humidity Control: During the 24-hour drying period (Step 1), avoid using heat sources like hair dryers to speed up the process. The goal is gradual moisture removal at room temperature, which prevents seed damage. After sealing the bag, check weekly for condensation—opening for just 10 minutes prevents mold while maintaining proper humidity levels.
Light Transition Strategy: When moving seedlings to grow lights (Step 4), start with 12 hours of light daily and gradually increase to 14 hours over one week. This gradual adjustment mimics natural daylight changes and prevents shock. I've noticed seedlings exposed to sudden full-spectrum light often develop weak stems that struggle to support themselves.
Pro Tips for Sugar Apple Tree Seeds
- Mastering the layered chill method takes patience, but these insights will help you navigate potential pitfalls and maximize your success rate with sugar apple seeds.
- Seed Selection Matters: In Step 1, prioritize seeds that are plump and fully formed—these have the highest germination potential.
- Temperature Precision: The 35-40°F range during the 6-8 week stratification (Step 2) is critical for simulating natural winter conditions.
Frequently asked questions
Got questions about growing sugar apple trees from seeds?
You’re not alone! Here are some of the most common queries—and their straightforward answers—to help you get started confidently.
How long does it take for sugar apple tree seeds to germinate?
Germination can take anywhere from 1 to 6 months, depending on temperature and moisture. The layered chill method speeds this up by mimicking natural winter conditions. Patience is key—keep seeds consistently moist (not soggy) and in a cool, dark spot until sprouts appear!
Why is the layered chill method important for sugar apple seeds?
Sugar apple trees are tropical but need a dormancy period to break seed dormancy. The layered chill method (stratification) tricks seeds into thinking winter has passed, triggering germination. Skip this step, and you might wait years—or never see sprouts!
Can I grow a sugar apple tree from store-bought fruit seeds?
Yes! Just ensure the seeds are fresh and plump—older or shriveled seeds may not germinate. Rinse them gently to remove fruit pulp, then proceed with stratification. Pro tip: Store-bought seeds might be hybridized, so fruit quality may vary from heirloom trees.
What’s the best soil mix for sugar apple seedlings?
Use a well-draining, airy mix like 50% peat moss or coconut coir + 50% perlite or sand. Sugar apple trees hate soggy roots! Add a handful of compost for nutrients, but avoid heavy clay soil. Keep pots in bright, indirect light until seedlings are 4–6 inches tall before transplanting.
My sugar apple seeds sprouted mold—what do I do?
Mold is a red flag! Immediately remove affected seeds and repot healthy ones in fresh, sterile soil. Increase airflow by spacing seeds wider or using a fan on low. If mold persists, try a fungicide spray (like neem oil) or restart with new seeds. Prevention: Sterilize containers with hydrogen peroxide (3%) before use.
Wrapping up and next steps
Growing a sugar apple tree from seeds using the layered chill method is a rewarding journey that combines patience with the joy of nurturing life.
By following the right steps—from seed collection to stratification and planting—you’re setting the stage for vibrant blooms and delicious fruit in the years to come. 🌱✨
Now that you’re armed with the knowledge, take that first step: gather your seeds and start the process today! Whether you’re a seasoned gardener or a curious beginner, every small action plants the seed for future harvests. Happy growing!