How To
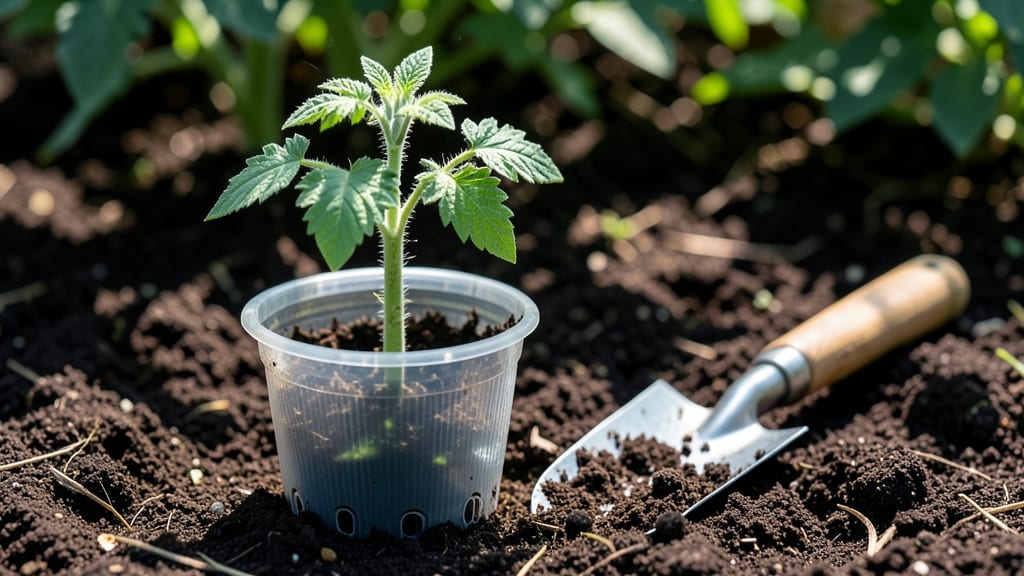
Planting tomato seeds at the right depth is the single most important step for fast, reliable germination—most gardeners get it wrong without realizing it.
Struggling with uneven tomato 🍅 sprouts? The secret to strong, consistent starts lies in planting seeds at ¼ inch deep—any shallower and they dry out, too deep and they suffocate. I’ve wasted dozens of seeds by guessing, and you don’t have to make the same mistake.
This isn’t just about sticking seeds in the dirt—it’s science. Soil temperature, moisture, and even seed coatings play a role, but depth is where most beginners trip up.
Below, I’ll show you the exact method for 90%+ success, whether you’re starting indoors in March or direct-sowing after your last frost.
You’ll learn how to measure depth without a ruler, fix common mistakes (like planting too deep in cold soil), and keep your seedlings thriving from the first sprout to transplant time.

Optimal tomato seed depth by planting method (indoor vs outdoor)
Getting your tomato seeds to sprout consistently starts with one critical factor: planting depth. The ¼-inch rule isn’t just a suggestion—it’s backed by seed science to balance light exposure and moisture needs.
But whether you're starting seeds indoors or direct-sowing outdoors, the ideal depth shifts slightly due to temperature and soil conditions.
Indoor starters need precise depth control because seedling trays offer limited space, while outdoor soil provides natural insulation. Seed coatings (like those on hybrid varieties) also change the equation—thicker coatings need slightly deeper planting to avoid drying out.
Let’s break down the exact measurements for each method to maximize your germination rate and avoid common pitfalls.
For indoor seed starting, the ¼-inch depth is your sweet spot because it keeps seeds close enough to light for early photosynthesis while preventing them from drying out.
I’ve found that using a fine-mist spray bottle to keep the soil moist—without oversaturating—makes all the difference in preventing damping off, a fungal disease that strikes when seeds are planted too deep or overwatered.
Outdoor planting tells a different story. When you’re direct-sowing in warmer soil (ideal temperature: 60°F+), you can safely go ½ inch deep. The extra soil acts as insulation, protecting young sprouts from temperature swings.
In my Zone 6a garden, I wait until mid-May to direct-sow because the soil stays consistently warm enough to support this deeper planting.
If you’re dealing with cold soil (below 50°F), shallow is better—⅛ inch deep—to prevent rot. I’ve had better luck with a seedling heat mat ($20 from Amazon) in early spring than struggling with buried seeds.
The mat keeps the soil at 75°F, mimicking summer conditions and speeding up germination from 10–14 days to just 5–7 days.
One mistake I see often is ignoring seed coatings. If your seeds are pelleted (common with hybrids), they need ⅜ inch depth to avoid drying out. The coating slows moisture loss, but it also blocks light—so deeper planting ensures the seed itself gets the right conditions.
Always check the packet for exceptions, as some varieties (like Cherry Tomatoes) may have slightly different needs.
When transplanting seedlings, depth matters just as much as it did indoors. Burying too deep can cause stem rot, while planting too shallow leaves roots exposed. I use the seedling’s first true leaves as a guide—those should end up just below soil level.
For determinate varieties (bush tomatoes), I plant slightly deeper to encourage stronger root systems.
Pro tip: Use a wooden dowel or calibrated trowel to measure depth accurately. I keep one marked with
Common mistakes that kill tomato germination (and how to fix them)
Even with the right tomato seed depth, many gardeners unknowingly sabotage their germination rates through simple oversights. Overcrowding seeds or burying them too deep can suffocate young roots, while inconsistent moisture or poor light exposure turns your seed tray into a graveyard for potential plants.
Let’s tackle the most common mistakes—from planting too shallow to ignoring soil temperature—and how to correct them before it’s too late. These fixes could mean the difference between a thriving garden and wasted seeds.
Tomato seeds need 1/4-inch depth for optimal germination. Planting deeper than 1/2 inch risks stunted seedlings, while planting too shallow (1/8 inch) exposes seeds to drying out. Use a ruler or toothpick to measure—precision matters!
One of the biggest culprits is over-planting seeds too closely. When seedlings compete for nutrients and light, they become leggy and weak. Thin them to 2-3 inches apart once they sprout, or sow seeds individually in biodegradable pots to avoid this step entirely.
Cold soil is another silent killer. If your soil temperature drops below 60°F, seeds may rot instead of germinating. Use a seedling heat mat ($15-$25) or place trays on top of your fridge to maintain warmth until sprouts appear.
Moisture is equally critical—overwatering can drown seeds, while underwatering leaves them parched. Keep soil consistently damp (not soggy) by misting lightly every 1-2 days and covering trays with plastic wrap to retain humidity.
Finally, poor light exposure stunts growth. Place trays near a south-facing window or under grow lights (12-16 hours/day) to prevent weak, etiolated seedlings. If using natural light, rotate trays daily for even growth.
By addressing these mistakes early, you’ll give your tomato seeds the best chance to thrive—and avoid the heartbreak of failed germination. Start with the right depth, then focus on warmth, moisture, and light. Your future harvest depends on it! 🌱