
Lawn
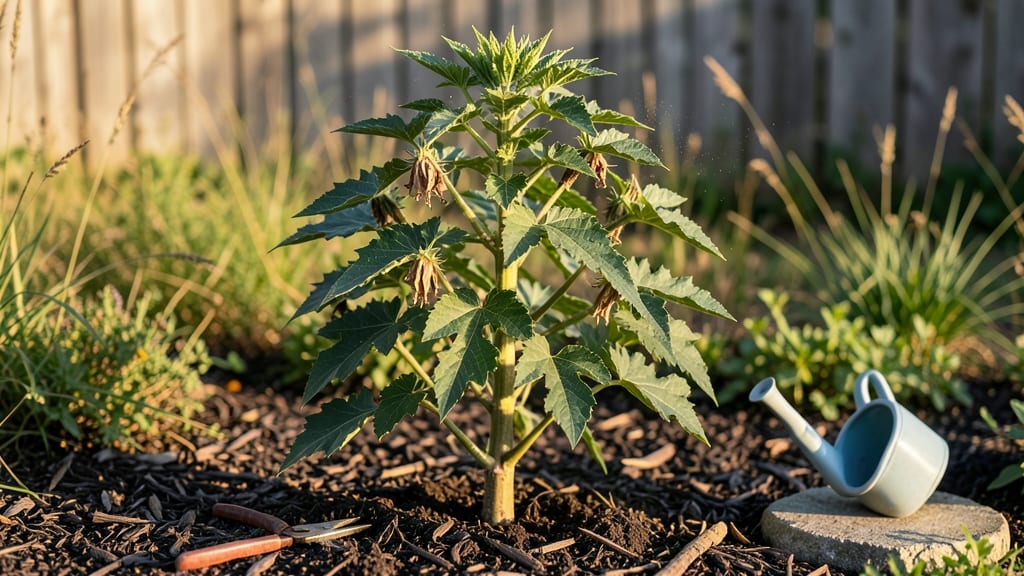
When your lawn grass went to seed overnight, it’s not a death sentence—it’s a cry for help from your plants. 🌱 I’ve seen lush lawns turn into patchy seed heads after just one heatwave, and the good news is, you can bring them back without replanting.
The key lies in understanding why it happens: stress from heat, drought, or even overwatering triggers this survival response.
Most people assume seed heads mean the grass is dying, but it’s actually a last-ditch effort to reproduce. The fix starts with heat-tolerant grass varieties like Bermuda or Zoysia, which handle summer stress better.
Adjusting your watering schedule—deep, infrequent soaks instead of daily light sprinkles—can also prevent future bolting. Even your mower height matters: taller grass shades roots and retains moisture.
Within 4-6 weeks of proper care, you’ll see new growth pushing through the seed heads, and your lawn will thicken back up. The secret is patience: avoid cutting until the seed heads turn brown, then trim just above the crown to encourage fresh shoots.
This method works for both cool-season and warm-season grasses, though timing varies by climate.
For stubborn patches, overseeding in early fall gives your lawn a fresh start while the soil stays cool. I’ve revived entire yards this way—no tilling, no chemicals, just smart adjustments.
The payoff? A lawn that stays green through summer heat and recovers faster after stress. Let’s get those blades growing again.
📚 In This Guide
- What you need
- Instructions
- Tips and common mistakes
- Wrapping up and next steps
What you need
- ● Lawn rake (bendable tines, 18–24 inches) – 1–2
- ● Garden fork or aerator (manual or powered) – 1
- ● Pruners or shears (sharp, bypass-style) – 1 pair
- ● Compost or organic matter (aged, weed-free) – 1–2 cubic yards
- ● Native grass seed (match your climate/soil type) – 10–20 lbs
- ● Topsoil or soil amendment (if needed) – 1–3 inches depth
- ● Watering hose or sprinkler (with adjustable nozzle) – 1
- ○ Mulch or straw (to retain moisture) – Optional, 1–2 bales
- ● Gloves (gardening or work gloves) – 1 pair
- ○ Knee pads (for comfort) – Optional
- ○ pH testing kit (to check soil health) – Optional
- ○ Lime or sulfur (if soil pH is off) – Optional, follow test results
- ○ Weed barrier fabric (if weeds are persistent) – Optional
- ● ✅ Mild weather – Aim for 50–75°F (10–24°C) for best seed germination.
- ● ✅ Sunlight access – Confirm your lawn gets at least 4–6 hours of sun daily.
- ● ✅ Clear debris – Remove rocks, sticks, and dead plant matter first.
- ● ✅ Test soil moisture – Soil should be damp but not soggy before seeding.
Step-by-Step guide to reviving a lawn that went to seed
Here’s how to bring your lawn back from seed-head fatigue without starting over.
🌱 Step 1: Clear Away Dead Seed Heads and Debris
Grab your lawn rake and gently rake the lawn in one direction to remove dried seed heads and thatch. You’ll see a mix of brown, brittle stems and loose seed clusters—these are the culprits blocking new growth. Work slowly to avoid tearing up healthy grass blades underneath.
Focus on areas where the lawn looks patchy or where seed heads are thickest. If the thatch layer (that spongy brown material between soil and grass) is over ½ inch thick, use a dethatching rake to loosen it. This lets air, water, and nutrients reach the roots again. Stop when you see fresh green soil beneath.
💧 Step 2: Test Soil and Adjust pH if Needed
Take a small soil sample from the lawn using the soil probe—dig down 2-3 inches and collect a few spoonfuls. Place it in the soil test kit and follow the instructions to check pH. Most lawn grasses thrive in a pH range of 6.0 to 7.0. If your test shows anything outside this, you’ll need to adjust it.
For low pH (acidic soil), sprinkle lime evenly over the lawn using the spreaders—follow the package rate for your soil type. For high pH (alkaline soil), apply sulfur instead. Water the lawn deeply after applying either amendment to help it penetrate the soil. This step can take 2-4 weeks to take effect, so plan ahead.
☀️ Step 3: Overseed Thin or Bare Spots
Use the lawn aerator to create small holes 2-3 inches deep across the entire lawn. This helps the new seed make contact with the soil and encourages root growth. After aerating, spread 2 pounds of grass seed evenly using the seed spreader, covering the entire area. Lightly rake the seed into the soil with the lawn rake to ensure good seed-to-soil contact.
Water the lawn lightly every day for the first 10-14 days to keep the soil moist but not soggy. You’ll see new grass blades emerge in about 2 weeks, signaling that the seed is germinating. Avoid walking on the lawn until the new grass reaches 3 inches tall—this protects the delicate seedlings.
✂️ Step 4: Fertilize and Mow for Strong Recovery
Once the new grass is 3-4 inches tall, apply ½ pound of lawn fertilizer using the spreaders. Choose a slow-release fertilizer with a balanced NPK ratio (10-10-10 or 20-20-20) to support steady growth. Water the lawn deeply after fertilizing to help the nutrients absorb into the soil.
Set your lawn mower to its highest setting and mow the lawn to 3-4 inches tall. This encourages deeper root growth and helps the grass compete with weeds. Mow regularly, removing only ⅓ of the blade height at a time, to keep the lawn healthy and even. Avoid mowing when the grass is wet—this can damage the blades and spread disease.
🪴 Step 5: Maintain Moisture and Monitor Progress
Check the soil moisture weekly by pushing a soil probe into the ground. If the top 1 inch of soil feels dry, water the lawn deeply to encourage deep root growth. Early morning is the best time to water—this reduces evaporation and fungal growth. Aim for 1 inch of water per week, including rainfall.
Keep an eye out for weeds or pests as the lawn recovers. If you spot any, address them early with organic weed killer or insecticidal soap to avoid damaging the new grass. With consistent care, your lawn should fill in completely within 6-8 weeks, leaving you with a lush, vibrant space once again.
Tips & tricks for reviving a lawn that went to seed
Reviving a lawn that's gone to seed takes patience and precision—here are the key tricks to ensure you don't waste time or effort.
The Raking Technique: In Step 1, when you're removing seed heads, work in the same direction as your grass grows to avoid damaging the blades. I learned this the hard way—scrubbing back and forth creates bald spots. Think of it like combing your hair: smooth strokes only. For stubborn thatch over ½ inch thick, use a dethatching rake in vertical motions rather than horizontal—this lifts the thatch without tearing the grass.
Soil Testing Secrets: The pH range of 6.0 to 7.0 in Step 2 is critical, but here's what nobody tells you: test multiple spots across your lawn. Soil pH can vary dramatically even in small areas. If your test shows borderline results (like 5.9 or 7.1), consider testing again in 2-4 weeks after applying amendments—sometimes the change isn't immediate. And remember: lime lowers pH (makes soil more alkaline), while sulfur raises acidity (lowers pH).
Aeration Depth Matters: When using the lawn aerator in Step 3, aim for those 2-3 inch holes to reach down to the root zone. You'll know you're doing it right when you see small soil plugs pop out—these are your visual confirmation. Pro tip: Rent a tow-behind aerator for large lawns, but for small patches, a manual core aerator works perfectly. The key is consistency—don't skip spots, even if they look healthy.
Watering Wisdom: That 10-14 day light watering schedule in Step 3 is non-negotiable, but here's the real secret: water in the early morning between 4-8 AM. This gives the grass time to dry before evening, reducing fungal risks. Use a rain gauge or tuna can to measure your water—you'd be surprised how much most sprinklers over- or under-water. And when you see those first green shoots at 2 weeks, that's your cue to start reducing frequency while increasing depth.
Pro Tips for Went To Seed
- Reviving a lawn that's gone to seed takes patience and precision—here are the key tricks to ensure you don't waste time or effort.
- The Raking Technique: In Step 1, when you're removing seed heads, work in the same direction as your grass grows to avoid damaging the blades.
- Soil Testing Secrets: The pH range of 6.0 to 7.0 in Step 2 is critical, but here's what nobody tells you: test multiple spots across your lawn.
Frequently asked questions
Got questions about what it means for your lawn to "go to seed" and how to fix it? You're not alone!
Here are some of the most common questions we hear from homeowners looking to revive their grass naturally. Let’s tackle them together—no green thumb required!
What does it mean when grass "goes to seed"?
When grass "goes to seed," it’s producing seed heads (those spiky, flower-like structures) as part of its natural reproductive cycle. This often happens when grass is stressed—due to drought, poor soil, or over/under-mowing. While it’s not harmful, it can make your lawn look patchy or unkempt. Think of it as your grass’s way of saying, "Hey, I’m struggling!"
When is the best time to address seed heads in my lawn?
The ideal time to tackle seed heads is after they’ve fully formed but before they spread seeds (usually late spring or early summer for cool-season grasses, or late summer for warm-season types). If you mow them off too early, you might encourage more seed production. Wait until the heads turn brown and brittle—then mow them down or rake them out for a cleaner look.
Can I just mow over the seed heads, or do I need to do more?
Mowing is a good first step to remove seed heads, but it won’t fix the underlying issue. To truly revive your lawn, focus on improving soil health (aerate, fertilize, or overseed if needed), watering deeply but infrequently, and adjusting your mowing height. Seed heads often return if the root cause—like compacted soil or nutrient deficiency—isn’t addressed.
Will removing seed heads kill my grass?
Nope! Removing seed heads won’t harm your grass—it’s just pruning the flowers. However, if your lawn is already thin or stressed, aggressive methods (like scalping with the mower) can damage the grass blades. Always mow at the highest recommended setting for your grass type (usually 3–4 inches) and avoid cutting more than one-third of the blade height at once.
What’s a natural way to prevent grass from going to seed in the future?
Prevention starts with consistent care:
- Water deeply 1–2 times per week (early morning is best) to encourage deep roots.
- Fertilize seasonally (spring and fall for cool-season grasses, spring and summer for warm-season types).
- Mow high—taller grass shades out weeds and retains moisture.
- Aerate annually to relieve compacted soil and improve nutrient absorption.
Why does my lawn have seed heads in some spots but not others?
Uneven seed head growth usually signals spotty stress. Check for:
- Sunlight differences (shady areas may struggle more).
- Watering inconsistencies (some spots might be over- or under-watered).
- Soil variations (compacted or nutrient-poor patches).
- Mowing patterns (if you scalped certain areas).
Wrapping up and next steps
Reviving a lawn that’s gone to seed doesn’t have to be overwhelming—just consistent and patient! 🌱 By addressing soil health, proper watering, and natural fertilization, you’ve got everything you need to coax life back into your grass. Remember, even the toughest patches can bounce back with the right care.
Ready to see real results? Start small—pick one area this weekend to test your new techniques. Track your progress with photos or notes, and soon, you’ll be proud of that lush, green space again! Your lawn’s comeback story begins now.