Plants
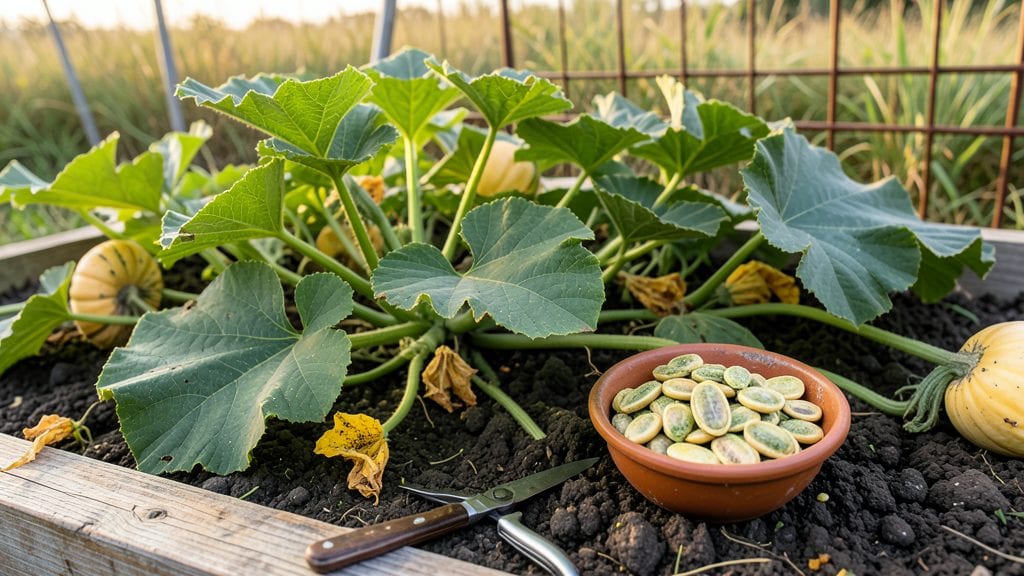
What do moldy pumpkin seeds look like—dull, sunken spots that turn grayish-green or black—then fuzzy white or green growth spreads like cobwebs. 🌱 I’ll never forget the first time I opened a bag of "fresh" seeds and found them covered in this creepy fuzz.
That’s when I learned to check every batch before planting, because those fuzzy spots mean it’s time to toss them.
The mold comes from too much moisture or poor storage—whether seeds sat in damp soil or a sealed container. Even a tiny crack in the bag lets humidity in, and within days, that fuzzy film appears.
The good news? Healthy seeds stay firm and tan-colored, with no weird textures or smells. If yours look anything like that, they’re no good for planting.
Discarding moldy seeds saves you from weak, stunted plants—or worse, mold spreading to your healthy seeds. Rinse your hands after handling any questionable seeds, and store new ones in a cool, dry place with silica packets to keep moisture out.
A little prevention goes a long way toward strong pumpkin seedlings.
This works for any stored seeds—just watch for those telltale discoloration and fuzzy spots. Next time you’re prepping for planting, take an extra minute to inspect your seeds. Your future pumpkins will thank you.
The Hidden Triggers Behind Spoilage
Moldy pumpkin seeds don’t just appear overnight—they’re the result of a perfect storm of environmental and storage factors. Understanding these causes is key to preventing future spoilage and keeping your seeds safe to eat.
Let’s break down the science behind why your pumpkin seeds might be turning fuzzy, discolored, or slimy.
Mold thrives in warm, damp conditions, and pumpkin seeds are especially vulnerable because they contain natural oils that attract moisture. Here’s how it works:
- Temperature sweet spot for mold: Fungi grow fastest between 77°F and 86°F (25°C–30°C). If your seeds are stored in a pantry, kitchen, or garage that heats up, you’re creating an ideal breeding ground. Even a few degrees above room temperature can accelerate spoilage.
- Humidity’s role: Seeds absorb moisture from the air like a sponge. If humidity exceeds 60% or higher, condensation forms on seeds, creating the perfect environment for mold spores to land and multiply. Think of it like a rainstorm for tiny fungi!
- Actionable fix:
- Store seeds in airtight containers (glass jars or Mylar bags with oxygen absorbers work best).
- Use silica gel packets or rice grains in the container to absorb excess moisture.
- Aim for cool, dry storage—a pantry below 70°F (21°C) or a fridge (if short-term) is ideal.
Even if your seeds are dry at first, poor packaging can turn them moldy in days. Here’s why:
- Plastic bags are porous: Many store-bought or homemade seed bags (especially thin plastic) allow moisture to seep in. Over time, this creates a microclimate where mold spores can colonize.
- Condensation buildup: If seeds are stored in a sealed bag with no airflow, respiration (the seeds’ natural process of releasing water vapor) leads to internal condensation. This is like a sauna for mold!
- Actionable fix:
- Transfer seeds to glass jars or vacuum-sealed bags with desiccants (like DampRid or uncooked rice).
- Avoid ziplock bags—they trap moisture and heat.
- If roasting seeds at home, let them cool completely before sealing to prevent steam from forming.
Pumpkin seeds straight from the gourd are naturally moist, and if they’re not dried properly, mold will take hold within 24–48 hours. Here’s the science:
- High moisture content: Fresh seeds have 40–60% water content. Mold spores need just 14–18% moisture in the seed to start growing. If seeds aren’t dried below 10% moisture, they’re a mold magnet.
- Bacterial vs. fungal growth: Initially, bacteria may cause a slimy texture, but within days, fungal mold (like Aspergillus or Penicillium) takes over, producing those telltale fuzzy spots.
- Actionable fix:
- Dry seeds thoroughly: Spread them in a single layer on a baking sheet and bake at 170°F (77°C) for 1–2 hours (stirring every 30 minutes) or air-dry in sunlight for 3–5 days.
- Use a food dehydrator at 135°F (57°C) for 4–6 hours.
- Check moisture with a food scale: Seeds should weigh 20–30% less than when fresh.
Even one moldy seed in a bag can infect the whole batch through spore dispersal. Here’s how it spreads:
- Mold spores are microscopic and airborne: When you open a bag of seeds, spores from a single moldy seed can land on nearby seeds, germinate, and spread within 24 hours.
- Physical transfer: If you handle moldy seeds (even accidentally) and then touch clean seeds, spores hitch a ride on your hands or tools.
- Actionable fix:
- Inspect seeds before storage: Discard any that look damp, discolored, or have an off smell.
- Use clean, dry utensils when transferring seeds—avoid wooden spoons or hands if seeds are damp.
- Store seeds in smaller batches so you’re not risking an entire jar if contamination occurs.
By addressing these root causes—heat, humidity, poor drying, and contamination—you can dramatically reduce the risk of moldy pumpkin seeds. The key is prevention through proper storage and handling. Next, we’ll cover how to spot mold early and what to do if you already have a bad batch.
Fixing and Preventing Mold in Pumpkin Seeds
Now that you know what causes moldy pumpkin seeds—whether it’s from excess moisture, poor storage, or contamination—let’s tackle the problem head-on. Below are practical solutions tailored to each cause, plus prevention tips to keep your seeds safe for snacking or planting.
If you’ve spotted fuzzy white, green, or black spots (or worse, a musty smell), act fast to stop the spread.
🍳 Step 1: Inspect and Sort
- Empty the container and spread seeds on a clean, dry towel or paper towel.
- Visually scan each seed for:
- Discoloration (dark spots, black streaks)
- Fuzzy texture (mold growth)
- Soft or shriveled appearance (sign of rot)
- Discard any questionable seeds—even a few moldy ones can contaminate the rest.
👨🍳 Step 2: Clean the Good Seeds (If Needed)
If seeds are dry but dusty (not moldy), you can rinse and dry them to remove surface contaminants: 1. Place seeds in a fine-mesh strainer and rinse under cool, running water.
- Pat dry with a clean towel or let air-dry in a single layer for 4–6 hours (or until completely dry).
- Store properly (see prevention tips below).
⚠️ Warning: If seeds are already moldy, do not rinse—this can spread spores. Toss them instead.
If mold keeps returning, your storage conditions are likely the culprit.
🔑 Solution: Optimize Storage
| Problem | Fix |
|---|---|
| Too humid | Use silica gel packets or a dehumidifier in storage. |
| Air not circulating | Store in an open container (not airtight) or use a breathable bag. |
| Temperature swings | Keep seeds in a cool, dark place (50–70°F / 10–21°C). |
| Direct sunlight | Store in an opaque container (light speeds up spoilage). |
💡 Pro Tip: Vacuum-sealed bags work for long-term storage (up to 1 year), but only if seeds are completely dry first.
Stop mold before it starts with these easy habits:
🌱 Before Storing: Dry Thoroughly
- Roast or bake seeds at 250°F (120°C) for 10–15 minutes to kill any hidden mold spores.
- Sun-dry seeds for 2–3 hours if they’re fresh from a pumpkin (speed up drying with a fan).
📦 Store Like a Pro
✅ Use glass jars, airtight containers, or mesh bags (but leave a tiny gap for airflow). ✅ Add a silica packet or uncooked rice (natural moisture absorber) to the container. ✅ Label with the date—most pumpkin seeds last 6–12 months if stored correctly.
🚫 Avoid These Mistakes
❌ Storing in the fridge (condensation = mold magnet). ❌ Keeping seeds in plastic bags (traps moisture). ❌ Reusing dirty containers (bacteria and mold love leftovers).
If you’re growing pumpkins, not all hope is lost—but sterilization is key: 1. Soak seeds in 10% bleach solution (1 part bleach to 9 parts water) for 5 minutes, then rinse well.
- Plant immediately in sterile soil (or use a seedling tray).
- Monitor for mold—if it reappears, discard the batch.
⚠️ Warning: If seeds are black, mushy, or smell terrible, do not plant them—they may carry harmful toxins.
Final Thought: A little prevention goes a long way! By drying properly, storing smart, and inspecting regularly, you’ll keep your pumpkin seeds crunchy, safe, and mold-free—ready for snacking or sowing. 🌿💪
Frequently asked questions
Can I still plant moldy pumpkin seeds?
No, you should never plant moldy seeds. The mold can spread to your soil and damage seedlings. Even if you sterilize them with bleach, the risk of failure is high. Always discard seeds with fuzzy growth, dark spots, or a musty smell before planting.
What does a healthy pumpkin seed look like?
Good seeds are tan or cream-colored, firm to the touch, and free of cracks or soft spots. They should have a slight shine and no unusual odors. If they’re dry and hard, they’re ready for storage or planting.
How long does it take for mold to appear on pumpkin seeds?
Mold can show up in as little as 24–48 hours if conditions are right (high humidity + warmth). In cooler, drier environments, it may take 3–5 days. Check your seeds regularly if storing them for planting.
Can I save seeds that are damp but not moldy yet?
Yes, but act fast! Spread them in a single layer and dry them at 170°F (77°C) for 1–2 hours or air-dry in sunlight. Once completely dry, store them in an airtight container with silica packets to prevent future mold.
What should I do if my seeds smell musty?
That’s a red flag! Musty smells mean mold is already growing. Immediately discard those seeds and wash your storage containers with hot, soapy water. Use a vinegar solution (1:1 ratio) to disinfect before storing new seeds.