How To
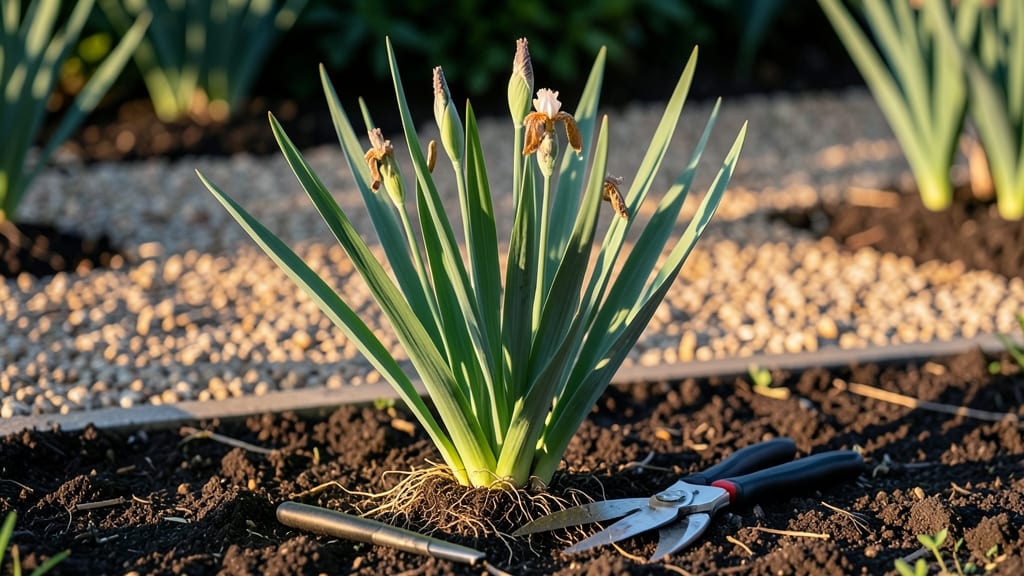
Removing iris seed pods after they dry and brown is the best way to keep your 🌸 irises healthy and blooming.
Struggling with iris plants spreading uncontrollably? Those unsightly seed pods might be the culprit—and removing them at the wrong time can backfire. The key is timing: too early, and you waste energy; too late, and you risk overcrowding your garden.
In USDA Zone 6a, the ideal window is late summer or early fall, just as the pods turn brown and crispy. This prevents self-seeding while letting the plant focus on storing energy for next year’s blooms.
Below, I’ll walk you through the exact steps to remove them without harming your irises, plus when to make an exception and let a few pods mature for propagation.
Best time of year to remove iris seed pods for optimal plant health
Iris plants produce those bulbous seed pods after flowering, and while they might look charming, they can drain energy from your rhizomes if left unchecked.
The key to maintaining healthy irises lies in timing—remove them too early, and you risk stunting seed development; leave them too late, and your plant may struggle to rebloom next season. Understanding the ideal removal window ensures your irises stay vigorous and flower prolifically.
Most gardeners focus on late summer or early fall for seed pod removal, but the best time depends on your climate zone and iris variety. In temperate zones (USDA Zones 3-8), aim to remove pods 6-8 weeks after flowering, typically in August or September.
In tropical climates, where irises may bloom year-round, timing shifts to post-flowering but before the monsoon season to avoid fungal risks.
Why timing matters: Iris plants allocate nutrients and energy to seed production, which can reduce bloom quality and stunt rhizome growth. Removing pods at the right time redirects energy to root development and future flower buds. Plus, dried pods can look unsightly and clutter your garden beds if left to mature.
Here’s a quick visual guide to help you decide when to act based on your growing conditions and iris type:
If you’re in a cooler climate, like Zone 5 or 6, wait until after the first frost has passed but before hard frosts arrive. This gives your irises time to recover energy before dormancy.
In warmer zones, such as Zone 9 or 10, focus on removing pods before the rainy season to avoid fungal infections like iris borer or root rot.
One common mistake is removing pods too early, which can prevent successful seed formation if you’re trying to save seeds for propagation. If you’re not propagating, early removal is fine—just ensure pods are fully mature (brown and dry).
For hybridizers, leave pods until they split open naturally, then collect seeds for future planting.
Pro tip: Use sharp pruning shears to snip pods at the base, leaving no stubs. This minimizes disease entry points and keeps your garden neat.
After removal, compost the pods or dispose of them—never leave them on the soil surface, as they can self-seed aggressively and overcrowd your irises.
For reblooming irises, like Louisiana irises or Japanese irises, removing seed pods is critical to encourage multiple bloom cycles per season. These varieties are energy-intensive when producing seeds, so pruning pods helps maintain continuous flowering.
Finally, pay attention to your iris’s growth signals. If leaves yellow prematurely or flower stalks weaken, it’s a sign your plant is overworked from seed production. This is your cue to act fast—remove any remaining pods and fertilize lightly to restore vigor
Step-by-step guide: how to remove iris seed pods without harming the plant
Removing iris seed pods is a delicate task that requires precision to avoid damaging the rhizomes or weakening your plants. These pods form after iris flowers bloom, and if left unchecked, they can drain energy from your plants, reducing next year's blooms.
The key is timing—remove them too early, and you risk cutting off potential seed propagation; too late, and your irises may struggle to store energy for winter.
Before you begin, gather your tools: sharp pruners, gardening gloves (to protect against sap irritation), and a small bucket for disposal. Always wear gloves—iris sap can cause skin irritation, and seed pods may harbor mildew spores.
Work on a dry day when the pods are fully mature but before they split open and scatter seeds everywhere.
Step-by-Step Removal Process
- Step 1: Identify Mature Seed Pods Look for pods that have turned brown and dry. They should feel crispy to the touch and may even begin to split open. Avoid removing green or firm pods, as they’re still developing.
- Step 2: Use Sharp Pruners Hold the pod firmly at the base and cut 1/4 inch above the rhizome. Never tug or pull—this can damage the plant’s roots. Angle your cut slightly downward to prevent water from pooling.
- Step 3: Remove Stubborn Pods Gently If a pod resists, use your thumb to press the stem while cutting. Avoid sawing motions, which can tear the rhizome. For stubborn stalks, twist gently after cutting to detach cleanly.
- Step 4: Dispose of Pods Properly Place removed pods in a sealed bag or bucket to prevent unwanted reseeding. If you’re saving seeds for propagation, label the pods and store them in a dry place until ready to use.
- Step 5: Clean Up and Inspect After removal, inspect the rhizome area for diseased leaves or pests. Trim any yellowed or damaged foliage with sterilized shears to maintain plant health.
One of the most common mistakes is cutting too close to the rhizome, which can expose it to rot or pests. Always leave a small 1/4-inch stub to allow the plant to heal naturally.
Another pitfall is removing pods too aggressively—this can stress the plant, especially if it’s already struggling from drought or poor soil.
After removal, focus on post-care to keep your irises thriving. Water the base lightly to settle the soil, and apply a light mulch (like shredded bark) to retain moisture and regulate temperature. Avoid fertilizing immediately post-removal, as the plant needs time to recover before redirecting energy to new growth.
If your irises are particularly vigorous, consider dividing rhizomes in early fall after the foliage yellows. This not only controls spread but also rejuvenates older clumps. Just be sure to replant divisions with the top exposed and the roots covered—this mimics their natural growing conditions.
With the right technique, removing iris seed pods becomes a simple, rewarding task that keeps your garden looking tidy and your irises blooming beautifully year after year. Happy pruning! 🌸