Pruning
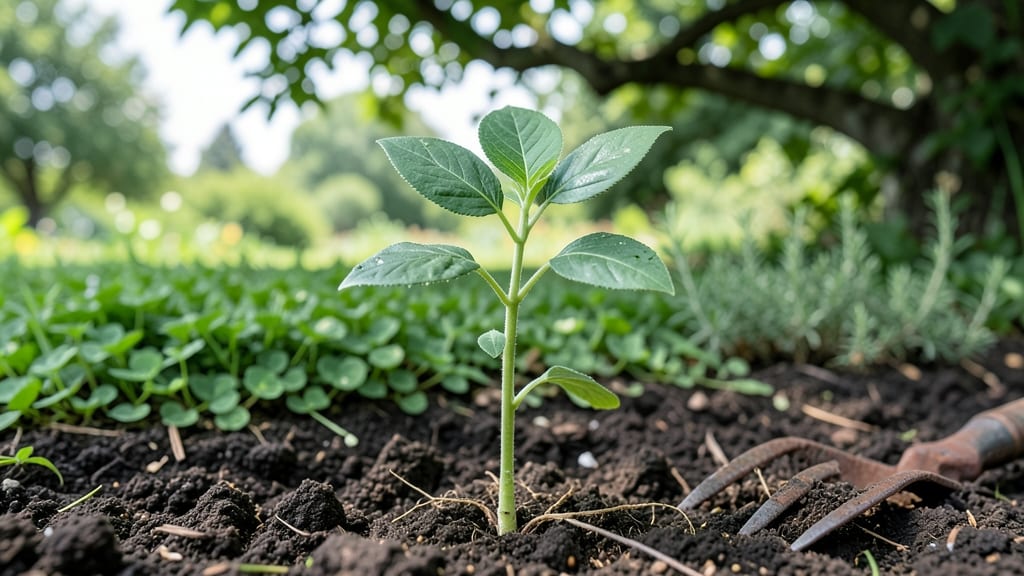
My first batch of bush bean seedlings looked like sad little twigs until I learned the simple pruning trick that turned them into thriving, bushy plants. 🌱 The key isn’t complicated—it’s all about encouraging those side branches where the real harvest happens.
Most gardeners miss this step, and their plants end up leggy with just a few beans instead of packed with pods.
You’ll need just three things: sharp scissors, a sunny spot, and a little patience. Start pinching off the first few leaves when seedlings are about 6 inches tall—this might sound counterintuitive, but it forces the plant to grow wider instead of taller.
The goal is to create a sturdy base with 3-4 main stems before letting it go wild with side branches.
Within two weeks, you’ll see a transformation—plants that look like little bushes instead of skinny poles. The more you prune early, the more productive your harvest becomes. Imagine rows of plants heavy with beans instead of just a few scattered pods.
This method works for both backyard gardens and container growing, making it perfect for small spaces.
Here’s the secret weapon: prune in the morning when plants are hydrated, and always cut just above a leaf node. The first few times might feel awkward, but once you see those side branches explode with growth, you’ll wonder why you didn’t do this sooner.
Let’s get those seedlings looking like they’re ready for a harvest!
📚 In This Guide
- What you need
- Instructions
- Tips and common mistakes
- Wrapping up and next steps
What you need
- ● Bush bean seeds: 1–2 lbs (or ~200–400 seeds, depending on planting density). Choose a variety like Blue Lake, Kentucky Wonder, or Contender for reliable yields.
- ● Seed-starting mix: 10–15 lbs of sterile, well-draining potting soil (avoid garden soil—it can harbor diseases).
- ● Containers: Seed trays or pots (4–6 inches deep) with drainage holes.
- ● OR biodegradable peat pots (2–3 inches wide) for easy transplanting.
- ● Watering can or spray bottle: With a fine mist setting to keep soil moist without oversaturating.
- ● Grow lights or sunny windowsill: Seedlings need 12–16 hours of light daily. A full-spectrum LED grow light works best if natural light is limited.
- ● Pruning shears: Sharp, bypass-style shears (avoid dull tools—they crush stems).
- ● Gloves: Lightweight gardening gloves to protect your hands from thorns and dirt.
- ○ Stakes or small cages (optional): 1–2 ft tall stakes or tomato cages (4–6 inches wide) to support plants as they grow.
- ● Fertilizer: Balanced, water-soluble fertilizer (e.g., 10-10-10) or compost tea for nutrient boosts.
- ○ Mulch (optional): Straw or shredded leaves to retain moisture and suppress weeds.
- ● Warmth: Bush beans thrive in temperatures between 70–85°F (21–29°C). Start seeds indoors 2–3 weeks before the last frost date.
- ● Sunlight access: Ensure seedlings get at least 6–8 hours of direct sunlight daily after transplanting.
- ● Patience: Bush beans grow quickly, but pruning for bushiness requires gentle handling—avoid over-trimming!
Step-by-step guide to pruning bush bean seedlings
Here's how to shape your seedlings for maximum yield without stressing the plants.
🌱 Step 1: Identify the Main Stem and First True Leaves
Wait until your seedlings have 3-4 sets of true leaves—those are the first leaves that look like mature bean leaves, not the tiny seed leaves. This usually happens about 2-3 weeks after germination. The main stem is the thickest, central stem growing upward from the soil.
Gently hold the seedling between your thumb and forefinger to feel the stem's thickness. The first true leaves will be larger and more complex in shape than the initial seed leaves. This is your signal that the plant is ready for its first pruning.
✂️ Step 2: Pinch the Top Growth of the Main Stem
Use clean, sharp scissors or pruning shears to snip the top inch of the main stem just above a set of leaves. This encourages the plant to branch out, creating more nodes where beans will form later. I always make the cut at a 45-degree angle to prevent water from pooling on the wound.
Don't worry if it looks drastic—the plant will recover quickly. You'll see new side shoots emerging from the leaf axils (the spots where leaves meet the stem) within 7-10 days. These side shoots are where your future bean production will happen.
🌿 Step 3: Monitor and Prune Side Shoots
As your plant grows, you'll notice side shoots developing from the leaf axils. Let these grow until they reach about 4-6 inches tall, then pinch off the top growth again. This keeps the plant bushy and prevents it from becoming too leggy, which can reduce airflow and increase disease risk.
Focus on removing only the top inch of new growth—never cut back into older wood. You want to encourage branching, not stunt the plant's overall growth. If you see any shoots growing toward the center of the plant, snip them off completely to improve airflow.
⏰ Step 4: Continue Pruning Through the Growing Season
Keep an eye on your bush bean seedlings throughout the growing season. Every 2-3 weeks, check for new growth at the leaf axils and pinch back any stems that exceed 6 inches in length. This ongoing pruning ensures the plant stays compact and produces more flowers and beans.
Stop pruning once the plant starts flowering heavily. At this point, you want the plant to focus its energy on producing beans rather than growing more foliage. Watch for white or purple flowers—these signal the transition from vegetative to reproductive growth.
💧 Step 5: Support and Maintain Pruned Plants
After pruning, give your plants a light watering to help them recover. Bush beans need about 1 inch of water per week, but avoid overwatering, which can lead to root rot. Water at the base of the plant rather than from above to keep the leaves dry and reduce disease risk.
Fertilize lightly with a balanced, water-soluble fertilizer (like 10-10-10) every 3-4 weeks to support the plant's new growth. You'll see the results of your pruning efforts in a fuller, bushier plant with more nodes for bean production. Keep an eye out for pests like aphids or bean beetles, and treat them promptly if they appear.
Tips & tricks for pruning bush bean seedlings
Real talk: Pruning bush beans isn't just about cutting—it's about shaping their future harvest. Here's what nobody tells you about getting it right.
Timing is Everything: Wait for those 3-4 sets of true leaves before your first pinch—any earlier and you stunt growth. I learned this the hard way after pruning too soon and watching my plants struggle to recover. Those tiny seed leaves aren't the real deal; you need the mature-looking leaves that signal the plant's ready for action.
The Angle Matters: That 45-degree angle cut isn't just for looks—it prevents water from pooling on the wound, which could lead to rot. Make the cut just above a set of leaves, and always use clean, sharp tools. Dull scissors can crush stems instead of making clean cuts, causing more stress to the plant.
Side Shoots Strategy: Let those side shoots reach 4-6 inches before pinching—they need room to grow strong enough to support future beans. I see beginners get impatient and cut too early, which limits their plant's ability to produce. Think of it like training a young athlete: let them develop before pushing them too hard.
Pruning Pause Point: Once you see those white or purple flowers, it's time to stop pruning. The plant's energy shifts from growing leaves to producing beans, and you don't want to interrupt that process. This is when you'll see all your hard work pay off with a bush full of pods!
Pro Tips for Bush Bean Seedling
- Real talk: Pruning bush beans isn't just about cutting—it's about shaping their future harvest.
- Timing is Everything: Wait for those 3-4 sets of true leaves before your first pinch—any earlier and you stunt growth.
- The Angle Matters: That 45-degree angle cut isn't just for looks—it prevents water from pooling on the wound, which could lead to rot.
Frequently asked questions
Got questions about growing bushy, productive bush bean seedlings? You’re not alone! Here are some of the most common concerns—and their straightforward answers—to help you cultivate thriving plants with ease.
How often should I prune bush bean seedlings to encourage bushiness?
Prune bush bean seedlings lightly every 1–2 weeks during active growth (spring to early summer). Focus on removing the first few sets of leaves to redirect energy to lateral branches. Avoid over-pruning—just a pinch or snip above a leaf node is enough! Think of it like a haircut: less is more for bushy, productive plants.
When is the best time of day to prune bush bean seedlings?
Prune in the early morning when plants are turgid (full of water) and the air is cooler. This reduces stress and helps wounds heal faster. Avoid pruning in the heat of the day—it can shock the plant and invite pests. If you must prune later, do it in the late afternoon and water thoroughly afterward.
What if my bush bean seedlings look leggy after pruning?
Leggy seedlings are a sign of too much shade or stretching for light. To fix it, thin out crowded plants to improve airflow and sunlight exposure. If pruning caused legginess, reduce watering slightly and move seedlings to a sunnier spot. Leggy plants often bounce back with better light and a balanced watering routine.
Can I prune bush bean seedlings in cold or rainy weather?
Hold off on pruning during cold snaps (below 50°F/10°C) or after heavy rain, as wet conditions can spread disease. Wait until soil is dry and temperatures are mild (ideally 60–75°F/15–24°C). If you must prune in damp weather, use sterilized tools and avoid touching leaves to prevent fungal issues.
Are there alternatives to pruning for bushier bush beans?
Yes! If pruning feels like too much work, try these tricks:
- Pinch back tips when seedlings are 6–8 inches tall to encourage branching.
- Use reflective mulch or mirrors to redirect light to lower leaves.
- Plant in containers with limited space to naturally stunt vertical growth.
- Choose compact varieties like ‘Blue Lake’ or ‘Contender,’ bred for bushiness.
Wrapping up and next steps
Growing bushy, productive bush bean seedlings is all about timing, technique, and a little TLC! 🌱 By mastering the art of pruning—removing suckers, thinning crowded stems, and keeping plants healthy—you’ll enjoy a bountiful harvest with minimal effort.
Remember, consistency is key, and your plants will thrive with the right care.
Ready to put your new skills into action? Start by inspecting your seedlings this week—trim, prune, and watch them flourish! For even more tips, explore our companion planting guide to maximize your garden’s potential. Happy growing! 🌿