
Propagation
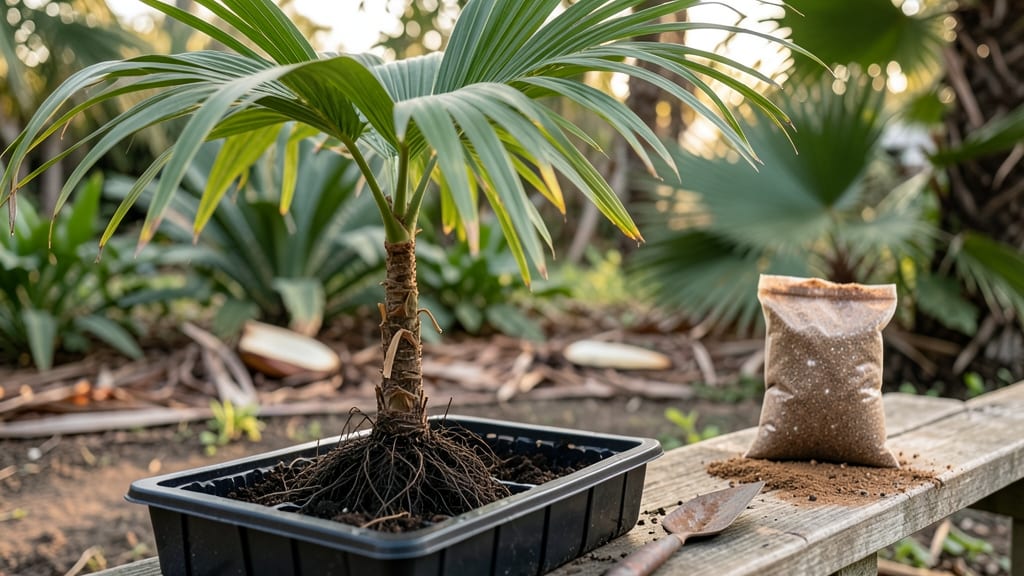
Growing cocos palm seeds feels like holding a tiny piece of the tropics in your hands—literally. That first green shoot breaking through the shell after weeks of patience is one of the most rewarding sights in gardening.
I’ve watched my own seedlings emerge after eight weeks of careful prep, and the transformation from hard seed to towering palm is nothing short of magical.
The trick starts with the right seed—look for plump, brown shells with no cracks—and a little pre-treatment to soften the hard outer layer. You’ll need a warm spot, a mix of peat and sand for drainage, and a spray bottle to keep things moist without drowning the seed.
Most people quit too soon, but consistency is key here: those first roots take time to find their way.
By week six, you might see the first signs of life—a tiny white root or a split in the shell. Keep the soil warm (around 80°F) and out of direct sun until the seedling is sturdy enough to handle brighter light.
Within months, you’ll have a thriving palm that’ll outgrow your pot faster than you think.
This works best in frost-free zones, but even in cooler climates, you can start seeds indoors and transplant later. The biggest mistake? Letting the soil dry out or giving up too early. Stick with it, and you’ll have a tropical centerpiece that’ll be the envy of the neighborhood.
📚 In This Guide
- What you need
- Instructions
- Tips and common mistakes
- Wrapping up and next steps
What you need
- ● Cocos palm seeds (3–5 seeds per attempt—freshness boosts success!)
- ● Well-draining potting mix (3–5 gallons, blend of coconut coir, perlite, and vermiculite for aeration)
- ● Germination container (clear plastic bag, propagator tray, or a sealed jar with a lid)
- ● Spray bottle (for gentle moisture control)
- ● Small pots or trays (3–4 inches in diameter, with drainage holes)
- ● Humidity dome or plastic wrap (to maintain tropical moisture levels)
- ● Grow lights or sunny windowsill (6–8 hours of indirect light daily)
- ● Thermometer/hygrometer (ideal temp: 75–85°F; humidity: 80–90%)
- ○ Fertilizer (optional but helpful) (balanced liquid fertilizer, diluted to ½ strength, after sprouting)
- ● Seed scarifier (to nick the seed coat and speed up germination)
- ● Bottom heat mat (keeps soil warm for faster sprouting)
- ● pH testing kit (ideal soil pH: 5.5–6.5 for tropical seeds)
- ● Label markers (to track planting dates and progress!)
- ● Compost tea or mycorrhizal fungi (boosts root development)
Step-by-step instructions for germinating cocos palm seeds
Here's how to coax a tropical cocos palm from a seed in just 8 weeks.
Prepare the Seed for Planting
Begin by soaking the cocos palm seed in warm water for 24 hours. This softens the hard outer shell and kickstarts the germination process. I like to use a large glass jar filled with enough water to fully submerge the seed. Place it in a warm spot—75-85°F works best—since warmth speeds up the process.
After soaking, gently rub the seed against a rough surface like sandpaper to create tiny scratches on the hard shell. This helps water penetrate later. Don’t overdo it—just enough to break the surface slightly. Once scratched, place the seed in a small pot filled with moistened potting mix (about 2 inches deep). The mix should feel damp but not soggy.
Create the Ideal Germination Environment
Cover the pot with clear plastic wrap to trap humidity, then place it in a warm, shaded area. Direct sunlight at this stage can dry out the seed too quickly. I keep mine near a sunny window but out of harsh rays. Check the soil daily—it should stay consistently moist, but never waterlogged. If the top feels dry, mist lightly with a spray bottle.
Germination can take 4-8 weeks, depending on warmth and moisture. You’ll know it’s working when the seed begins to sprout a small root or a tiny shoot breaks through. Be patient—this is the longest part of the process. If no signs appear after 6 weeks, gently check the seed by removing it from the soil. Sometimes it’s still dormant but viable.
Transplant the Sprout into a Larger Pot
Once the sprout reaches 3-4 inches tall, it’s time to move it to a 6-inch pot filled with fresh potting mix. Handle the seedling carefully—its roots are delicate. Dig a small hole in the center of the pot, place the seedling in, and cover the roots with soil. Press gently to secure it, but don’t compact the mix too tightly.
After transplanting, water thoroughly until it drains from the bottom. Place the pot in bright, indirect light for the first week to help it adjust. Avoid direct sun at first—it can scorch the young leaves. You’ll see new growth within 2-3 weeks if conditions are right. If the soil dries out too quickly, group pots together to create a more humid microclimate.
Gradually Acclimate to Outdoor Conditions
After 8 weeks, when the seedling is sturdy with 4-5 leaves, it’s ready for outdoor exposure. Start by placing it in a shaded, sheltered spot for 2-3 hours the first day. Gradually increase exposure over 10-14 days, moving it to sunnier areas each time. This slow transition prevents shock and helps the seedling toughen up.
Once it tolerates full sun for a full day, you can plant it outdoors in a well-draining, tropical-friendly location. Cocos palms thrive in USDA Zones 10-11, but young seedlings can be kept in pots and brought indoors during cooler months. Keep the soil moist but never waterlogged—these palms hate soggy roots. With patience, your seedling will grow into a stunning tropical tree in just a few years.
Tips & tricks for perfect cocos palm seed germination
These little-known tricks will help you maximize your chances of successfully growing a tropical cocos palm from seed.
The Soaking Secret: When soaking your cocos palm seed for the full 24 hours, change the water halfway through. This prevents bacterial growth that can occur in stagnant water, which might otherwise inhibit germination. I use a clean glass jar and refresh the water after 12 hours—this simple step makes a noticeable difference in keeping the seed healthy and ready to sprout.
Temperature Tip: While the instructions mention 75-85°F as ideal, I've found that placing the seed near a warm spot like a sunny windowsill during the day and moving it to a slightly cooler area at night can actually help regulate the temperature more naturally. If your home tends to be cooler, consider using a small heating pad set to low under the pot—just make sure it doesn't get too hot, as this can dry out the soil too quickly.
Germination Check: After the 6-week mark when you're checking for signs of life, don't be discouraged if the seed looks unchanged. Sometimes the root will emerge first and stay hidden under the soil. Gently remove the seed from the pot and examine the bottom—you might find a tiny root you missed. If you find no signs of life after this check, the seed may need more time or may not be viable.
Transplanting Wisdom: When your sprout reaches 3-4 inches and you're ready to transplant into the 6-inch pot, make sure to water the original pot thoroughly first. This helps prevent transplant shock by keeping the delicate roots hydrated during the move. After transplanting, I like to place the pot in a clear plastic bag for the first few days to create a mini greenhouse effect, which helps the seedling adjust more easily to its new home.
Pro Tips for Cocos Palm Seeds
- These little-known tricks will help you maximize your chances of successfully growing a tropical cocos palm from seed.
- The Soaking Secret: When soaking your cocos palm seed for the full 24 hours, change the water halfway through.
- If your home tends to be cooler, consider using a small heating pad set to low under the pot—just make sure it doesn't get too hot, as this can dry out the soil too quickly.
Frequently asked questions
Got questions about growing cocos palm seeds?
Here are the most common ones—plus quick, practical answers to help you succeed!
How long do cocos palm seeds take to germinate?
Germination can take anywhere from 2 weeks to 8 weeks, but most seeds sprout within 4-6 weeks with proper care. Patience is key—keep the soil moist and warm (75-85°F) to speed things up.
Can I speed up germination?
Yes! Try these tricks:
- Soak seeds in warm water for 24-48 hours before planting.
- Use a heat mat to maintain consistent warmth.
- Plant seeds in a well-draining, sandy mix to prevent rot.
What’s the best soil mix for cocos palm seeds?
A light, airy blend works best. Mix 50% coconut coir, 30% perlite, and 20% peat moss for ideal drainage. Avoid heavy garden soil—it retains too much moisture and can kill delicate sprouts.
Why isn’t my cocos palm seed sprouting?
Check these common issues:
- Cold soil (keep it warm!).
- Overwatering (let the top inch dry between waterings).
- Old or damaged seeds (test freshness by floating—sinkers are viable!).
Can I grow a cocos palm indoors?
Start seeds indoors near a sunny window or under grow lights. Once sprouts reach 6 inches, transplant them outdoors in a warm, tropical climate. Young palms need bright, indirect light—direct sun can scorch tender leaves.
Wrapping up and next steps
Growing cocos palm seeds is a rewarding journey that connects you to nature’s tropical wonders—with patience and care, you’ll witness life emerge from a humble seed! 🌱 Whether you’re a gardening novice or a seasoned green thumb, this 8-week process is a celebration of resilience and growth. Ready to take the next step? Start by planting your soaked seeds in a well-draining pot and keep them in a warm, humid spot.
Soon, you’ll be nurturing a tiny palm that could one day tower over your backyard! 🌴