
Lawn
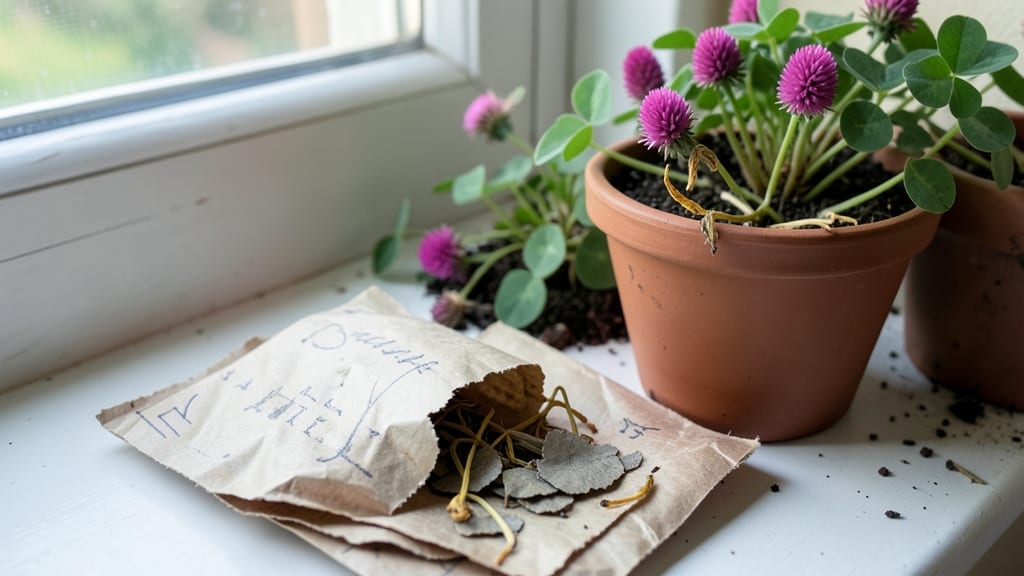
Transform your leftover seeds into moisture-proof treasures with these easy DIY seed packets—no more wasted seeds or forgotten varieties! ✨ I used to forget what I had until I started making these simple packets that keep everything labeled, dry, and ready for next season’s garden.
The best part? You’ll save money, reduce plastic waste, and always know exactly what you’re planting.
All you need are paper envelopes, a permanent marker, and a small bag of silica gel (or rice) for moisture control. I like using kraft paper for a rustic look, but any envelope works—just avoid anything too flimsy.
A pencil or fine-tip marker ensures labels stay legible, and a sealable bag keeps seeds fresh until planting time. The whole process takes less than 10 minutes per batch, and you’ll never stress about mislabeled seeds again.
Once assembled, your custom blends will stay viable for 3-5 years if stored in a cool, dark place. Picture opening a packet in spring and watching your perfect garden oasis come to life—every flower, herb, and vegetable exactly where you want it.
The satisfaction of growing from seeds you saved yourself? Priceless. Let’s get those packets ready for next season!
Pro tip: Label the outside with the variety and year, and tuck a tiny note inside with planting tips (depth, spacing, sunlight needs). For extra protection, add a drop of glue to the envelope flap—this keeps moisture out while letting seeds breathe.
Whether you’re saving heirlooms or storing store-bought seeds, this system works for any gardener.
📚 In This Guide
- What you need
- Instructions
- Tips and common mistakes
- Wrapping up and next steps
What you need
- ● Seed varieties: Choose 3–5 types of seeds (e.g., marigolds + basil for pest control, or sunflowers + snapdragons for pollinators). Aim for 0.5–1 oz total per packet.
- ● Seed packet envelopes: 3.5" x 4.5" kraft paper or cellophane envelopes (biodegradable preferred). Quantity: 1 per blend.
- ● Label paper or tags: Acid-free paper (for archival quality) or pre-cut labels. Size: 2" x 3".
- ● Pencil or fine-tip marker: For writing seed names and planting instructions.
- ● Glue stick or double-sided tape: To secure labels.
- ○ Small funnel (optional but helpful): For easy seed pouring.
- ● Scale (digital, 0.1g precision): To measure seed quantities accurately.
- ● Scissors or paper cutter: For trimming labels/envelopes.
- ○ Clear sealant spray (optional): To protect labels from moisture.
- ○ Twine or ribbon (optional): For decorative closures.
- ○ Printed seed-saving guide (optional): For hybrid vs. heirloom notes.
Step-by-Step instructions for crafting your own DIY seed packets
Transform your garden vision into custom seed blends that grow exactly what you love.
🪴 Step 1: Gather and Prepare Your Materials
Start by collecting 4-6 varieties of seeds (about 1/4 cup total) that complement each other—think sunflowers with marigolds for pollinator appeal, or basil with tomatoes for culinary harmony. I like to mix seeds by size: larger seeds like beans or sunflowers pair well with smaller flowers like cosmos or zinnias. Use a small paper bag or envelope for each blend, and label it clearly with the mix name and date.
For long-term storage, place seeds in a cool, dry place (like a pantry) for 24 hours to stabilize moisture levels. This prevents clumping when you later add the 1 tablespoon of silica gel packets (the desiccant kind from shoe boxes) to each packet. Silica absorbs excess moisture, which is crucial for seed viability over years.
✂️ Step 2: Layer and Seal Your Custom Blends
Fill each labeled packet 3/4 full with your seed mix, then add 1 silica gel packet to the bottom. Seal the packet carefully—heat sealing with a glue gun or folding tightly and securing with a wax seal stamp creates an airtight barrier. I use a small paintbrush to apply glue sparingly along the edges before pressing them shut; too much glue can damage seeds over time.
For extra protection, place the sealed packets inside a larger resealable bag with a small packet of dried lavender (about 1 teaspoon). The lavender adds a natural scent while repelling pests. Store the outer bags in a dark, cool cabinet—never the fridge, as temperature fluctuations can cause condensation inside the packets.
🌱 Step 3: Label and Organize for Planting
Create a planting guide by writing the blend name, seed varieties, and optimal planting depth (usually 2-3 times the seed diameter) on the packet with a fine-tip permanent marker. Include the last frost date for your zone and days to germination (check seed packets for this info). I also jot down sunlight needs (e.g., full sun, partial shade) to remind myself later.
Organize packets by planting season: group spring bloomers (like snapdragons) with summer herbs (like dill), and fall crops (like kale) separately. Use a small cardboard divider in your storage box to keep blends upright—this prevents crushing and makes them easy to grab when planning your garden layout.
⏰ Step 4: Test and Refine Your Blends
Before committing to large batches, test a small sample of each blend in your garden. Plant 3-4 seeds from each packet in a small pot or directly in the garden under ideal conditions (correct light, moisture, and temperature). Monitor germination rates—if one variety sprouts poorly, adjust the ratio in future batches. For example, if your cosmos seeds outperform bachelor buttons, reduce the latter by 20% next time.
After the first harvest, note which combinations thrived together (like radishes with carrots, which deter pests) and which struggled (like onions with beans, which compete for nutrients). Refine your blends annually—your perfect garden oasis evolves as you learn what grows best in your microclimate.
💧 Step 5: Store for Long-Term Viability
Sealed packets last 2-5 years if stored properly, but viability drops after 3 years. Check seed freshness annually by floating a pinch in water: viable seeds sink; floaters are stale. Replace any blends older than 3 years with fresh seeds. For heat-sensitive seeds (like lettuce or cilantro), store them in the fridge for up to 6 months—just remove them 48 hours before planting to acclimate.
Rotate your seed stock by planting oldest blends first. This ensures you always have a mix of fresh and backup seeds. Label new batches with the current year to avoid confusion. With this system, you’ll never rely on store-bought packets again—just replenish, refine, and grow your perfect oasis, year after year!
Tips & tricks for perfect DIY seed packets
Your custom seed blends deserve the same care as your garden—here's how to elevate every packet to perfection.
Seed Selection Strategy: Mix seeds by size and growth habits for optimal spacing in your garden. Pair fast-growing radishes with slower carrots so you don't end up with bare spots waiting for the carrots to emerge. I've found that combining seeds with similar sunlight needs (like sunflowers with marigolds) creates natural companion planting benefits right from the start. For the 24-hour moisture stabilization in Step 1, use a small fan on low to gently circulate air—this prevents surface clumping while still letting seeds acclimate properly.
Sealing Secrets: When heat sealing in Step 2, work quickly but methodically—overheating the glue can actually damage delicate seeds. I press the edges with a bone folder (or the back of a spoon) to create a tight seal without crushing the packet. For wax seals, use a small amount of beeswax blend rather than pure paraffin wax—it creates a more flexible seal that won't crack with temperature changes. Remember, those silica gel packets should be placed at the bottom of your seed mix to absorb moisture before it can affect viability.
Labeling System: Create a standardized labeling system that includes not just the blend name but also a quick-reference code for sunlight needs (S=Sun, P=Partial, F=Full Shade) and planting depth (D1=1x diameter, D2=2x diameter). I use colored dots on the corner of each packet to instantly identify season-specific blends—green for spring, yellow for summer, and red for fall. This color-coding system has saved me countless minutes when planning my garden layout each season.
Test Garden Protocol: For the small sample testing in Step 4, I recommend planting 3 seeds from each variety in separate pots rather than mixing them. This lets you track individual performance without competition. Keep a seedling journal noting which varieties show the most consistent germination rates—these become your "core" seeds for future blends. The 20% adjustment rule is your friend when refining ratios, but don't hesitate to go more aggressive if one variety consistently outperforms others by 50% or more.
Pro Tips for Diy Seed Packets
- Your custom seed blends deserve the same care as your garden—here's how to elevate every packet to perfection.
- Seed Selection Strategy: Mix seeds by size and growth habits for optimal spacing in your garden.
- Sealing Secrets: When heat sealing in Step 2, work quickly but methodically—overheating the glue can actually damage delicate seeds.
Frequently asked questions
Got questions about crafting your own DIY seed packets?
You’re not alone! Here are answers to the most common queries to help you grow with confidence.
How do I store homemade seed packets to keep them fresh?
Store your DIY seed packets in a cool, dry place—like a glass jar or airtight container—away from direct sunlight. Add a silica gel packet to absorb moisture. Most seeds stay viable for 1–3 years (check seed-specific guidelines). Label with the date to track freshness!
Can I mix seeds from different years or brands?
Mixing seeds is fine, but prioritize freshness—older seeds may have lower germination rates. If blending, group fast-growing (like radishes) with slow-growing (like tomatoes) to space harvests evenly. Just avoid mixing perennial and annual seeds unless intentional!
Are DIY seed packets cheaper than buying pre-made ones?
Yes! DIY packets save money long-term. A $5 bag of seeds (e.g., 500 sunflower seeds) can make 50+ packets for pennies each. Pre-made packets often cost $1–$3 per unit. Plus, you avoid fillers or generic blends—just pure, customized seeds!
What’s the best way to test if my seeds will germinate?
Do a germination test: Moisten a paper towel, place 10 seeds inside, fold, and seal in a plastic bag. Keep in a warm spot (70°F+) for 5–7 days. Count sprouted seeds—80%+ success means your packet’s ready to plant!
Can I reuse seed packets from store-bought seeds?
Save the original packaging (if sturdy) or repurpose envelopes, egg cartons, or small bags. Just ensure they’re clean, dry, and labeled with seed type, date, and planting depth. Pro tip: Use wax paper inside for extra protection!
Wrapping up and next steps
Creating your own DIY seed packets is a rewarding way to tailor your garden to your exact tastes—whether you love vibrant flowers, lush herbs, or a thriving veggie patch! 🌱 With just a few supplies and a little creativity, you’ve got the power to design a garden that’s uniquely yours.
Now that you’re armed with the know-how, why not roll up your sleeves and start blending your first custom seed mix today?
Pro tip: Once you’ve mastered your blends, share the joy—swap packets with fellow gardeners or gift them to friends! Happy planting! 🌿