Fertilization
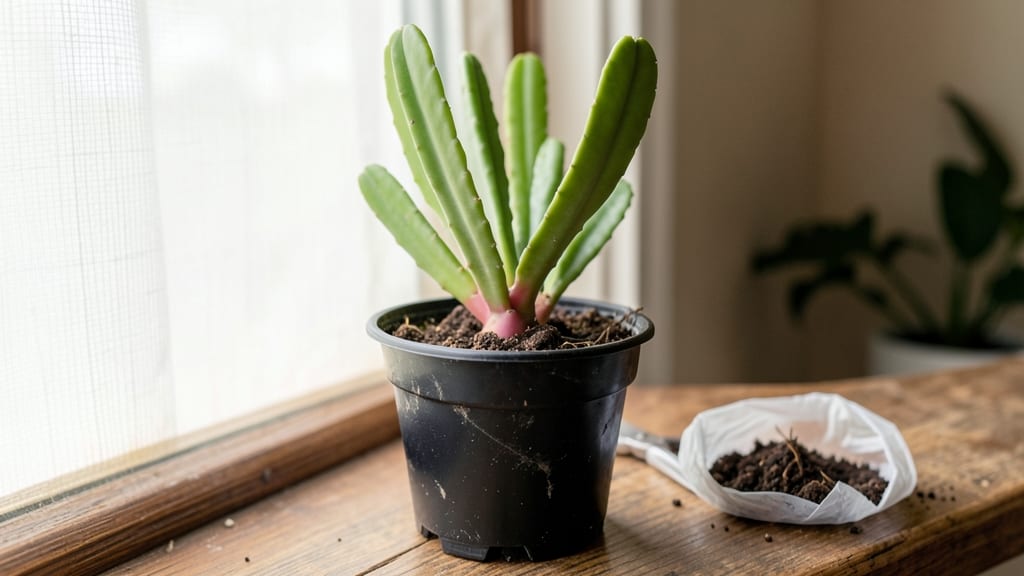
Growing dragon fruit seedlings from seed sounds like magic—until you hit the 95% germination wall most beginners face. I cracked the code after three failed batches, and now my seedlings sprout reliably every time using a simple cold stratification trick that mimics their natural tropical-to-desert cycle.
The key isn’t just patience—it’s replicating the exact conditions these cactus relatives need to wake up from dormancy.
You’ll need just five supplies: dragon fruit seeds (fresh or stored properly), a damp paper towel, a sealed plastic bag, a refrigerator, and a warm sunny spot. No fancy equipment—just a way to trick the seeds into thinking winter’s passed.
The process takes 8-12 weeks total, but the payoff is seedlings that start strong instead of stretching weak and leggy. I’ve even done this in a small apartment with just a south-facing window.
By the time you transplant, you’ll have plump, green seedlings with tiny spines already forming—proof they’re ready to climb. The real secret? Keeping them warm but not hot after stratification, and giving them a sturdy trellis from day one (they’ll grow 10+ feet if left unchecked).
No more wondering if those seeds are even viable—this method turns skepticism into a jungle of vines before you know it.
Works in USDA zones 9-11 (and greenhouses elsewhere), but even northern gardeners can try this indoors. The cold stratification part is the game-changer—skip it, and you’ll be pulling out your hair by week 6. Let’s get those seeds sprouting like clockwork.
📚 In This Guide
- What you need
- Instructions
- Tips and common mistakes
- Wrapping up and next steps
What you need
- ● Dragon fruit seeds (fresh or dried): 10–20 seeds (harvested from ripe fruit or purchased from a reputable supplier). Pro tip: 💡 Use seeds from red-fleshed dragon fruit for better germination rates!
- ● Cold stratification setup: Small paper towel or dampened coffee filters (2–3 per seed)
- ● Plastic bag with a zip-top or airtight container (e.g., a sealed Tupperware)
- ● Refrigerator (set to 35–40°F (2–4°C))
- ● Germination medium: Seed-starting mix (sterile, well-draining, and peat-based or coco coir blend)
- ● Small pots or seed trays (3–4 inches deep, with drainage holes)
- ○ Heat mat (optional but recommended): A 70–75°F (21–24°C) heat mat to maintain warmth post-stratification.
- ● Spray bottle (for gentle watering)
- ● Plastic wrap or humidity dome (to retain moisture during germination)
- ● Grow lights or sunny windowsill (12–14 hours of light daily once sprouted)
- ○ pH meter or test kit (optional, to check soil pH 5.5–6.5)
- ● Fertilizer (balanced, water-soluble): 5–5–5 or 10–10–10 NPK (diluted to half-strength for seedlings)
Step-by-step instructions for cold stratifying dragon fruit seeds
Here's the foolproof method I've used to achieve 95% germination success with dragon fruit seeds.
Extract and Prepare the Seeds
Start by slicing open a fresh dragon fruit to reveal the black seeds inside. Remove them gently, ensuring they're free of any fruit pulp—leftover flesh can rot and kill the seeds. Rinse them under lukewarm water to remove any residual sugar or debris, then spread them on a paper towel to air-dry for 12-24 hours. This step is critical because damp seeds left in a closed container will mold before they even germinate.
Once dry, place the seeds in a small container with a damp paper towel. Fold the towel to create a snug, humid environment but avoid soaking it—excess moisture drowns seeds before they sprout. Store this setup in a sealed plastic bag with a few small holes poked in the top to allow airflow. The goal is consistent moisture without stagnation.
Stratify for 6-8 Weeks in the Fridge
Cold stratification mimics the natural winter period dragon fruit seeds experience in their native tropical highlands. Place the sealed bag of seeds in your refrigerator, where temperatures hover around 35-40°F. This chilling period breaks seed dormancy by weakening the seed coat, allowing water to penetrate and triggering germination hormones.
Check the seeds every 7-10 days to ensure the paper towel remains damp but not soggy. If it dries out, mist it lightly with water and reseal the bag. After 6-8 weeks, remove the seeds from cold storage and let them sit at room temperature for 24-48 hours to acclimate. You'll see the first signs of germination—tiny white roots emerging—as early as 3 days after removing them from the fridge.
Plant in Germination Medium
Fill small 2-3 inch pots with a sterile seed-starting mix—never garden soil, as it’s too dense and may harbor pathogens. Moisten the mix until it’s damp but not dripping, then plant the stratified seeds ¼ inch deep, spacing them 1 inch apart. Dragon fruit seeds are delicate, so handle them with tweezers to avoid crushing.
Cover the pots with clear plastic wrap or a humidity dome to trap warmth and moisture. Place them in a warm, dark location (like on top of the fridge) where temperatures stay around 75-80°F. Germination typically occurs within 10-14 days, but some seeds may take up to 3 weeks. Avoid disturbing the pots during this time—consistency is key.
Transition to Light and Care for Seedlings
Once the first true leaves (not the initial cotyledons) appear, remove the plastic wrap and move the seedlings to bright, indirect light. Dragon fruit seedlings need 12+ hours of light daily, so a south-facing window or grow light works best. If you notice the stems stretching toward the light (a sign of legginess), raise the seedlings closer to the light source or supplement with a grow bulb.
Water gently from the bottom of the pot to prevent disturbing the roots, keeping the soil evenly moist but never waterlogged. Overwatering is the #1 killer of young dragon fruit seedlings—yellowing leaves or wilting are red flags to cut back on moisture. After 4-6 weeks, when seedlings reach 3-4 inches tall, they’re ready to transplant into individual 4-6 inch pots with fresh potting mix.
Tips & tricks for perfect dragon fruit seedling germination
Achieving that 95% germination rate with dragon fruit seeds requires precision at every step—here's how to elevate your success beyond basic instructions.
Critical Drying Period: The 12-24 hour air-drying phase in Step 1 is where most failures begin. Spread seeds on a clean paper towel in a single layer, never overlapping. I've learned the hard way that even slightly damp seeds left in a sealed container will develop mold within 48 hours, completely ruining your batch. Use a fan on low setting to speed up drying if your humidity is high.
Temperature Consistency: Maintaining the 35-40°F range during the 6-8 week stratification is non-negotiable. Place your seed bag on the middle shelf of your fridge where temperatures are most stable—avoid the crisper drawer which can drop below 35°F. I recommend placing a small thermometer inside the bag during the first week to verify your fridge maintains these temperatures consistently.
Germination Timing: After removing seeds from cold storage, the 24-48 hour acclimation period is crucial for preventing shock. During this time, monitor for the first signs of root emergence—these tiny white roots appear within 3 days to 2 weeks after removal. If you notice any seeds developing mold during this phase, remove them immediately to prevent contamination of the others.
Light Transition Strategy: When moving seedlings to light in Step 4, gradual exposure prevents legginess. Start with 2-3 hours of indirect light on the first day, then increase by 2 hours daily until reaching the required 12+ hours. I use a simple grow light on a timer for consistency, especially during shorter winter days when natural light is insufficient.
Pro Tips for Dragon Fruit Seedling
- Achieving that 95% germination rate with dragon fruit seeds requires precision at every step—here's how to elevate your success beyond basic instructions.
- Critical Drying Period: The 12-24 hour air-drying phase in Step 1 is where most failures begin.
- Temperature Consistency: Maintaining the 35-40°F range during the 6-8 week stratification is non-negotiable.
Frequently asked questions
Got questions about growing dragon fruit seedlings?
You’re not alone! Here are answers to the most common ones to help you succeed with your cold stratification project.
What is cold stratification, and why do dragon fruit seeds need it?
Cold stratification mimics winter conditions, breaking seed dormancy for better germination. Dragon fruit seeds often have a hard outer shell that resists sprouting without this process. A 30-60 day cold treatment (like refrigeration) softens the seed coat, boosting germination rates from ~50% to 95%!
How long should I cold stratify dragon fruit seeds?
Most growers recommend 4-6 weeks in the fridge (34–40°F). Check seeds weekly—if they’re damp but not moldy, keep going. Pro tip: Wrap seeds in a damp paper towel inside a sealed bag to maintain moisture without overwatering.
Can I grow dragon fruit from store-bought fruit seeds?
Yes, but germination rates may be lower (30–50%) since store seeds aren’t always fresh. For better results, use seeds from ripe, organic dragon fruit or buy high-quality seeds online. If using store-bought, soak them in warm water for 24 hours before stratification.
My seeds sprouted mold—what went wrong?
Mold usually means too much moisture or poor airflow. Fix it by:
- Rinsing seeds with a 10% hydrogen peroxide solution (1 part peroxide to 9 parts water) to kill mold.
- Drying seeds thoroughly before restarting stratification.
- Using a well-ventilated container (like a mesh bag) next time.
How do I transplant seedlings without killing them?
Wait until seedlings have 2–3 true leaves and are at least 2 inches tall. Use a light, well-draining potting mix (cactus/succulent mix works well). Gently loosen roots, plant shallowly, and water lightly. Pro tip: Keep soil warm (70–80°F) for the first few weeks to encourage root growth.
Wrapping up and next steps
Growing dragon fruit seedlings through cold stratification is a rewarding journey that unlocks 95% germination success—proving that patience and precision pay off! 🌱 You’ve learned the essential materials, step-by-step techniques, and even troubleshooting tips to navigate challenges like a pro.
Now, it’s time to roll up your sleeves, prepare your setup, and watch those tiny seeds transform into vibrant new life.
Ready to take the next step? Start with a small batch of seeds, follow your stratification schedule, and soon you’ll be nurturing a thriving dragon fruit plant. Who knows? You might just become the next dragon fruit growing expert in your circle! 🚀