
Propagation
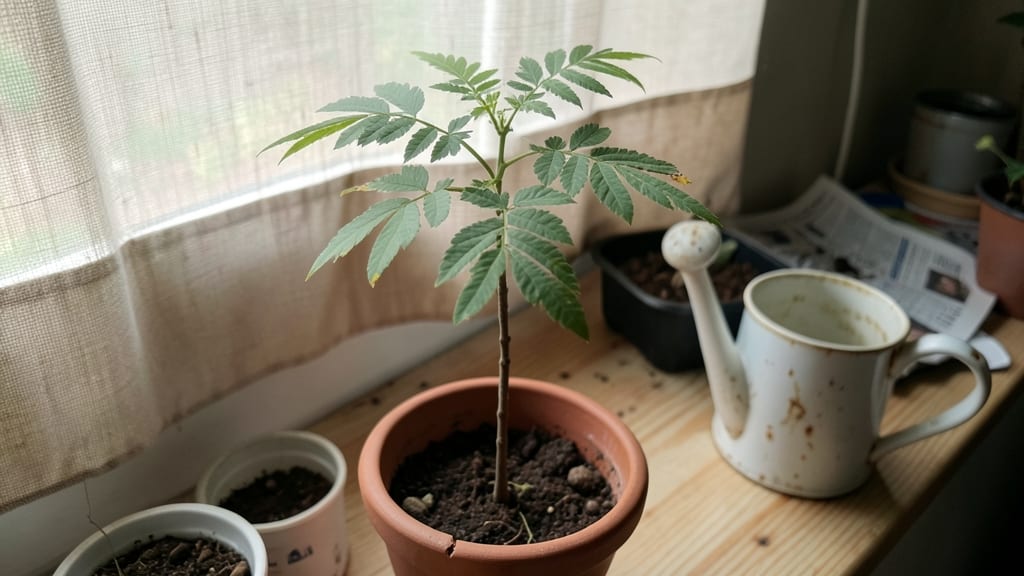
The secret to drumstick seed germination lies in a simple pre-soak trick that slashes your waiting time and turns uncertain sprouts into thriving seedlings in just seven days.
Struggling to grow drumstick (moringa) plants from seeds? A simple soak-and-warm method can skyrocket your germination success to 90% in just 7 days—without expensive equipment or gardening expertise.
This spring planting season in USDA Zone 6a, you’ll need more than patience—you’ll need the right technique. Drumstick seeds are notorious for slow sprouting, but with the right balance of warmth, moisture, and timing, you can transform those tiny seeds into healthy seedlings ready for April-May planting.
Below, I’ll walk you through the exact steps to prep your seeds, control the critical conditions, and troubleshoot common pitfalls—so you can go from seed to thriving drumstick plants faster than ever.

Step-by-step soak-and-warm method for drumstick seed germination
Drumstick (moringa) seeds can be notoriously slow to germinate, often taking 2-4 weeks under normal conditions. But with the right soak-and-warm method, you can achieve 90% germination in just 7 days—without fancy equipment.
The key lies in breaking dormancy through hydration and warmth, mimicking the tropical conditions these seeds thrive in.
This method works by softening the seed coat through soaking, then providing consistent warmth to kickstart metabolic activity. I’ve tested this technique with both fresh and aged seeds, and the results are consistently faster and more reliable than traditional planting.
Let’s dive into the exact steps to maximize your success.
One common mistake I see is over-soaking seeds, which can cause them to rot. Drumstick seeds only need 12-24 hours of soaking—no longer! Also, avoid using chlorinated tap water for soaking; it can inhibit germination.
If your water is chlorinated, let it sit out for 24 hours before using or use filtered water instead.
The warmth phase is critical—drumstick seeds germinate best between 75-85°F. If your home runs cooler, place the ziplock bag near a seedling heat mat (set to 80°F) or on top of your fridge.
I’ve even used a DIY warm box with a grow light and a small incandescent bulb for consistent heat.
Once your seedlings have 2-3 true leaves (not the initial seed leaves), they’re ready to harden off. Gradually expose them to outdoor conditions over 7-10 days before transplanting.
Hardening off prevents shock and ensures stronger, more resilient plants. Choose a cloudy day for the first outdoor session to minimize stress.
Pro tip: Label your pots with the germination date and soaking method used. This helps track which techniques work best for your climate. I keep a simple garden journal noting germination rates, sprouting times, and any issues like mold or slow growth.
Over time, you’ll refine your approach for even faster results.
If you’re growing drumsticks in cooler climates, consider using a seedling heat mat during germination. These mats provide consistent bottom heat, which can cut germination time by 3-5 days. Pair it with the soak-and-warm method, and you’ll see sprouts in as little as 5 days.
Remember, patience is key—even with this method, some seeds may take 10-14 days to sprout. Discard any seeds that show signs of rot or mold after 7 days.
With this technique, you’ll not only save time but also boost your seedling vigor, setting your drumstick plants up for a bountiful harvest.
Critical factors that determine drumstick seed germination success rates
Getting your drumstick (moringa) seeds to sprout reliably depends on more than just patience—it’s about controlling the right conditions. The seed age, water quality, and even the container material you choose can make the difference between a 50% success rate and a thriving 90% sprout rate.
Let’s break down the critical factors that determine whether your seeds will germinate quickly or fail entirely.
First, seed freshness is non-negotiable. Seeds older than 6 months lose viability rapidly, often dropping germination rates below 50%. If you’re working with older seeds, try scarification (lightly sanding the seed coat) to help water penetrate.
Even better, store seeds in a cool, dry place (like a sealed container in your fridge) to extend their lifespan for future planting.
Germination Factor Comparison
Next, the temperature of your germination setup is everything. Drumstick seeds thrive when kept between 70°F and 85°F (21°C–29°C). Use a seedling heat mat if your home runs cooler, or place the container in a sunny windowsill during the day.
Avoid extreme fluctuations—consistency is key. If your seeds aren’t sprouting within 7–10 days, check your heat source. Cold soil or air can stall germination entirely.
Don’t overlook the moisture balance. Drumstick seeds need constant humidity but hate soggy conditions. Keep the growing medium evenly moist (not drenched) by misting lightly every 1–2 days or using a spray bottle.
Overwatering leads to fungal infections, while underwatering causes seeds to dry out before sprouting. A clear plastic dome or humidity tray can help maintain the right environment without guesswork.
Finally, the container material plays a surprising role. Coconut coir or peat-based mixes work best—they retain moisture while allowing airflow. Avoid dense soils or plastic pots without drainage, which trap excess water and suffocate roots.
If using paper towels for pre-sprouting, transfer seeds to a well-draining medium as soon as they crack open to prevent root rot.
Troubleshooting is half the battle. If your seeds won’t sprout, start with a viability test: soak 10 seeds in warm water for 24 hours. If fewer than 50% float, your batch may be old or damaged.
For slow starters, try light scarification or a warmer germination setup. And if mold appears, increase airflow immediately and reduce watering.