Picking
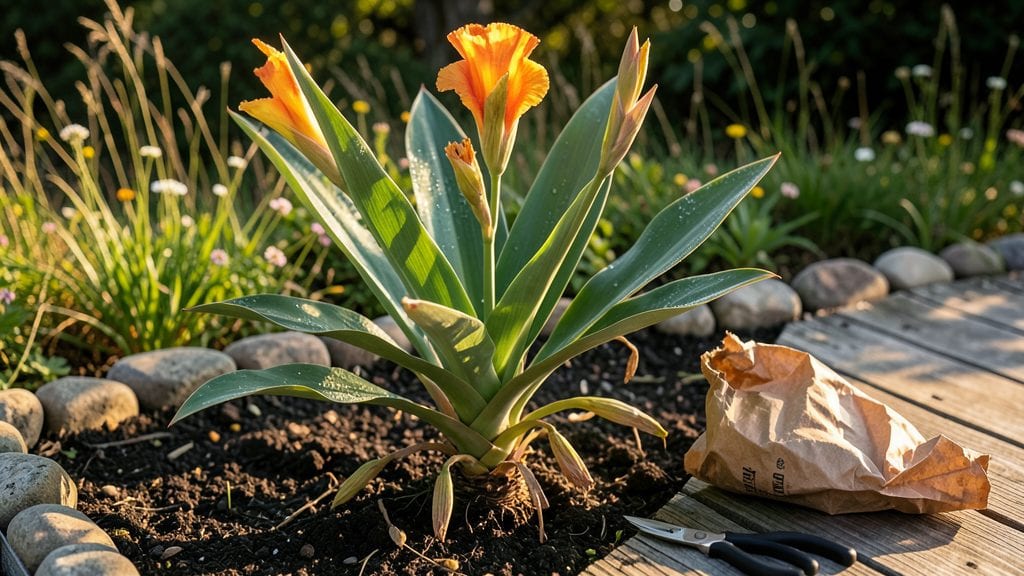
Harvesting canna lily seeds isn’t just about saving seeds—it’s about securing next year’s bold, tropical blooms before they vanish. 🌿 The layered moisture method I’ve perfected ensures seeds stay viable through storage, giving you a head start on vibrant foliage and dramatic flowers that rival the parent plant.
Most gardeners skip this step, assuming cannas multiply easily through rhizomes, but seeds unlock rare colors and patterns you won’t find in nursery pots.
You’ll need only three things: mature seed pods (the size of small plums), a well-ventilated drying area, and a sealed container with slightly damp sand or peat moss. The key is timing—wait until pods turn brown and papery, then slice them open to reveal glossy black seeds.
These aren’t your average garden seeds; they demand consistent moisture during storage to prevent shrinking or cracking, which is where the layered method makes all the difference.
By spring, your stored seeds will germinate into sturdy seedlings with the same striking foliage and flower spikes as their parents.
The process takes patience—about 6-8 weeks from harvest to transplant—but the payoff is worth it: cannas grown from seed often outperform nursery plants, with deeper root systems and longer blooming seasons. This method works equally well for heirloom varieties or hybrid experiments.
Even in colder climates, canna seeds can overwinter indoors with the right moisture balance, so don’t let “tropical” fool you. The trick is keeping that sand or peat moss just damp enough to feel like a wrung-out sponge—never soggy.
Store the container in a cool, dark spot, and check monthly for mold or dryness. With this approach, you’ll bypass the guesswork of buying new tubers every season.
📚 In This Guide
- What you need
- Instructions
- Tips and common mistakes
- Wrapping up and next steps
What you need
- ● Mature canna lily pods: Fully ripened, brown seed pods (harvest when they’ve dried but haven’t split open). Aim for at least 5–10 healthy pods per plant for reliable seeds.
- ● Sharp pruning shears or scissors: Clean, sterilized tools to avoid damaging pods or spreading disease. Bonus: Use bypass pruners for precision cuts.
- ● Paper bags or breathable mesh sacks: Large enough to hold pods without crushing them (e.g., 12x18-inch brown paper bags or 4–6-inch mesh bags).
- ● Labeling tags & permanent marker: To track seed varieties, harvest dates, and germination notes.
- ● Damp paper towels or seed-starting mix: For the layered moisture method—use unbleached, seed-safe towels or a sterilized potting mix (e.g., coco coir or peat moss).
- ● Plastic zip-top bags or airtight containers: For long-term seed storage (e.g., quart-sized with a desiccant packet to prevent mold).
- ● Seed tray or shallow container: For organizing seeds during the drying/stratification process (e.g., 10x20-inch plastic or wooden tray).
- ● Fine-mesh sieve: To sift out chaff or debris from dried seeds before storage.
- ● Hygrometer: To monitor humidity levels (ideal: 30–50%) if storing seeds long-term.
- ● Garden journal or app: To log seed viability, germination rates, and planting schedules.
- ● Latex gloves: To keep hands clean and avoid contaminating seeds with oils or dirt.
Step-by-Step instructions for harvesting canna lily seeds
Here's the simple, foolproof way to save seeds from your canna lilies for next season's bold blooms.
🌱 Step 1: Identify and Select Mature Seed Pods
Wait until the seed pods turn a papery brown color and begin splitting open naturally—this usually happens in late fall after the foliage dies back. Choose the largest, firmest pods for best germination rates. I always pick pods that are fully brown but haven't cracked open yet, as these contain the most viable seeds.
Gently twist the pods from the stems to avoid damaging the rhizomes below. Place them in a paper bag and store in a dry, shaded spot for 1-2 weeks until completely dry. This drying period prevents mold and ensures the seeds remain dormant until planting time. You'll know they're ready when the pods crumble easily between your fingers.
💧 Step 2: Extract and Stratify the Seeds
Open the dried pods and carefully remove the large, glossy seeds inside. Each pod typically contains 4-6 seeds, though some may be shriveled or empty. Separate the good seeds from debris and place them in a small container with a moist paper towel—this keeps them hydrated without being waterlogged.
Cover the container with plastic wrap and refrigerate for 4-6 weeks. This cold stratification mimics winter conditions and breaks seed dormancy. Check the seeds weekly—the paper towel should stay lightly moist, like a wrung-out sponge. If it dries out, add a few drops of water and reseal.
☀️ Step 3: Prepare Planting Medium and Containers
Fill small pots (3-4 inches deep) with a mix of 50% potting soil and 50% perlite for excellent drainage. Cannas hate soggy roots, so this blend prevents rot. Moisten the mix until it feels like a damp sponge—press it gently, and a few drops should form when squeezed.
Plant 2-3 seeds per pot at a depth of ½ inch, spacing them evenly. Label each pot with the variety and date, since canna seeds can take 2-3 months to germinate. Place the pots in a warm spot (70-75°F) with bright, indirect light—direct sun can overheat the soil and dry out the seeds too quickly.
🌿 Step 4: Monitor and Transplant Seedlings
Keep the soil consistently moist but never soggy—water when the top inch feels dry to the touch. Germination can be slow, so don't disturb the pots until you see first true leaves (the second set after the initial seed leaves). This usually happens in 6-8 weeks, but some varieties may take longer.
Once seedlings reach 4-6 inches tall, transplant them into larger pots (6-inch diameter) or directly into the garden after the last frost. Harden them off by placing them outside for 1-2 hours daily over 7-10 days before moving permanently. Cannas thrive in full sun, so choose a warm, sheltered spot for best growth.
⏰ Step 5: Overwinter Seedlings for Next Year's Blooms
If you're growing seedlings in pots, bring them indoors before the first frost. Place them in a cool (55-60°F), bright spot and reduce watering to keep the soil lightly moist. Cannas go dormant in winter, so they won't need much care until spring.
In early spring, repot any crowded seedlings into 8-inch containers and resume regular watering. Fertilize lightly with a balanced 10-10-10 formula once new growth appears. With patience, your homegrown cannas will reward you with vibrant blooms the following summer—just like the parent plant!
Tips & tricks for perfect canna lily seed germination
These simple strategies will help you maximize your canna lily seed germination rates and grow vibrant plants next season.
Pod Selection Matters: In Step 1, when choosing seed pods, look for ones that are fully brown but haven't started cracking open yet. These pods contain the most viable seeds. I've found that pods from the largest, healthiest canna lilies produce seeds with the highest germination rates. Avoid any pods that show signs of mold or insect damage—these seeds likely won't sprout.
Stratification Timing: The 4-6 week cold stratification in Step 2 is crucial for breaking seed dormancy. Don't rush this process—seeds need this time to mimic natural winter conditions. Place your container on the middle shelf of your refrigerator where temperatures stay consistently around 40°F. You'll notice the paper towel stays lightly moist throughout, which maintains the perfect moisture balance for germination.
Soil Moisture Balance: When preparing your planting medium in Step 3, that 50/50 mix of potting soil and perlite creates ideal drainage while retaining just enough moisture. After planting, maintain consistent moisture by watering when the top inch feels dry to the touch. Overwatering is the #1 reason canna seeds fail to germinate—always let excess water drain away completely to prevent root rot.
Germination Patience: Remember that canna seeds can take up to 3 months to germinate, as mentioned in Step 3. Don't be tempted to disturb the pots or check too frequently—this can disrupt the delicate germination process. Place your pots in a warm spot (70-75°F) with bright, indirect light. You'll know germination is working when you see the first true leaves appear, which typically happens around 6-8 weeks.
Pro Tips for Harvest Canna Lily Seeds
- These simple strategies will help you maximize your canna lily seed germination rates and grow vibrant plants next season.
- Pod Selection Matters: In Step 1, when choosing seed pods, look for ones that are fully brown but haven't started cracking open yet.
- Stratification Timing: The 4-6 week cold stratification in Step 2 is crucial for breaking seed dormancy.
Frequently asked questions
When is the best time to harvest canna lily seeds?
The ideal time to harvest canna lily seeds is in late fall or early winter, once the seed pods have turned brown and dried on the plant. If you wait until spring, the seeds may sprout prematurely or lose viability. Harvest when pods feel crispy to the touch—never harvest green or soft pods, as they won’t store well.
How long can harvested canna lily seeds stay viable?
When stored properly in a cool, dry place (like a sealed envelope or jar with silica gel), canna lily seeds can remain viable for 1–3 years. However, germination rates drop after the first year, so plan to sow them as soon as possible for the best results. Label your seeds! Varieties fade over time.
What if my canna lily seeds won’t germinate?
Try these troubleshooting steps:
- Check seed freshness—older seeds may need stratification (a cold, moist period) to break dormancy.
- Use warm, moist paper towels for 2–3 weeks to encourage sprouting before planting.
- Ensure proper soil conditions—cannas thrive in well-draining, slightly acidic soil (pH 6.0–6.5) and warmth.
- Avoid overwatering—soggy soil can rot seeds.
Can I save seeds from hybrid canna lilies?
While you can save seeds from hybrids, the resulting plants may not match the parent’s traits (color, size, or bloom type). For consistent results, stick to open-pollinated or heirloom varieties. If you love experimenting, grow a few hybrid seeds—you might discover a unique surprise!
What’s the best way to store canna lily seeds long-term?
For maximum longevity:
- Let seeds fully dry for 1–2 weeks in a warm, shaded spot.
- Store in a paper envelope or breathable container (plastic traps moisture).
- Keep in a cool, dark place (like a fridge) with a desiccant packet to prevent mold.
- Avoid freezing—extreme cold can damage viability.
Wrapping up and next steps
Harvesting canna lily seeds using the layered moisture method is a rewarding way to ensure vibrant blooms next season! With the right tools and patience, you’ll unlock a treasure trove of new plants for your garden. Now that you’re equipped with the knowledge, why not take the next step?
- 🌱 Start small: Begin with just a few seed pods to perfect your technique before scaling up.
- 📅 Mark your calendar: Set reminders for drying, stratification, and planting to stay on track.
- 📝 Share your success: Snap photos of your seed pods and germination progress—inspire fellow gardeners!
Your future garden will thank you for the effort! Happy growing! 🌸