Picking
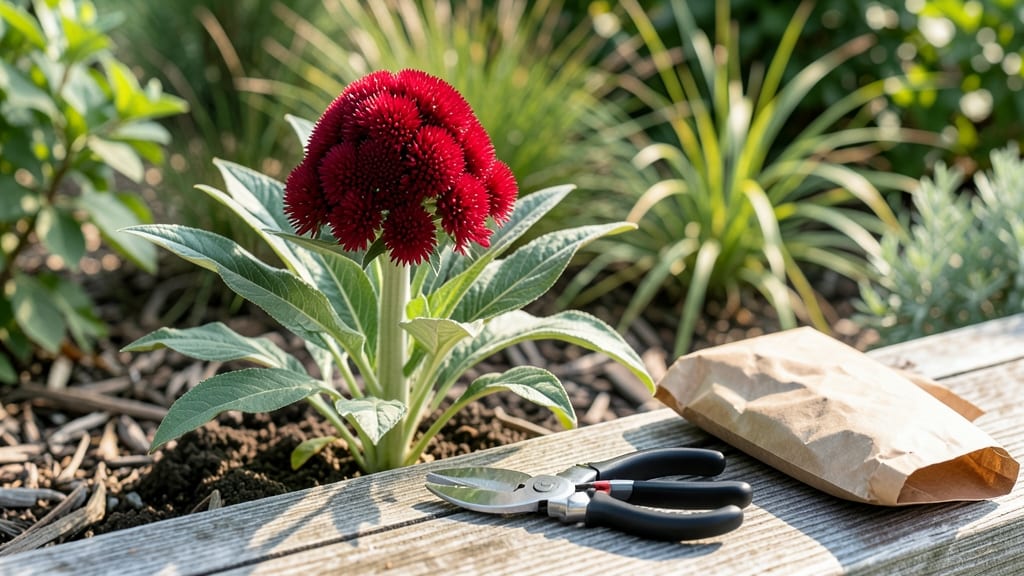
Harvesting celosia seeds is your ticket to next year’s fiery blooms without spending a dime. 🌻 I’ve saved seeds from my own plants for three seasons now, and the trick is knowing exactly when those papery seed heads are ready—before they scatter or rot.
The moment matters because celosia seeds lose viability fast once they dry on the stalk.
You’ll need just three things: a pair of clean scissors, a breathable paper bag for drying, and a dry, dark spot for storage. The seed heads turn from bright red or gold to a dull brown when they’re ready—like a sunset fading into twilight.
Cut them carefully, leaving a little stem attached to help them dry evenly.
Once dried, the seeds rattle inside their papery pods like tiny maracas. Store them in an envelope labeled with the year and variety, and they’ll stay good for up to two years. Plant them shallowly in warm soil next spring, and you’ll watch those bold plumes return just as spectacularly.
Common mistakes? Harvesting too late (seeds scatter), storing them in humidity (mold risk), or planting too deep (they need light to germinate). But with these steps, you’ll avoid all of it—and wake up to a garden that feels like a second chance every spring.
📚 In This Guide
- What you need
- Instructions
- Tips and common mistakes
- Wrapping up and next steps
What you need
- ● Mature celosia plants: Choose healthy, fully bloomed heads (preferably Celosia argentea or Celosia cristata) with dried, papery seed pods.
- ● Pruning shears or sharp scissors: 1 pair (sterilized with rubbing alcohol).
- ● Paper bags or brown lunch bags: 3–5 bags (1–2 quart size) for seed collection.
- ● Newspaper or cardboard: 1–2 sheets to lay seeds out for drying.
- ● Fine-mesh sieve or colander: 1 (for separating seeds from chaff).
- ○ Air-tight storage containers: 2–3 small jars or envelopes (1 oz size) with silica gel packets (optional but recommended).
- ● Permanent marker or labels: For marking seed varieties and harvest dates.
- ● Desiccant packets: Extra silica gel for long-term seed storage.
- ● Hand lens or magnifying glass: To inspect seed viability.
- ● Seed catalog or notebook: For tracking germination rates and notes.
- ● Humidity monitor: If storing seeds in a non-climate-controlled space.
Step-by-Step instructions for harvesting celosia seeds
Here’s how to save seeds from your celosia plants and get ready for next year’s bold, fiery blooms.
🌿 Step 1: Identify and Select Mature Seed Heads
Wait until the celosia flowers turn completely dry and develop their signature papery, seed-filled heads. These look like crinkled, flame-shaped clusters that crumble easily when touched. Choose the healthiest, most vibrant heads—avoid any that show signs of disease or pest damage.
Use clean, sharp scissors to snip the entire seed head from the stem. Hold the head over a clean sheet of paper or a tray to catch any seeds that might fall. Work on a dry day to prevent moisture from sticking seeds together. I like to do this in the morning when the air is crisp and seeds are less likely to stick.
⏰ Step 2: Dry the Seed Heads Thoroughly
Spread the harvested seed heads on a flat surface in a warm, dry, and well-ventilated area. A mesh screen or a piece of window screen works perfectly—it allows air to circulate on all sides. Keep them out of direct sunlight to prevent overheating, which can damage the seeds.
Let the heads dry for 7-10 days until they feel brittle and crumble easily when rubbed between your fingers. You’ll know they’re ready when the seeds inside rattle loudly when you shake the head. If humidity is high, this process might take longer—just be patient.
✂️ Step 3: Extract and Clean the Seeds
Once the heads are completely dry, gently crush them between your fingers or rub them over a clean piece of paper. The seeds will fall out while the dried flower debris stays behind. For stubborn seeds, use a fork or your fingers to break apart any remaining clusters.
Sift the seeds through a fine-mesh strainer to remove chaff and debris. Discard any seeds that look discolored, shriveled, or damaged. Store the clean seeds in a labeled paper envelope or small glass jar. I always write the variety and harvest date on the envelope—this helps track which seeds are freshest.
🪴 Step 4: Store Seeds Properly for Longevity
Place the labeled envelope or jar in a cool, dry, and dark place. A sealed container with a desiccant packet (like those used for food storage) helps keep moisture out. The ideal storage temperature is 40-50°F, like a pantry or refrigerator.
Under these conditions, celosia seeds stay viable for 2-3 years, though they’ll germinate best if used within the first year. Check the seeds annually to ensure they’re still dry—any moisture will encourage mold and reduce viability.
🌱 Step 5: Test Germination Before Next Planting Season
About 6-8 weeks before your last frost date, test a few seeds to confirm they’re still good. Plant 5-10 seeds in a small pot with moist potting mix, cover lightly with soil, and place in a warm spot. Keep the soil consistently moist and watch for sprouts in 7-14 days.
If fewer than half of the seeds sprout, store the remaining seeds in the freezer for an extra year—cold temperatures can sometimes revive older seeds. If they fail to sprout, it’s time to buy fresh seeds for next season. But with proper care, you’ll have a fresh supply of vibrant celosia blooms year after year!
Tips & tricks for perfect celosia seed harvesting
Here's what I've learned after saving celosia seeds for years—these little tricks make all the difference between seeds that sprout and ones that don't.
Timing is Everything: Harvest your celosia seed heads in the early morning when they're completely dry and crisp. This is when they're least likely to stick to your hands or tools. I've found that harvesting right after dew has evaporated (around 9-10am) gives me the cleanest seeds with minimal debris. The key is that signature papery texture—it should crumble easily between your fingers.
The Drying Game-Changer: For the 7-10 day drying period in Step 2, I've discovered that using a small fan on low speed dramatically cuts drying time—especially in humid climates. Place the seed heads on a mesh screen and position the fan about 12 inches away to create gentle airflow. Just be careful not to blow them around! You'll know they're ready when they make a loud rattling sound when shaken—this means the seeds inside are completely dry and ready for extraction.
Storage Wisdom: When storing your seeds at 40-50°F in Step 4, I recommend using small glass jars with tight-sealing lids instead of paper envelopes. The glass provides better moisture protection, and the lids create an airtight seal. Add a silica gel packet (the kind that comes with new shoes) to absorb any moisture that might sneak in. I've had seeds last 3 full years using this method, though they're always most vigorous when used within the first year.
Germination Test Hack: For the 6-8 week germination test in Step 5, I like to use clear plastic cups instead of pots. This lets you easily monitor moisture levels and root development without disturbing the seeds. Place the cup in a warm spot (like on top of your fridge) and cover it with plastic wrap to maintain humidity. Watch for sprouts between 7-14 days—if you see any green showing, your seeds are good to go!
Pro Tips for Harvest Celosia Seeds
- Here's what I've learned after saving celosia seeds for years—these little tricks make all the difference between see...
- Timing is Everything: Harvest your celosia seed heads in the early morning when they're completely dry and crisp. Thi...
- The Drying Game-Changer: For the 7-10 day drying period in Step 2, I've discovered that using a small fan on low spee...
Frequently asked questions
Got questions about harvesting and saving celosia seeds? Here are some of the most common ones—plus straightforward answers to help you succeed!
When is the best time to harvest celosia seeds?
Harvest celosia seeds once the flower heads turn brown and dry out, usually 4-6 weeks after blooming. The seed pods will feel crispy and split open easily—this is your cue! If left too long, seeds may scatter or lose viability. Aim for late summer to early fall in most climates.
How long does it take for celosia seeds to dry completely?
With proper drying conditions (warm, dry, and well-ventilated), celosia seeds typically dry in 1-2 weeks. Spread them in a single layer on a tray or paper towel, stirring occasionally. If humidity is high, use a fan to speed up the process. Patience pays off—rushed drying can lead to moldy or non-viable seeds!
Can I harvest seeds from store-bought celosia plants?
Yes, but with a caveat! Store-bought celosia may be hybrids, meaning their seeds might not grow true to the parent plant. For consistent results, save seeds from open-pollinated varieties or grow from seed the next season. If you’re experimenting, it’s a fun (if unpredictable) project!
What’s the best way to store celosia seeds long-term?
Store seeds in a cool, dry place (like a sealed envelope or airtight container) in your freezer for up to 3-5 years. Label them with the variety and date! Avoid moisture—condensation is the enemy of seed viability. A small silica packet in the container can help absorb excess humidity.
Why aren’t my celosia plants producing seeds?
Several factors can stop seed production: lack of pollinators (hand-pollinate with a paintbrush!), over-fertilizing (too much nitrogen = more leaves, fewer flowers), or cool temperatures. Ensure your plants get full sun and aren’t stressed by pests or disease. If blooms drop without drying, try deadheading spent flowers to encourage new growth.
Wrapping up and next steps
Harvesting celosia seeds is a rewarding way to ensure vibrant blooms year after year! With the right tools—like sharp scissors, brown paper bags, and a dry storage spot—you’ve got everything you need to preserve seeds effortlessly.
Whether you’re a seasoned gardener or a curious beginner, this process is simple and packed with potential for future gardens.
Now that you’re equipped with the know-how, take the next step: grab those dried seed pods, store them safely, and get ready to plant fresh celosia next season. Your garden will thank you with bold, fiery blooms 🌸—happy growing!