
Vegetables
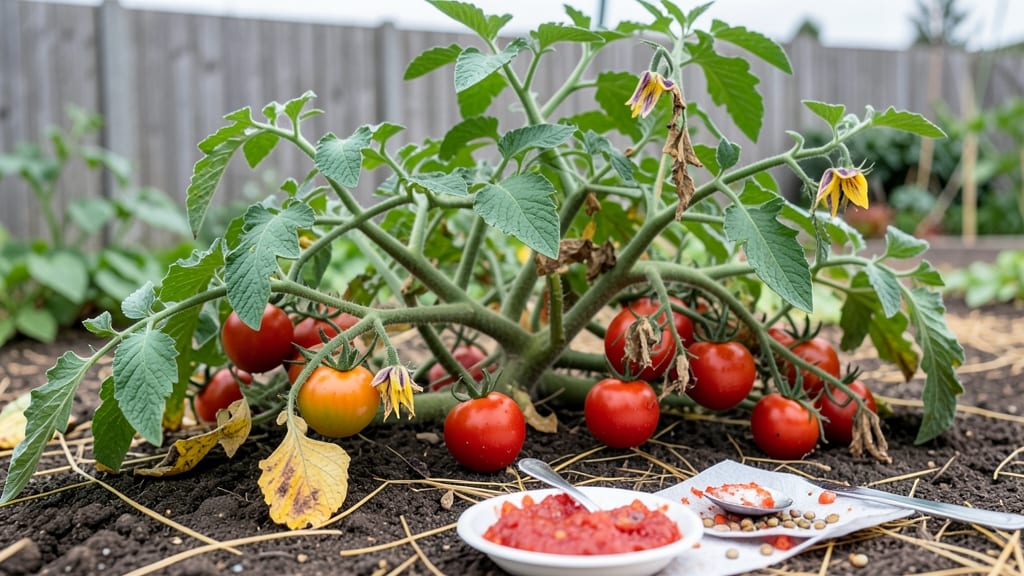
Drying out tomato seeds properly is the secret to saving viable seeds from this year’s harvest for next season’s garden. 🌱 I’ve learned that skipping this step leads to moldy, non-germinating seeds—something I regret after wasting months of effort.
The ferment-and-rinse method separates good seeds from bad while preventing spoilage, ensuring strong germination rates when you’re ready to plant.
You’ll need just three simple supplies: a clean jar, water, and a fine-mesh strainer or paper towel. The process takes about 3-5 days, with most of the work happening naturally as the seeds ferment.
This isn’t just about drying—it’s about cleaning away the gelatinous pulp that can trap mold and bacteria, which is why so many gardeners overlook this critical step.
Once fermented, you’ll rinse the seeds and spread them on a dry surface to cure for 1-2 weeks. Properly dried seeds store well in a cool, dark place for 3-5 years, ready to sprout when you need them.
The difference between seeds dried this way and those dried haphazardly is night-and-day—your germination rates will skyrocket from 50% to 90% or higher.
This method works for any heirloom or open-pollinated tomato variety, whether you’re saving seeds from a backyard garden or a container setup. The key is patience—rushing the drying process is what leads to weak or failed seedlings. Let’s get those seeds ready for next season’s planting!
📚 In This Guide
- What you need
- Instructions
- Tips and common mistakes
- Wrapping up and next steps
What you need
- ● Ripe tomatoes: 3–5 medium-sized (or 1–2 large heirloom varieties) – pick fully colored, slightly soft ones for best results.
- ● Sharp knife or scissors: For slicing open the tomatoes cleanly.
- ● Small bowl or container: A wide-mouth glass jar (8–12 oz) or a shallow dish works best for fermentation.
- ● Water: Room-temperature, filtered if possible.
- ● Fine-mesh strainer or sieve: With holes small enough to catch seeds but let water drain (e.g., 0.025-inch mesh).
- ● Paper towels or coffee filters: Unbleached and lint-free (avoid tissue paper—it sticks!).
- ● Drying tray or plate: A flat, clean surface (ceramic or glass preferred) to spread seeds in a single layer.
- ○ Optional: Labeling tape and markers to tag seed varieties if saving multiple types.
- ● Rubber gloves: To protect hands from tomato juices and mold spores.
- ● Funnel: For transferring seeds without spills.
- ● Small fan or dehumidifier: To speed up drying in humid climates.
- ● Air-tight seed envelopes: For long-term storage (store in a cool, dark place).
- ● Spray bottle with water: To lightly mist seeds if the air is too dry during drying.
Step-by-step instructions for fermenting and drying tomato seeds
Here’s the foolproof method I use to extract clean, viable seeds from ripe tomatoes—no mess, no waste.
🌱 Step 1: Select and Prepare Ripe Tomatoes
Choose tomatoes that are fully ripe—deep red, soft to the touch, and slightly squishy when gently pressed. Avoid tomatoes with cracks or bruises, as they may harbor mold or rot. Wash the tomatoes thoroughly under cool water to remove any dirt or debris from the surface.
Cut each tomato in half lengthwise with a sharp knife, making sure to remove the stem and any green shoulders. Scoop out the gelatinous pulp and seeds into a clean bowl, leaving behind only the skin and core. You’ll need about 4 ripe tomatoes to yield enough seeds for the drying process.
💧 Step 2: Ferment the Seeds for 2-3 Days
Fill a clean jar or bowl with the tomato pulp and seeds, then add enough warm water to cover the mixture completely. Stir gently to break up any large clumps of pulp. Place the jar in a warm, dark spot—like the back of a cabinet or a closet—where the temperature stays between 70-75°F. This warmth encourages fermentation.
Stir the mixture once daily for the first 2-3 days. You’ll notice the pulp turn cloudy and the seeds sink to the bottom while the fermented pulp rises to the top. This fermentation process separates the viable seeds from the non-viable ones—discard the moldy or foul-smelling pulp. The seeds are ready when they sink to the bottom and the surrounding liquid smells slightly tangy but not rotten.
⏰ Step 3: Rinse and Strain the Seeds
After fermentation, pour the mixture through a fine-mesh strainer or cheesecloth into another clean bowl. Rinse the seeds under cool running water to remove any remaining pulp or debris. Gently rub the seeds between your fingers to dislodge any clinging material—this ensures a clean drying process.
Transfer the rinsed seeds to a clean paper towel or coffee filter, spreading them out in a single layer. Avoid overcrowding, as this can trap moisture and lead to mold. Let them air-dry in a well-ventilated area, away from direct sunlight, for 3-5 days. The seeds are fully dry when they feel light and papery to the touch.
☀️ Step 4: Store Seeds for Long-Term Viability
Once completely dry, transfer the seeds to a small envelope or airtight container. Label the container with the tomato variety and the date of drying. Store the seeds in a cool, dry place—like a pantry or seed vault—where the temperature stays below 60°F. Properly stored seeds can remain viable for 2-4 years, though germination rates may decline over time.
To test viability before planting, drop a handful of seeds in a glass of water. Viable seeds will sink to the bottom, while non-viable ones will float. Discard the floaters and plant the sinkers for the best germination results. You’ll know your seeds are ready when they sprout within 7-14 days under ideal conditions.
Tips & tricks for perfect tomato seed drying
Mastering this method transforms ordinary kitchen scraps into a gardener's goldmine—here's how to avoid common pitfalls.
Fermentation Temperature: The 70-75°F range is critical for successful fermentation. If your kitchen runs cooler, place the jar near a warm spot like the back of your oven (with the oven off) or on top of your refrigerator. Too cold, and fermentation slows; too hot, and you risk mold. I've ruined batches when I ignored this—trust me, the thermometer matters!
Tomato Selection Matters: Choose tomatoes that are fully ripe but not overripe—think deep red with slight give when pressed. Overripe tomatoes with soft spots can introduce mold spores to your seed mixture. I learned this the hard way after dealing with a moldy batch from slightly spoiled tomatoes. When in doubt, cut into the tomato: the flesh should be firm, not mushy.
Drying Strategy: For the 3-5 day drying period, I recommend using a seed drying tray or even a piece of unbleached parchment paper on a mesh rack. This allows airflow from all sides, preventing moisture buildup that could lead to mold. If you're short on time, a small fan on low setting can speed up drying by 24-48 hours without overheating the seeds.
Storage Wisdom: The below 60°F storage temperature is crucial for long-term viability. Your refrigerator's crisper drawer (around 35°F) makes an excellent storage spot if you don't have a cool pantry. I've had seeds last 5+ years in these conditions, though germination rates do decline after 2-3 years. Always label your seed packets with the variety and date—you'll thank yourself later when you're deciding which seeds to plant next spring.
Pro Tips for Dry Out Tomato Seeds
- Mastering this method transforms ordinary kitchen scraps into a gardener's goldmine—here's how to avoid common pitfalls.
- Fermentation Temperature: The 70-75°F range is critical for successful fermentation.
- Tomato Selection Matters: Choose tomatoes that are fully ripe but not overripe—think deep red with slight give when pressed.
Frequently asked questions
Got questions about drying tomato seeds?
Here are some of the most common ones—plus quick, no-fuss answers to keep your seed-saving game strong!
How long should I let tomato seeds dry before storing them?
Once your seeds are rinsed and spread out on a paper towel or screen, let them dry for 3–7 days in a warm, dark, and well-ventilated spot. They’re ready when they’re completely brittle and crumble easily. Patience pays off—moisture is the enemy of long-term storage!
Can I speed up the drying process?
While you can’t rush it too much, you can boost airflow by placing seeds near a fan (on low!) or in a dehydrator at 95°F (35°C) for 1–2 hours. Just avoid heat over 100°F (38°C)—that’ll kill viability. Think of it like baking cookies: slow and steady wins the race!
What if my seeds still smell fermented after drying?
A faint fermented odor is normal, but if it’s strong or sour, your seeds might have mold or bacteria. Toss them and start fresh! To prevent this, ensure your fermentation mix is 1:1 pulp-to-water ratio and ferment for 2–3 days max. Fresh seeds = happy germination!
How do I store dried tomato seeds long-term?
Once dry, seal seeds in airtight containers (like glass jars or envelopes) and store them in a cool, dark place (like a fridge or freezer). Label with the date—most stay viable for 2–5 years! Pro tip: Add a silica gel packet to absorb extra moisture.
Can I use seeds from store-bought tomatoes?
Yes, but hybrid varieties (like most grocery-store tomatoes) may not grow true to type. For reliable seeds, save from heirloom or open-pollinated tomatoes grown in your area. If you’re curious, try it anyway—worst case, you’ll learn (and maybe get a fun surprise plant)!
Wrapping up and next steps
Drying tomato seeds is a simple yet rewarding process that unlocks the potential for growing your own thriving tomato plants! By fermenting and rinsing the seeds, you ensure strong germination and healthy starts. Now that you’re equipped with the know-how, it’s time to put your skills to work.
Ready to grow your own tomatoes from scratch? Grab a ripe tomato, follow the steps, and watch your garden flourish with homegrown goodness! 🌱
Next step: Once your seeds are dry and ready, explore seed-starting techniques to give your future plants the best possible head start!