
Picking
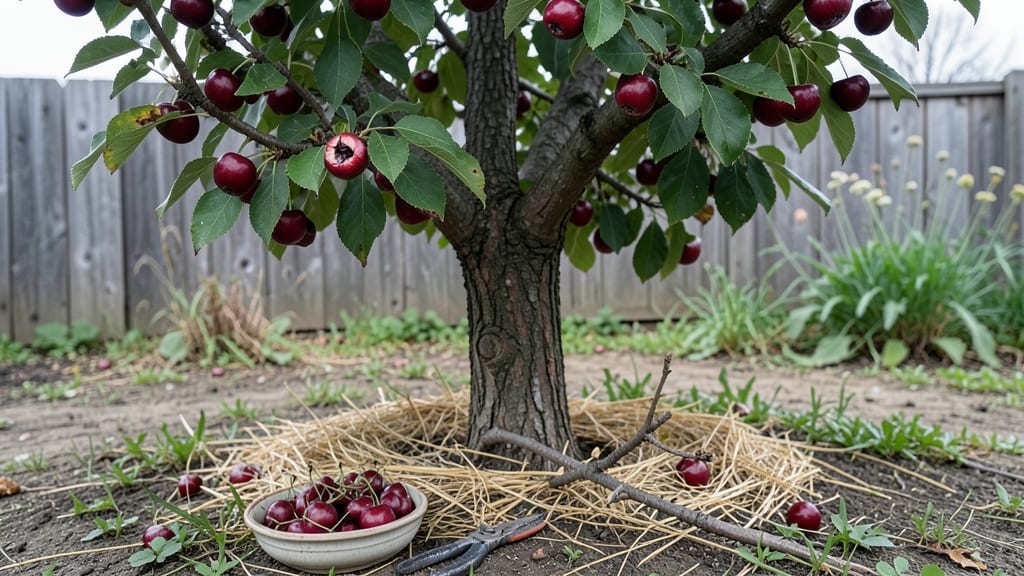
Harvesting cherry seeds is how you unlock the potential to grow your own fruit trees from scratch—something that feels like magic when those first seedlings sprout. 🌱 The key moment comes after a heavy frost when cherries turn soft and dark on the tree, signaling they're ready for seed extraction.
I learned the hard way that waiting too long means seeds ferment inside the fruit, ruining their viability, while harvesting too early leaves them underdeveloped.
You'll need ripe cherries, a bowl of water, a spoon, and a bit of patience—the tools you already have at home. The process starts by squishing the cherries to release the pits, then soaking them overnight to loosen the seed from the hard shell.
Most people skip this step and struggle with germination later, but those extra 12 hours make all the difference in breaking dormancy naturally.
Once dried, these seeds can last years if stored properly in a cool, dark place. Picture the satisfaction of watching a tiny seed transform into a tree that produces fruit decades later—something you can't get from store-bought saplings.
The payoff isn't just sentimental; you'll end up with trees perfectly adapted to your local climate and soil.
Here's where it gets interesting: the best seeds come from heirloom varieties, and a single seed can produce a tree with unique characteristics. Whether you're growing sweet cherries for fresh eating or tart varieties for pies, this method ensures you're working with the highest-quality genetic material.
Let's get those seeds ready for planting!
📚 In This Guide
- What you need
- Instructions
- Tips and common mistakes
- Wrapping up and next steps
What you need
- ● Ripe cherries: 10–20 fresh, fully ripe cherries (pits included). Choose organic if possible to avoid pesticides.
- ● Paper towels or coffee filters: 2–3 sheets (for drying seeds). Opt for unbleached, seed-free paper.
- ● Plastic bag or airtight container: 1 small bag (quart-size) with a zip-top or lid for seed storage.
- ● Small bowl or plate: 1 shallow container for pit extraction.
- ● Knife or peeler: 1 sharp, small knife (or a cherry pitter tool for efficiency).
- ● Water: Room-temperature, filtered water (for rinsing).
- ● Label and marker: 1 permanent marker + labels (to track seed varieties and harvest dates).
- ● Seed stratification kit: For cold treatment (if germinating in winter).
- ● Fine-mesh strainer: To rinse seeds gently without damage.
- ● Humidity dome or plastic wrap: For creating a mini greenhouse during germination.
- ● Notebook/journal: To log seed sources, ripening dates, and germination progress.
- ● Gloves (nitrile): If handling large quantities of pits to avoid stains.
Step-by-step guide to harvesting cherry seeds for perfect germination
Here’s how to collect and prepare cherry seeds so they sprout reliably—no guesswork, just proven results.
🍒 Step 1: Select and Collect Ripe Cherries
Choose fully ripe cherries that are deep red or purple and slightly soft to the touch. Overripe cherries ferment quickly, which can damage the seed’s viability. I pick mine when they detach easily from the stem—this ensures peak freshness. Collect at least 4 cherries (enough for multiple planting attempts).
Wash the cherries gently under cool water to remove any dirt or debris, but avoid soaking them. Pat them dry with a paper towel, then cut them open with a small, sharp knife. You’ll find 1-2 seeds per cherry, nestled near the pit. Remove the seeds carefully, discarding any that appear shriveled or damaged.
💧 Step 2: Clean and Stratify the Seeds
Rinse the seeds under running water to remove any remaining fruit pulp, then let them air-dry completely for 24 hours. This prevents mold from forming during stratification. Once dry, place the seeds in a small paper towel or mesh bag—this allows airflow while keeping them contained.
Stratification mimics winter’s cold period, breaking the seed’s dormancy. Place the sealed bag in the refrigerator for 4-6 weeks at 35-40°F. Check them weekly: the seeds should feel firm but not mushy. If moisture builds up, open the bag briefly to air it out. This step is critical—skipping it means seeds may never sprout.
☀️ Step 3: Plant the Stratified Seeds
After stratification, fill a small pot with well-draining potting mix (moisten it lightly but don’t soak it). Plant each seed ½ inch deep, spacing them 2 inches apart to avoid crowding. Gently press the soil around the seeds to ensure good contact—this helps roots anchor quickly.
Cover the pot with a clear plastic dome or plastic wrap to retain humidity, then place it in a warm, bright spot (65-75°F). Avoid direct sunlight at first—seeds need warmth more than light to germinate. Mist the soil lightly every 2-3 days to keep it evenly moist, but never soggy. Germination should begin in 2-4 weeks.
🌱 Step 4: Transplant Seedlings for Growth
Once seedlings develop 2-3 true leaves (not just the initial seed leaves), they’re ready to move. Choose individual pots (3-4 inches wide) filled with fresh potting mix. Gently dig around each seedling, keeping the root ball intact, then transplant it into its own pot.
Place the pots in bright, indirect light for the first week to help them adjust. After that, gradually introduce 4-6 hours of morning sun daily, increasing exposure over 10 days. Water when the top inch of soil feels dry, and avoid wetting the leaves to prevent fungal issues. With patience, you’ll have sturdy cherry seedlings ready for outdoor planting in 3-4 months.
Tips & tricks for perfect cherry seed germination
Want to turn those cherries into thriving seedlings? These key strategies ensure you don't waste a single seed in the process.
Cherry Selection Matters: The ripeness of your cherries directly impacts seed viability. Look for cherries that are deep red or purple and just slightly soft to the touch—these yield the healthiest seeds. I've learned the hard way that overripe cherries can ferment during the drying process, which ruins the seeds. When in doubt, pick cherries that detach easily from the stem. You'll need at least 4 cherries to get started, which gives you 4-8 seeds depending on their size.
The 24-Hour Drying Secret: After rinsing your seeds, the critical 24-hour drying period prevents mold formation during stratification. I use a paper towel to pat them completely dry, then spread them out on a clean surface in a single layer. This might seem tedious, but trust me—skipping this step leads to moldy seeds that won't germinate. Place them in a warm, dry spot away from direct sunlight for best results.
Stratification Temperature Control: The 4-6 week stratification period at 35-40°F is non-negotiable for breaking dormancy. I use the vegetable crisper in my refrigerator, which maintains a consistent 38°F. Check your seeds weekly—they should feel firm but not mushy. If you notice any moisture buildup, open the bag for a few minutes to air it out. This cold treatment mimics winter conditions that nature uses to trigger germination.
Planting Depth and Spacing: When it's time to plant, remember that cherry seeds are tiny but delicate. Plant them just ½ inch deep—any deeper and they may struggle to push through the soil. Space them 2 inches apart to prevent overcrowding as they grow. I find using a pencil to make small holes in the soil makes planting these tiny seeds much easier and more precise.
Pro Tips for Harvest Cherry Seeds
- Want to turn those cherries into thriving seedlings?
- Cherry Selection Matters: The ripeness of your cherries directly impacts seed viability.
- The 24-Hour Drying Secret: After rinsing your seeds, the critical 24-hour drying period prevents mold formation during stratification.
Frequently asked questions
Got questions about harvesting cherry seeds? You’re not alone! Here are some of the most common queries—plus straightforward answers to help you succeed.
When is the best time to harvest cherry seeds?
Harvest seeds from fully ripe cherries (deep red, soft to the touch) in late summer or early fall. If you miss the fresh fruit, dried cherries (like Montmorency) work too—just remove the pits before storing. Avoid unripe or overripe fruit, as seeds may not germinate well.
Do I need to remove the seed’s outer flesh before drying?
Yes! The endocarp (hard pit) must be clean. Gently scrape off the flesh with a knife or soak pits in water for 1–2 days to loosen residue. Rinse and pat dry before storing. Pro tip: Use a paper towel to wipe them—this prevents mold during drying.
Can I harvest cherry seeds from store-bought cherries?
Store-bought cherries (especially sweet varieties) work fine, but avoid sour cherries (like tart cherries) if you want fruit trees—they’re bred for different traits. Just ensure the fruit is organic or pesticide-free for healthier seeds.
How long should I dry cherry seeds before planting?
Dry seeds for 2–4 weeks in a cool, dark place (like a paper bag) or use a dehydrator at 120°F (49°C) for 6–8 hours. Test dryness by cracking a pit—it should feel lightweight and hollow inside. Over-drying can reduce germination, so check periodically!
What if my cherry seeds won’t germinate?
Try these fixes:
- Stratification: Place seeds in a damp paper towel in the fridge for 30–90 days to mimic winter.
- Scarification: Lightly nick the pit with sandpaper to break dormancy.
- Freshness: Older seeds (over 1 year) may lose viability—harvest new ones yearly.
Wrapping up and next steps
Harvesting cherry seeds is a simple yet rewarding process that unlocks the potential to grow your own cherry trees! By following these steps—from selecting ripe cherries to stratifying seeds for germination—you’re not just preserving nature’s bounty; you’re nurturing future fruit-bearing trees. 🌱
Now that you’re equipped with the know-how, roll up your sleeves and give it a try! Start small with a few seeds, experiment with different varieties, and watch your green thumb grow. Ready to plant the seeds of success? Your future cherry orchard awaits! 🌟