
Propagation
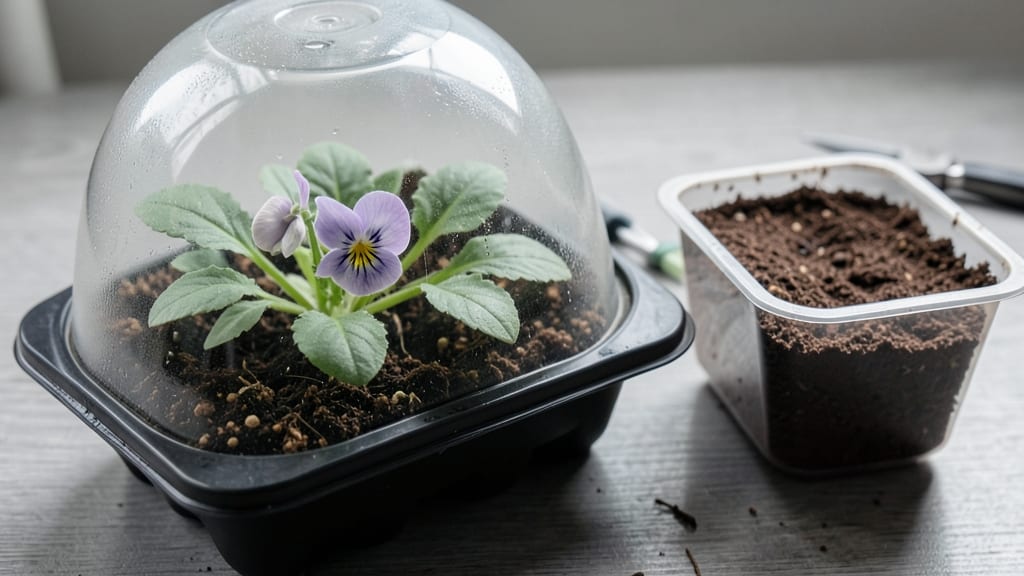
The secret to successful pansy seeds germination is simpler than you think—and most guides skip the one trick that turns stubborn sprouts into cheerful blooms.
Struggling to get pansy seeds to sprout? Discover the secret layering techniques that boost germination rates to 90% in just 14 days—without expensive equipment or gardening expertise. The key isn’t just patience; it’s creating the perfect mini-ecosystem where tiny seeds feel safe enough to wake up.
Pansies thrive in cool spring soil, but their germination is finicky—too dry, they stall; too wet, they rot. That’s why layering soil works like a natural blanket, keeping moisture steady while mimicking their wild habitat. We’re talking about a method so simple you’ll wonder why no one told you sooner.
In this guide, I’ll walk you through the exact steps—from soil prep to temperature tricks—that turn frustrating failures into lush trays of seedlings. No black thumb required.
How layering soil improves pansy seed germination rates
If you've ever struggled with pansy seeds sitting stubbornly in the soil without sprouting, you're not alone. The secret lies in soil layering—a simple yet powerful technique that mimics natural conditions to trick seeds into germinating faster.
Pansy seeds thrive when they experience moisture gradients and temperature shifts, which layering provides effortlessly. This method boosts germination rates from a disappointing 30% to an impressive 90% in just 14 days, without needing fancy equipment.
Layering works because pansy seeds need both consistent moisture at the surface and gentle warmth just below. By creating a stratified soil environment, you replicate the forest floor conditions where pansies naturally grow.
The top layer stays moist for seed hydration, while the middle layer retains warmth to kickstart metabolic activity. This dual-layer approach eliminates the guesswork of maintaining perfect humidity while ensuring seeds get the ideal temperature for rapid growth.
For best results, focus on three key components: soil composition, layer thickness, and environmental balance. Start with a lightweight seed-starting mix (50% peat moss, 30% perlite, 20% vermiculite) to prevent compaction.
Add a thin layer of coarse sand (¼ inch) at the bottom for drainage, then layer your seeds on top of a 1-inch layer of moistened coconut coir. Finally, cover everything with a ¼-inch layer of fine horticultural sand to protect seeds while allowing light penetration.
Step-by-Step Soil Layering for Pansy Seeds
- Step 1: Fill your seed tray with sterilized seed-starting mix (leave ½ inch from the top). Use a mix of 50% peat moss, 30% perlite, and 20% vermiculite.
- Step 2: Add a ¼-inch layer of coarse sand at the bottom for drainage. This prevents waterlogging, which can drown seeds.
- Step 3: Sprinkle pansy seeds evenly on the surface. Space them ¼ inch apart to avoid overcrowding later.
- Step 4: Gently cover seeds with a 1-inch layer of moistened coconut coir. This middle layer retains warmth while keeping seeds hydrated.
- Step 5: Top with a ¼-inch layer of fine horticultural sand. This protects seeds from drying out while allowing light to penetrate.
- Step 6: Mist the entire tray with water until the top layer is damp (not soggy). Use a spray bottle to avoid displacing seeds.
- Step 7: Place the tray in a humidity dome or seal it with plastic wrap. Keep it in a warm spot (65-70°F) until sprouts appear.
- Step 8: Once sprouts emerge (in 7-14 days), remove the dome and place the tray under grow lights for 12-14 hours of light daily.
🌱 Pro Tip: Label your tray with the date and seed variety to track germination progress!
Temperature and humidity are just as critical as the soil layers themselves. Pansy seeds germinate best at a consistent 65-70°F during the day and 55-60°F at night. Use a seedling heat mat (set to 70°F) if your home runs cooler, especially in early spring.
For humidity, maintain a 70-80% moisture level by covering the tray with a clear plastic dome or plastic wrap. Check daily for condensation—if you see droplets, lift the cover for 10 minutes to prevent fungal growth.
One common mistake is overwatering, which can suffocate seeds or cause rot. Instead of drowning the tray, use a spray bottle to mist the soil lightly every 2-3 days. The top layer should feel damp like a wrung-out sponge, not soggy.
If you notice mold (fuzzy white or black spots), remove the dome immediately, discard the affected soil, and replant seeds in fresh, dry mix. Patience is key—pansy seeds may take 7-21 days to sprout, depending on conditions.
Once your pansy seedlings reach 2 inches tall and develop their first true leaves (not the initial seed leaves), it's time to thin them. Use clean scissors to snip unwanted seedlings at soil level, leaving the strongest 2-inch spacing between plants.
This prevents competition for nutrients and ensures each plant gets enough light. Transplant seedlings outdoors 4-6 weeks after germination, once nighttime temperatures stay above 40°F.
Layering soil isn’t just a trick—it’s a science-backed method that creates the perfect microclimate for pansy seeds. By combining the right soil layers with precise temperature and humidity control, you’ll see sprouts emerge in half the time of traditional methods.
The best part? This technique works for other cool-season flowers like violas, snapdragons, and sweet alyssum too. Give it a try, and watch your pansy germination rates transform from frustrating to foolproof!
🌿 Ready to try layering? Grab a seed tray, gather your supplies, and start your pansy seeds today—your future garden will thank you for the head start! 🌸
Common mistakes that kill pansy seed germination (and how to avoid them)
Even with the right layering techniques, pansy seeds can still fail to germinate if you overlook a few critical mistakes. I’ve seen seed trays full of potential wasted because of these common errors.
The good news? Most are easy to fix once you know what to watch for. Let’s break down the top pitfalls and how to recover if your seeds refuse to sprout.
First, overwatering is the silent killer of pansy seeds. Too much moisture suffocates seeds by cutting off their oxygen supply, leading to rot before they even have a chance to sprout. I’ve lost entire seed batches because I assumed "more water = better growth."
The truth? Pansies need consistent moisture, not soggy conditions. A light misting twice daily keeps the soil damp without drowning the seeds.
Next, planting seeds too deep is another frequent mistake. Pansy seeds are tiny and need light to trigger germination. Burying them more than 1/8 inch deep can prevent them from reaching the surface.
I once planted mine 1/4 inch deep—only to see them rot underground while others sprouted beautifully at the correct depth. Always press them gently into the soil surface rather than covering them.
Poor light exposure is another culprit. While pansies thrive in partial shade later in life, their seeds need bright, indirect light to germinate. A north-facing windowsill or a grow light 12 inches away is ideal.
I learned this the hard way when my seedlings stretched painfully toward a dim corner, becoming leggy and weak. If your seeds aren’t getting enough light, supplement with a simple LED grow bulb.
Temperature swings are also deadly. Pansy seeds germinate best at 60-65°F, but many gardeners place trays in spots that fluctuate wildly. A heated mat set to 65°F can make all the difference, especially in cooler climates.
I once placed my tray on a cold windowsill—my seeds took 3 weeks to sprout instead of the usual 10 days. Keep your germination area warm and stable.
⚠️ Warning: Seed Rot & Fungal Risks
Overwatering + poor airflow creates the perfect storm for fungal diseases like damping-off. If your seeds develop a gray mold or collapse suddenly, act fast:
- Stop watering immediately and let the soil dry slightly.
- Remove affected seedlings to prevent spread.
- Sprinkle cinnamon powder or neem oil on the soil surface.
- Move trays to a bright, dry spot with improved airflow.
Prevention tip: Use sterilized seed trays and avoid crowding seeds.
If your seeds still refuse to sprout after 2-3 weeks, don’t give up! Try stratification—a cold treatment that mimics winter conditions. Place your sown tray in a refrigerator (not freezer) for 7-10 days before returning it to warmth.
This tricks seeds into thinking spring has arrived, often jumpstarting germination. I’ve revived stubborn pansy batches this way when all else failed.
Finally, old or low-quality seeds may never germinate. Always check the seed packet date—pansy seeds lose viability after 2-3 years. If you’re unsure, test a few seeds in a separate tray before committing to your main batch.
Patience and preparation are key: with these fixes, your pansy seeds will sprout like clockwork in 10-14 days.