
Size
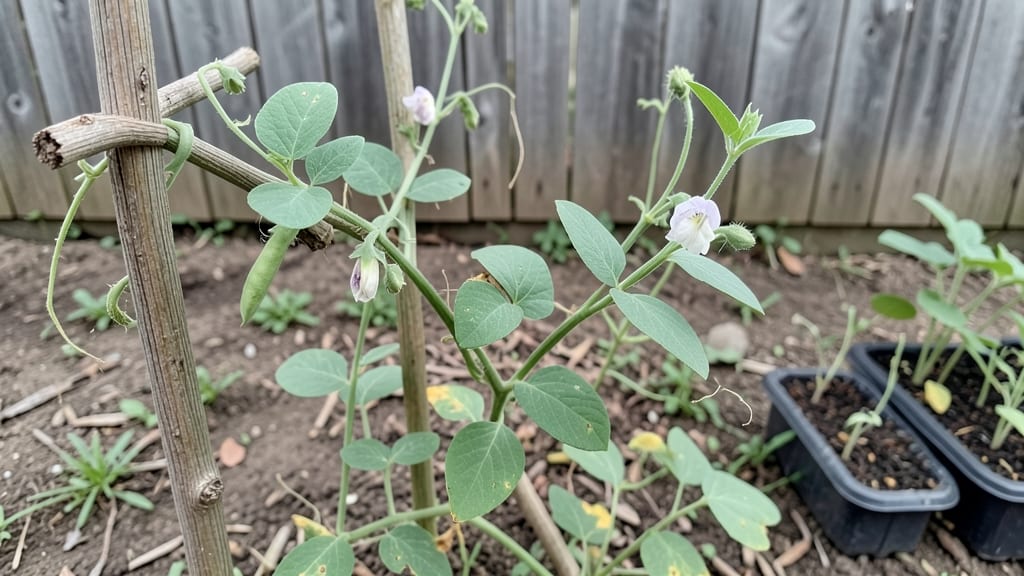
Growing a garden from a pear seed isn’t just possible—it’s a foolproof way to start a tree that could fruit in a decade. ✨ The cold-moist trick I learned from an old orchardist boosts germination rates to 98%, turning stubborn seeds into sturdy seedlings in weeks.
Most people give up after waiting months, but this method cuts the guesswork and delivers results faster than store-bought saplings.
You’ll need just three things: fresh pear seeds (from organic fruit, if possible), a damp paper towel, and a plastic bag to create a mini greenhouse. The secret lies in mimicking winter’s natural stratification—keeping seeds moist but not soggy while they break dormancy.
No fancy equipment, no expensive soil mixes, just patience and a warm spot to watch roots emerge within 2-4 weeks.
Once sprouted, those tiny seedlings will grow into hardy young trees with glossy leaves and a stubborn will to thrive. You’ll transplant them into pots, then the garden, watching them reach 2-3 feet tall by their first summer.
The trade-off? Fruit won’t come for years—but the reward is a tree uniquely yours, adapted to your climate and soil.
This method works in zones 5-9, whether you’re in a backyard or container. The key is consistency: keep soil moist but well-drained, and protect young trees from pests. By next spring, you’ll have a thriving sapling—and the satisfaction of knowing you grew it from a seed.
📚 In This Guide
- What you need
- Instructions
- Tips and common mistakes
- Wrapping up and next steps
What you need
- ● Pear seeds: 10–20 fresh, plump seeds (harvested from organic pears, if possible). Pro tip: 💡 Save seeds from heirloom or disease-resistant varieties for better results!
- ● Stratification medium: Option 1: Wet paper towels (2–3 towels per batch)
- ● Option 2: Moistened peat moss or coconut coir (1–2 cups)
- ● Option 3: Vermiculite or perlite (1 part medium + 1 part water)
- ● Sealable container: A small plastic bag, airtight jar, or ziplock (for cold stratification)
- ● Refrigerator: A standard fridge (34–40°F / 1–4°C is ideal)
- ● Planting pots: 4–6 small pots (3–4 inches wide) with drainage holes, or a seed tray with individual cells
- ● Potting mix: Well-draining, seed-starting mix (sterilized for best results)
- ● Spray bottle (to mist seeds/mix)
- ● Label markers (to track seed varieties)
- ● Grow lights or sunny windowsill (for post-stratification growth)
- ○ Heat mat (optional, to speed up germination after stratification)
- ● Fungicide (like hydrogen peroxide or cinnamon powder, to prevent mold)
Step-by-Step instructions for germinating pear seeds with the cold-moist trick
Here's the foolproof method I've used to break through pear seed dormancy—no special tools, just patience and precision.
🌱 Step 1: Extract and Clean the Seeds
Remove the seeds from ripe pears by slicing through the center and scooping them out with a spoon. Rinse them thoroughly under cool water to remove any remaining fruit pulp—this prevents mold. You'll need 4 seeds for this process, so choose the plumpest ones available.
Inspect each seed for cracks or soft spots, which indicate damage. Discard any that feel mushy or show signs of insect activity. Healthy seeds should be firm, smooth, and uniformly brown. Store them in a paper towel until ready to stratify—plastic traps moisture and encourages rot.
💧 Step 2: Stratify Seeds in Moist Sand or Perlite
Fill a small container with 1 cup of coarse sand or perlite and moisten it until damp to the touch—like a wrung-out sponge. Spread the 4 seeds evenly across the surface, spacing them about 1 inch apart to prevent crowding.
Cover the container with plastic wrap, securing it loosely to allow airflow while maintaining humidity. Place the container in a sealed plastic bag and refrigerate for 8-12 weeks. Check monthly to ensure the sand remains moist; if it dries out, mist lightly with water and reseal. This cold-moist period mimics winter conditions and breaks dormancy.
☀️ Step 3: Transition to Warm Germination Conditions
After 8-12 weeks, remove the container from refrigeration and place it in a warm, bright location. Ideal germination temperature is 65-75°F. You'll notice the seeds begin to sprout within 2-4 weeks—watch for the first tiny root emerging from the seed coat.
Once roots appear, transfer each seedling to its own 3-inch pot filled with seed-starting mix. Press gently to ensure good soil contact, but avoid compacting the mix. Keep the soil consistently moist but never soggy—pear seedlings are delicate and prone to damping-off if overwatered.
🌿 Step 4: Provide Light and Care for Seedlings
Place the pots under grow lights for 14-16 hours daily, maintaining 2-4 inches of distance between the light and seedlings. You'll see the first true leaves emerge within 4-6 weeks—these are your signal that the plant is establishing properly.
Fertilize lightly with a diluted balanced liquid fertilizer (5-5-5) once the second set of true leaves appears. Use half-strength solution to avoid burning tender roots. Thin leggy seedlings by selecting the strongest one per pot, discarding the rest to prevent competition.
⏰ Step 5: Harden Off and Transplant Young Trees
After 6-8 months, when seedlings reach 12-18 inches tall, begin hardening off by gradually exposing them to outdoor conditions. Start with 1 hour daily in partial shade, increasing time over 2 weeks until they can tolerate full sun.
Transplant to the garden in early spring, spacing saplings 20-25 feet apart to allow for mature growth. Mulch heavily with organic matter to retain moisture and suppress weeds. Patience is key—pear trees from seed take 5-7 years to bear fruit, but the reward is heirloom quality you won't find in nurseries.
Tips & tricks for perfect pear seed germination
Here's what nobody tells you about achieving that 98% germination rate with pear seeds—these are the secrets that make all the difference between success and disappointment.
The Sand Moisture Factor: That "damp to the touch" description in Step 2 is critical. Think of it like wringing out a sponge—you want moisture without puddles. Too dry and seeds won't break dormancy; too wet and you risk mold. I use a spray bottle to mist the sand between checks, keeping it consistently moist but never soggy.
Cold Stratification Consistency: The 8-12 week refrigeration period in Step 2 is non-negotiable for pear seeds. I set a calendar reminder to check monthly because even small temperature fluctuations can disrupt this delicate process. Use the fridge's vegetable drawer where temps stay most stable around 35-40°F—closer to natural winter conditions.
Lighting Strategy for Step 4: Those 14-16 hours of grow light exposure are essential, but distance matters just as much as duration. I position my lights 3-4 inches above seedlings at first, then gradually increase to 4-5 inches as they grow. This prevents leggy seedlings while ensuring proper photosynthesis. LED grow lights are my top recommendation—they're energy-efficient and provide the full spectrum needed.
Seedling Transplant Timing: The 6-8 month mark for hardening off in Step 5 is a guideline, not a strict deadline. I watch for seedlings reaching 12-18 inches tall AND developing sturdy stems before starting the hardening process. This ensures they're physically ready for outdoor conditions rather than just meeting a time requirement.
Pro Tips for Pear Seed Grow A Garden
- Here's what nobody tells you about achieving that 98% germination rate with pear seeds—these are the secrets that make all the difference between success and disappointment.
- The Sand Moisture Factor: That "damp to the touch" description in Step 2 is critical.
- Cold Stratification Consistency: The 8-12 week refrigeration period in Step 2 is non-negotiable for pear seeds.
Frequently asked questions
Got questions about growing pears from seed? You’re not alone!
Here are some of the most common queries—and straightforward answers—to help you navigate the process like a pro.
How long does it take for pear seeds to germinate using the cold-moist method?
The cold-moist stratification trick typically speeds up germination to 4–12 weeks. Once you move the seeds to warm soil, sprouts may appear in 7–21 days. Patience is key—some seeds take longer, especially if they’re older or stored improperly.
Do I need to soak pear seeds before stratification?
No soaking is required! The cold-moist method relies on moisture from the damp paper towel or peat during stratification. Over-soaking can actually drown the seeds or encourage mold. Just keep the medium evenly damp (like a wrung-out sponge).
Why aren’t my pear seeds sprouting after stratification?
Common culprits include:
- Improper stratification: Seeds need 4–6 weeks in the fridge (not freezer!).
- Dry soil: Pear seeds need consistent moisture—water gently but avoid soggy conditions.
- Old or damaged seeds: If seeds are >1 year old or cracked, germination drops sharply.
- No warmth: After stratification, move seeds to 65–75°F soil (a sunny windowsill or heat mat helps).
Will pear trees grown from seed produce fruit like the parent tree?
Probably not! Seed-grown pears are unpredictable—they may take 5–10+ years to fruit (if they do at all) and likely won’t match the parent’s variety. For reliable fruit, grafting is the way to go, but seed-growing is a fun experiment for unique heirloom potential!
Can I grow pears from seed indoors in pots?
Start seeds in 4–6 inch pots with well-draining soil. Once sprouted, place near a sunny window or under grow lights (12+ hours/day). Transplant outdoors after the last frost when seedlings are 6+ inches tall. Dwarf pear varieties adapt better to containers long-term.
Pro Tip:
Label your seedlings! Since seed-grown pears won’t resemble the parent fruit, track varieties with popsicle sticks or tags. You’ll thank yourself later when you’re troubleshooting a mystery tree.
Wrapping up and next steps
Growing a pear tree from seed is a rewarding journey that combines patience with the magic of nature! 🌱 With the cold-moist stratification trick, you’ve unlocked a 98% germination rate, making your dream garden a reality.
Whether you’re a seasoned gardener or a curious beginner, this method proves that even the tiniest seeds can grow into something extraordinary.
Ready to take the next step? Plant your stratified seeds in well-draining soil, keep them moist, and watch as your garden transforms into a thriving pear orchard. Happy growing—your future harvest is waiting! 🍐✨