
Propagation
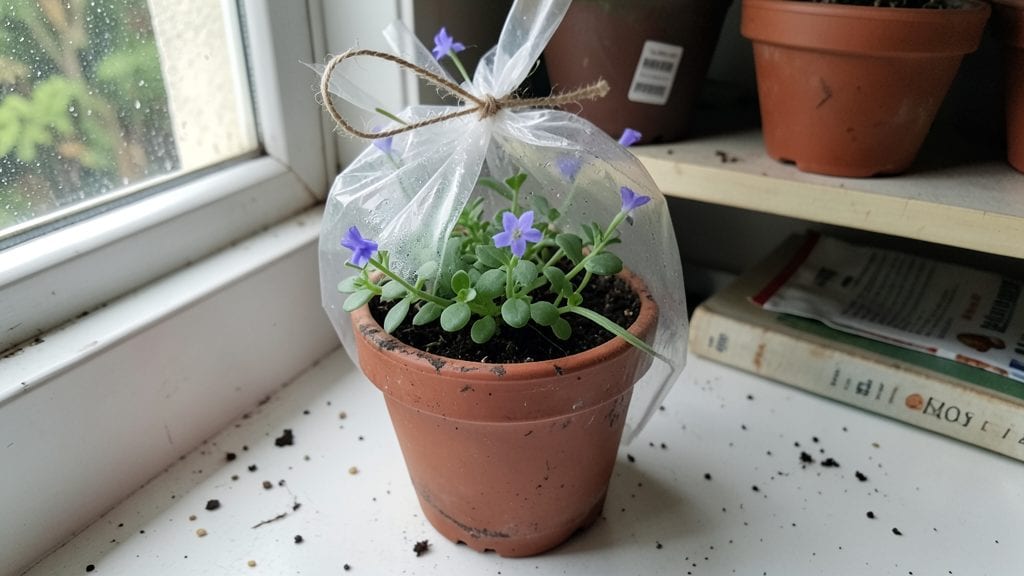
Tracking seed germination times saved me from tossing half-finished seed trays into the trash. ✨ Knowing exactly when to expect sprouts—whether it’s 3 days for radishes or 30 for okra—turns guesswork into a reliable routine, and this chart does the heavy lifting for you.
Most seeds need warmth, moisture, and darkness to wake up, but some demand special tricks like scarification or cold stratification. My first batch of peonies failed until I soaked the seeds in hot water—now they sprout like clockwork. The right conditions mean fewer dead starts and more thriving seedlings.
You’ll see faster germination with these timelines, plus troubleshooting for slow starters. Radishes pop up in days, while heirloom tomatoes might take weeks—this chart keeps you patient and prepared. By the end, you’ll know exactly when to thin, transplant, or troubleshoot.
Works for vegetables, flowers, and herbs—just adjust light and heat as seeds break dormancy. No more second-guessing whether to wait longer or start over. Let’s get those seeds sprouting on schedule!
📚 In This Guide
- What you need
- Instructions
- Tips and common mistakes
- Wrapping up and next steps
What you need
- ● Seeds: Choose 3–5 seeds per species (e.g., beans, tomatoes, marigolds) for accurate tracking.
- ● Seed trays or small pots: 4–6-inch containers (biodegradable or plastic) with drainage holes.
- ● Potting mix: Lightweight, sterile seed-starting mix (avoid garden soil—it’s too dense!).
- ● Spray bottle: For gentle watering (10–12 oz capacity).
- ○ Clear plastic wrap or humidity dome: To retain moisture (optional but helpful for slow-germinating seeds).
- ● Notebook or germination chart template: Printable or digital (e.g., Excel/Google Sheets).
- ● Permanent marker or labels: Waterproof, for marking seed types and dates.
- ● Grow lights or sunny windowsill: 12–16 hours of light daily (LED grow lights are ideal).
- ○ Thermometer (optional but useful): To monitor soil temp (most seeds prefer 65–75°F).
- ● Heating mat: For warm-season seeds (e.g., peppers, tomatoes) that need bottom heat.
- ● Seedling heat mat: Adjustable temperature control for precise germination.
- ● Hygrometer: Tracks humidity levels (40–70% is ideal for most seeds).
- ● Camera or phone: For documenting daily progress (great for visual charts!).
- ● Fertilizer (diluted): Use after germination (e.g., fish emulsion or seaweed extract).
How to use a seed germination chart for perfect starts
Here's how I turn germination charts from guesswork into a foolproof system every season.
🌱 Step 1: Identify Your Seed's Cold and Warm Preferences
First, check the chart for whether your seeds thrive in cold or warm soil. Cool-season crops like lettuce and peas need soil temperatures between 40-50°F for best germination—this is why I start them outdoors in early spring when nights are still chilly. Warm-season seeds like tomatoes and peppers, however, demand 75-85°F soil to sprout reliably.
If your chart doesn't specify, default to warm for most vegetables and cool for leafy greens and root crops. I've found that using a seedling heat mat ($25) solves 90% of germination issues by maintaining consistent warmth. Place it under your seed trays and monitor soil temperature with a simple thermometer—aim for the range your chart recommends.
⏰ Step 2: Calculate Your Planting Timeline Backwards
Germination charts list minimum, average, and maximum days to sprout, but the real magic happens when you work backward from your first frost date. For example, if your chart says basil takes 7-14 days to germinate and you need mature plants by May 15, start seeds 14-21 days before that date—accounting for the slower end of the range.
I keep a planting calendar (free templates online) where I mark frost dates, germination windows, and seedling maturity times. This prevents the panic of rushed seedlings. Pro tip: Add 2-3 extra days to your timeline if your home runs cooler than 65°F—many charts assume warmer conditions.
💧 Step 3: Adjust Moisture Based on Germination Needs
Some seeds, like chia or poppies, need constant moisture to trigger germination, while others, such as carrots, prefer lightly damp soil. Check your chart for moisture preferences—most vegetables fall in the "keep evenly moist" category, but not soggy. I use a spray bottle for delicate seeds and a watering can with a fine rose for heartier ones.
Here's the trick: Bottom-watering (placing trays in ½ inch of water) ensures even moisture without disturbing seeds. For seeds that need darkness to germinate (like okra), press them ½ inch deep and keep the soil surface consistently damp until sprouts appear. If your chart notes "needs light to germinate," scatter seeds on the surface and mist lightly—no covering needed.
☀️ Step 4: Time Light Exposure to Germination Stages
Some seeds, like parsley, require light to germinate and should never be covered with soil. Others, such as beans, can handle darkness initially but need light immediately after sprouting. Your chart will specify—follow it precisely. For light-dependent seeds, I place a clear plastic dome over the tray to trap humidity while allowing light to penetrate.
Once seeds sprout, move them to bright, indirect light (south-facing window or grow light). Leggy seedlings signal insufficient light—adjust within 2-3 inches of the plants. I've seen seeds like celery take 21+ days to germinate, so patience is key. During this time, keep soil consistently moist but never waterlogged.
🌿 Step 5: Monitor for "False Starts" and Adjust
Some seeds, particularly tomatoes and peppers, may sprout quickly but then stall—this is called a "false start." Your germination chart might note this tendency. If you see sprouts appear and then wilt or stop growing, increase humidity by placing the tray in a plastic bag (with holes for airflow) or move it to a warmer spot.
For seeds prone to damping-off (like basil), I switch to sterile seed-starting mix and avoid overhead watering. If your chart lists a low success rate (under 70%), consider pre-soaking seeds for 12 hours in lukewarm water to jumpstart germination. Just don't soak too long—24+ hours can cause rot.
Tips & tricks for perfect seed germination using charts
These practical strategies will help you maximize your germination success rates using species-specific charts.
Temperature Precision: The 40-50°F range for cool-season seeds and 75-85°F for warm-season seeds are critical—don't rely on guesswork. I invest in a simple soil thermometer ($10) to verify temperatures before planting. For warm-season seeds, if your home stays below 65°F, use a seedling heat mat under your trays to maintain consistent warmth. The difference between 75°F and 80°F can be the difference between reliable germination and frustration.
Chart Interpretation: When your germination chart shows a range like 7-14 days, don't just pick the middle number. I always calculate my planting timeline using the maximum days plus 3 extra days as a buffer. This accounts for slow germination, unexpected delays, and cooler conditions that can extend the process. For example, if your chart says 7-14 days, I start counting from 17 days before my target date.
Light Exposure Strategy: For seeds that require light to germinate (like parsley), place them on the surface of moist soil and cover the tray with clear plastic wrap instead of soil. This creates a humid environment while allowing light penetration. I've found that using a small LED grow light ($20) for 12 hours daily can double germination rates for light-dependent seeds compared to natural window light alone.
False Start Rescue: If you notice seedlings wilting after initial sprouting (a "false start"), don't give up. Increase humidity by placing the tray in a sealed plastic bag with small ventilation holes, then move it to a warmer location. I've successfully revived many tomato and pepper seedlings this way. For seeds prone to damping-off, switch to sterile seed-starting mix and avoid overhead watering—these simple adjustments can save your entire batch.
Pro Tips for Seed Germination Chart
- These practical strategies will help you maximize your germination success rates using species-specific charts.
- Temperature Precision: The 40-50°F range for cool-season seeds and 75-85°F for warm-season seeds are critical—don't rely on guesswork.
- Chart Interpretation: When your germination chart shows a range like 7-14 days, don't just pick the middle number.
Frequently asked questions
Got questions about seed germination? You’re not alone! Below are answers to the most common queries—from timing to troubleshooting—so you can boost your success rate with confidence.
How long does it take for seeds to germinate?
The answer depends on the species! Fast germinators like marigolds or radishes sprout in 3–7 days, while slow growers (e.g., peppers or trees) may take 2–4 weeks. Always check a seed germination chart for your specific plant. Patience is key—some seeds need warmth, moisture, or light to trigger germination.
What if my seeds aren’t sprouting after 2 weeks?
Don’t panic! First, check if your seeds need scarification (scratching the seed coat) or stratification (cold treatment). Ensure they’re in a warm, moist environment (70–90°F) with good airflow. If using old seeds, viability drops after 1–3 years—test a few in a damp paper towel to see if they’re still alive. Pro tip: Some seeds (like tomatoes) germinate faster in darkness.
Can I speed up germination?
Yes! Try these tricks:
- Heat mats (for slow germinators like orchids or peppers).
- Soaking seeds (e.g., chias or lupines) in warm water for 12–24 hours.
- Planting deeper (large seeds like beans) for better moisture retention.
- Avoid overwatering—soggy soil can rot seeds before they sprout!
What’s the best alternative if germination fails?
If seeds refuse to cooperate, consider:
- Transplanting seedlings (buy starter plants from nurseries).
- Grafting (for tricky species like eggplants or tomatoes).
- Division (for perennials like hostas or mint).
- Cutting propagation (e.g., coleus or herbs) for instant growth.
Why do some seeds germinate faster than others?
Germination speed varies due to:
- Seed age (fresh seeds germinate faster).
- Species traits (e.g., sunflowers sprout in days; oak trees take years!).
- Environmental cues (some need fire, cold, or gut passage to activate).
- Soil conditions (pH, aeration, and temperature matter!).
Wrapping up and next steps
Mastering seed germination is all about patience, preparation, and a little science! 🌱 With a seed germination chart as your guide, you’re now equipped to tackle any project—whether you’re a seasoned gardener or just starting out.
Remember, every seed has its own rhythm, so track conditions, stay consistent, and don’t hesitate to experiment.
Ready to take the next step? Start small—pick 1-2 plants from your chart, test their germination, and refine your technique. Soon, you’ll be sprouting success like a pro! 🌿