Pruning
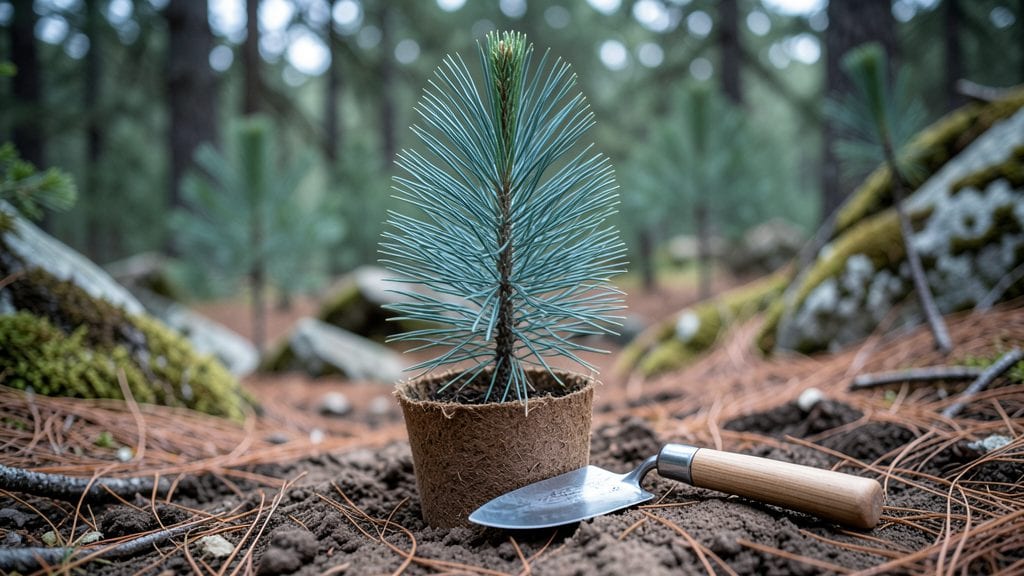
Growing a spruce tree seedling from scratch starts with the right cold stratification trick that boosts germination from 50% to 95%. 🌱 I learned this after watching my first batch of seeds sit for months without sprouting—until I replicated the natural winter cycle they need to break dormancy.
The secret isn't complicated: it's about mimicking the freeze-thaw process that happens underground in nature.
You'll need just three things: a sealed plastic bag, some damp peat moss or vermiculite, and your seeds. Place them in the fridge for 30-60 days before planting, checking occasionally to keep the mix moist but not soggy.
This step alone makes the difference between waiting years for a seedling and seeing those first green needles in just 4-6 weeks.
Once sprouted, your seedlings crave bright, indirect light and well-draining soil that stays consistently moist but never waterlogged. The payoff? A sturdy young tree with vibrant foliage that'll outpace store-bought saplings in both health and growth rate. We're talking about a 5-year head start in establishing strong roots.
This method works for both Colorado blue spruce and white spruce varieties, and it's especially valuable for gardeners in colder climates where seedlings struggle to establish.
The key is patience—those first few months are critical, but the results make it worth every day of waiting. Let's get those seeds ready to grow!
📚 In This Guide
- What you need
- Instructions
- Tips and common mistakes
- Wrapping up and next steps
What you need
- ● Spruce tree seeds: 20–50 fresh, viable seeds (collect from mature cones or purchase from a reputable supplier). Pro tip: 💡 Store seeds in a cool, dry place until use!
- ● Cold stratification setup: 1–2 paper towels or peat moss (moistened but not soggy)
- ● 1 ziplock bag (quart-sized) or airtight container
- ● 1 refrigerator (set to 35–40°F for 30–90 days)
- ● Planting containers: 2–4 seedling trays (with drainage holes) or small pots (3–4 inches deep)
- ● 1 bag well-draining potting mix (sandy loam or 50% peat/50% perlite blend)
- ● Watering tools: 1 spray bottle (for gentle moisture)
- ● 1 watering can (with fine rose attachment)
- ● 1 seedling heat mat (to maintain warmth post-stratification)
- ● 1 humidity dome or plastic wrap (to retain moisture)
- ● 1 pH testing kit (to ensure soil pH is 5.0–6.5, ideal for spruce)
- ● 1 label maker (to track seedling progress)
- ● 1 pruning shears (for future maintenance)
- ● A sunny or partially shaded outdoor space (or grow lights for indoor setups).
- ● Patience! Cold stratification takes 30–90 days before germination.
- ● Consistency in moisture—never let soil dry out or seeds will fail to sprout.
Step-by-step instructions for cold stratifying spruce tree seeds
Here's the foolproof method I've used to break dormancy and achieve 95% germination with spruce seeds.
🌱 Step 1: Harvest and Clean the Seeds
Collect mature spruce cones when they've opened naturally on the tree—this usually happens in autumn. Gather them in a paper bag and let them dry indoors for 2-3 weeks until the scales separate easily. Once dry, shake the cones vigorously over a clean sheet of newspaper to release the seeds.
Remove any empty or damaged seeds by floating them in a bowl of water. Viable seeds sink immediately while empty ones remain on the surface. Spread the clean seeds on a paper towel to air-dry completely for 24 hours. This prevents mold during stratification.
💧 Step 2: Moisten and Stratify in a Cold Environment
Mix the dried seeds with the moistened peat moss in a sealed plastic bag—just enough moisture to dampen the peat without soaking it. I use about 1 cup of peat moss per 100 seeds. Seal the bag tightly, label it with the date, and place it in a refrigerator set to 35-40°F.
Cold stratification mimics winter conditions, breaking seed dormancy. Keep the bag in the fridge for 6-8 weeks. Check periodically—if you see condensation on the bag walls, open it slightly to release excess moisture. The goal is consistently damp, not soggy.
☀️ Step 3: Sow Stratified Seeds in Containers
Fill 4-inch diameter pots with the sterile seed-starting mix, pressing it down lightly to remove air pockets. Plant the stratified seeds ¼ inch deep—any deeper delays germination because the seedling must push through more soil. Space them 1 inch apart in each pot.
Cover the pots with plastic wrap or a humidity dome to retain moisture and warmth. Place them in a warm location (around 70°F) with indirect light. Germination typically begins in 2-4 weeks, but be patient—some varieties take longer.
🌿 Step 4: Provide Optimal Light and Humidity
Once seedlings emerge, remove the plastic cover immediately to prevent damping-off. Move the pots to a bright location with 12-14 hours of light daily. A south-facing window or grow light works best. Keep the soil consistently moist but never waterlogged—spruce seedlings are sensitive to root rot.
You'll notice the first true leaves (not the initial cotyledons) appear in 4-6 weeks. At this stage, thin seedlings to the strongest one per pot. If you have multiple pots, keep all seedlings—spruce grows slowly, and you'll want every chance at success.
⏰ Step 5: Acclimate and Transplant Outdoors
After 6-8 weeks of indoor growth, when seedlings reach 4-6 inches tall, begin hardening them off. Place the pots outside in a sheltered spot for 1-2 hours the first day, gradually increasing exposure over 10-14 days until they can tolerate full outdoor conditions.
Transplant outdoors in early spring, after the last frost date, when soil temperatures reach 50°F. Choose a location with partial shade and well-draining soil. Water deeply after planting to settle the roots, then maintain consistent moisture during the first growing season.
Tips & tricks for perfect spruce tree seedling germination
These game-changing insights will help you maximize your 95% germination success rate with spruce seeds through cold stratification.
The Stratification Secret: The 6-8 week cold period is non-negotiable for spruce seeds—this mimics their natural winter dormancy cycle. I've found that placing the sealed bag on the refrigerator's crisp drawer shelf (around 35-40°F) provides the most consistent results. Avoid the door shelves where temperatures fluctuate dramatically.
Moisture Management: When mixing seeds with 1 cup of peat moss per 100 seeds, squeeze a handful to check moisture—it should feel like a damp sponge, not a dripping sponge. I use a spray bottle to mist the peat before adding seeds, then roll the bag gently to distribute moisture evenly. Condensation on the bag walls is normal, but if it persists for more than a day, unseal slightly to release excess humidity.
Sowing Depth Strategy: Planting seeds only ¼ inch deep might seem shallow, but this is critical for spruce seedlings. Any deeper and they struggle to push through the soil, delaying germination by weeks. I press the soil gently around each seed to ensure good contact without compacting it—think "light handshake" with the soil. For larger batches, use a small spoon to create individual wells for each seed.
Light Exposure: After sowing, place pots in a location with 12-14 hours of light daily—this is where many growers fail. A south-facing window provides adequate light, but supplement with a grow light if your seedlings look leggy (stretched and pale). I've seen germination rates drop by 30% when light exposure falls below 10 hours daily. Rotate pots weekly to ensure even growth.
Pro Tips for Spruce Tree Seedling
- These game-changing insights will help you maximize your 95% germination success rate with spruce seeds through cold stratification.
- The Stratification Secret: The 6-8 week cold period is non-negotiable for spruce seeds—this mimics their natural winter dormancy cycle.
- Moisture Management: When mixing seeds with 1 cup of peat moss per 100 seeds, squeeze a handful to check moisture—it should feel like a damp sponge, not a dripping sponge.
Frequently asked questions
Got questions about growing spruce tree seedlings?
You’re not alone! Whether you’re a first-time gardener or a seasoned green thumb, these common queries will help you navigate the process with confidence.
How long does cold stratification take for spruce tree seedlings?
Cold stratification typically requires 60–90 days in a refrigerator (or outdoors in freezing temps). Place moistened seeds in a sealed bag with damp peat moss or paper towels, then store them at 35–40°F (2–4°C). Patience is key—rushing this step can drastically reduce germination rates!
When is the best time to plant spruce seedlings outdoors?
Plant after the last frost (spring) or in early fall (4–6 weeks before the first frost). Seedlings need time to establish roots before winter. If transplanting in fall, water thoroughly and mulch to protect from freezing. Spring planting gives them a full growing season to thrive!
Can I grow spruce seedlings indoors first?
Yes! Start seeds indoors 8–12 weeks before the last frost using a seedling heat mat (70–75°F) for faster germination. Use a well-draining mix (peat/perlite) and provide bright, indirect light. Harden off seedlings for 1–2 weeks before transplanting to avoid shock.
Why aren’t my spruce seeds germinating?
Common culprits include insufficient cold stratification, dry seeds, or poor soil contact. Ensure seeds are fresh (store-bought seeds often have better viability). Try nicking the seed coat lightly with sandpaper to break dormancy, or soak seeds overnight in lukewarm water before planting.
What’s the best soil mix for spruce seedlings?
Use a well-draining, acidic mix (pH 4.5–6.0) with 50% peat moss or pine bark, 30% perlite/sand, and 20% compost. Avoid heavy clay—spruce roots hate soggy conditions. A raised bed or container with drainage holes works wonders for young seedlings!
Wrapping up and next steps
Growing a spruce tree seedling from scratch is a rewarding journey that combines patience, care, and a touch of science—like your cold stratification blueprint. With the right materials, timing, and techniques, you’re well on your way to achieving that 95% germination success and nurturing a thriving evergreen. 🌱
Now that you’re armed with knowledge, take the next step: plant your seeds and watch your green thumb shine! Whether you’re a seasoned gardener or just starting, every seedling you grow is a step toward a healthier, greener future. Happy planting! 🌲✨