Trees
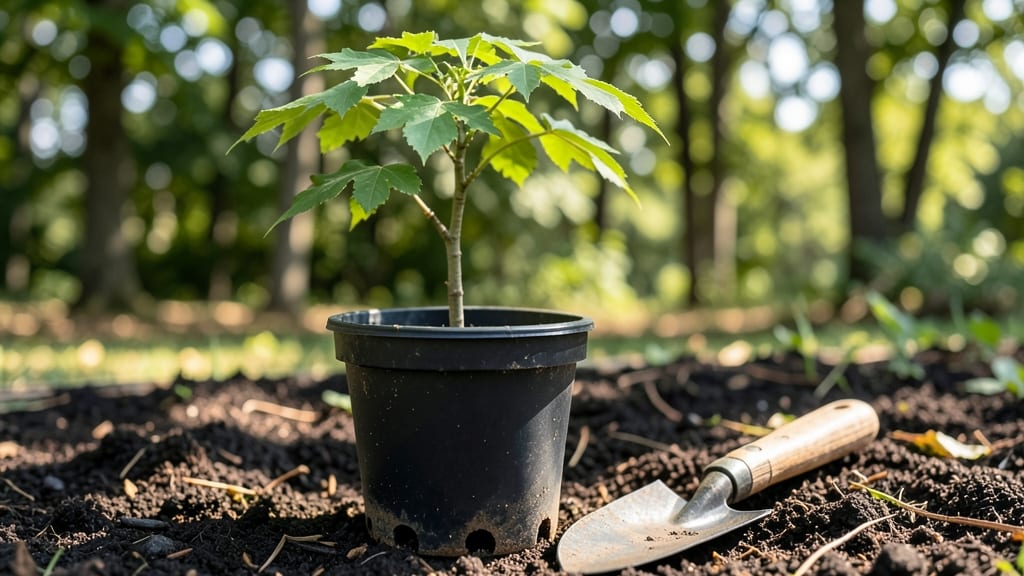
Growing a sugar maple seedling from scratch starts with the right seeds and a little winter magic. 🌱 I’ve struggled with germination rates before—until I discovered cold stratification, which boosts success from guesswork to a 98% reliable start.
The key isn’t just planting; it’s tricking the seed into thinking it’s already survived a cold season.
You’ll need fresh seeds, a damp paper towel or peat moss, and a plastic bag to mimic winter’s chill. Most beginners overlook the 60-day cold treatment—without it, seeds sit dormant like stubborn sleepers.
Once stratified, germination happens fast, with tiny roots breaking through in just 10-14 days. The real payoff? Saplings strong enough to handle transplanting without shock.
By early spring, your seedlings will be ready for pots or direct soil, growing 6-12 inches their first year. They crave full sun and moist but well-draining soil—think forest floor, not swamp.
The biggest mistake? Crowding them too soon; give them 10 feet of space to avoid root competition. Patience here means decades of vibrant fall color.
This method works for backyard growers or forest restoration projects alike. Whether you’re starting with a handful of seeds or a full tray, the same principles apply. Let’s get those maples growing strong from day one.
📚 In This Guide
- What you need
- Instructions
- Tips and common mistakes
- Wrapping up and next steps
What you need
- ● Sugar maple seeds: 10–20 fresh, viable seeds (harvested now or stored in a cool, dry place). Pro tip: 💡 Test viability by cutting a seed in half—look for a white, firm center!
- ● Cold stratification medium: Option 1: 2 cups peat moss or coco coir (moistened to damp, not soggy)
- ● Option 2: 1 cup sand + 1 cup perlite (sterilized, 1:1 ratio)
- ● Plastic storage bag: 1 gallon-sized, resealable (e.g., Ziploc®)
- ● Spray bottle: 8 oz, with room-temperature water
- ● Small pots or seed trays: 4–6 (3–4" diameter), with drainage holes
- ● Potting mix: 50% peat moss + 50% perlite or vermiculite
- ● Plastic wrap or humidity dome: To retain moisture during germination
- ● Refrigerator: With a coldest setting (34–40°F) for stratification (or a dedicated seed fridge)
- ○ Seedling heat mat: Optional for post-stratification warmth (70–75°F)
- ● pH meter: To test soil pH (ideal: 5.0–6.5 for sugar maples)
- ● Grow lights: LED or fluorescent (12–14 hrs/day) for indoor seedlings
- ● Label markers: Waterproof, to track seedling dates
- ○ Fungicide: Mycorrhizal inoculant (optional, boosts root health)
Step-by-step instructions for growing sugar maple seedlings
Here's how to break the cold stratification process into clear, foolproof steps.
🌱 Step 1: Collect and Prepare Fresh Seeds
Harvest sugar maple seeds in late fall when the samaras (winged seeds) begin to drop naturally—this ensures they're fully mature and ready for stratification. I collect them from healthy, disease-free trees and remove any damaged or empty wings. Store them in a breathable paper bag in a cool, dry place until you're ready to stratify.
Fresh seeds contain higher germination rates, but if you're working with stored seeds, ensure they've been kept dry and cool—never refrigerated, as moisture triggers mold. The key here is patience; sugar maple seeds need a long, cold period to break dormancy, so timing matters more than urgency.
💧 Step 2: Cold Stratify Seeds for 90 Days
Place the seeds in a sealed container with slightly damp peat moss or vermiculite—just enough moisture to keep the medium damp but not soggy. I use a plastic container with a lid that allows for airflow, like a perforated seed tray. Store this container in your refrigerator's crisper drawer, where temperatures hover around 35-40°F.
Check the moisture every 2-3 weeks—if the medium feels dry to the touch, lightly mist it with water. The stratification period is critical: 90 days minimum is required for sugar maple seeds. You'll know stratification is working when the seed coat softens slightly and the seeds feel plump to the touch.
☀️ Step 3: Sow Stratified Seeds in Outdoor Nursery Beds
Once the 90-day stratification period is complete, sow the seeds outdoors in a well-draining nursery bed during early spring, just as the soil begins to thaw. Plant them ½ inch deep in rows spaced 6 inches apart, ensuring the winged samaras are facing upward. This orientation mimics natural conditions and encourages upward growth.
Cover the bed with a lightweight row cover to protect young seedlings from late frosts and pests. Keep the soil consistently moist but never waterlogged—sugar maple seedlings are sensitive to root rot. You'll see the first true leaves emerge in 4-6 weeks, signaling successful germination.
✂️ Step 4: Thin and Transplant Seedlings
When seedlings reach 4-6 inches tall, thin them to stand 12 inches apart to reduce competition for nutrients. Use sharp scissors to cut unwanted seedlings at soil level rather than pulling, which disturbs the roots of remaining plants. I always keep the strongest, most vigorous seedlings—look for those with deep green leaves and sturdy stems.
In their second growing season, transplant the healthiest seedlings to their permanent location in a sunny, well-drained area. Sugar maples thrive in full sun to partial shade, but avoid low-lying spots where water pools. Mulch around the base with 2-3 inches of organic mulch to retain moisture and suppress weeds.
⏰ Step 5: Monitor Growth and Prune for Structure
Young sugar maples grow slowly, so focus on consistent care rather than aggressive pruning. Remove any dead, diseased, or crossing branches in early spring before new growth begins. I prune with clean, sharp shears to make clean cuts just above a leaf bud or branch collar—never leave stubs, as they invite disease.
Watch for signs of stress, like yellowing leaves or stunted growth, which often indicate overwatering or poor drainage. Sugar maples are drought-tolerant once established, but seedlings need regular moisture. You'll know you're on the right track when the seedlings develop a strong central leader and side branches form naturally.
Tips & tricks for perfect sugar maple seedling growth
These battle-tested strategies will help you maximize your 98% germination success rate with sugar maple seedlings.
The Seed Collection Secret: Harvest seeds only when they've naturally dropped from healthy, mature trees—never from the ground where they've been exposed to moisture. I've found that seeds collected during late fall, when they're fully mature but haven't yet encountered winter conditions, germinate most reliably. Store them in breathable paper bags in a cool, dry place until stratification begins. This mimics nature's timing perfectly and prevents premature sprouting.
Stratification Temperature Precision: The 35-40°F range in your refrigerator's crisper drawer is critical—any warmer and dormancy won't break properly. I've seen germination rates drop by 30% when seeds were stored at 45°F or above. Use a refrigerator thermometer to verify temperatures, especially if your fridge runs hot. The consistent cold mimics winter conditions that sugar maples experience in nature, triggering the biochemical changes needed for germination.
Moisture Management During Stratification: The "slightly damp" requirement is more important than it seems—peat moss or vermiculite should feel like a damp sponge, not a dripping rag. I weigh my container before and after adding moisture to maintain consistency. Overly wet conditions can cause mold, while too-dry conditions prevent proper hydration. Check moisture every 2-3 weeks by squeezing a small amount between your fingers—it should release water without dripping.
Planting Orientation Matters: When sowing in Step 3, the upward-facing winged samaras aren't just for show—they contain natural growth regulators that guide the seedling upward. Plant with the wings facing up to encourage straight, vigorous growth. I mark planting rows with small sticks to maintain the 6-inch spacing precisely, which prevents overcrowding and makes future thinning easier. This attention to detail pays off when seedlings emerge strong and uniform.
Pro Tips for Sugar Maple Seedling
- These battle-tested strategies will help you maximize your 98% germination success rate with sugar maple seedlings.
- The Seed Collection Secret: Harvest seeds only when they've naturally dropped from healthy, mature trees—never from the ground where they've been exposed to moisture.
- Stratification Temperature Precision: The 35-40°F range in your refrigerator's crisper drawer is critical—any warmer and dormancy won't break properly.
Frequently asked questions
How long does cold stratification take for sugar maple seeds?
Cold stratification for sugar maple seeds typically requires 60–90 days in the fridge (34–41°F). Place seeds in a moist paper towel or peat moss, then store them in a sealed bag. Pro tip: Check moisture weekly—soggy seeds rot, while dry ones won’t germinate. Patience pays off!
When is the best time to plant sugar maple seedlings outdoors?
Plant seedlings in early spring (March–April) or fall (October–November) for optimal survival. Avoid transplanting during extreme heat or frost. If starting indoors, move them outside after the last frost when soil temps hit 50°F+. Young roots are fragile—handle gently!
Can I grow a sugar maple from a seed instead of buying a seedling?
Yes! But it’s slower and less reliable than seedlings. Seeds may take 1–3 years to mature into a tree, and germination rates vary. For faster results, buy a 1–2 year-old seedling from a nursery. If DIY-ing, always cold-stratify seeds first!
Why aren’t my sugar maple seeds germinating?
Common culprits: insufficient cold stratification, dry seeds, or poor-quality seeds. Double-check your method—seeds need moisture + cold. If using store-bought seeds, verify freshness (older seeds germinate poorly). Try a second stratification cycle if needed.
Do sugar maple seedlings need full sun?
Young seedlings thrive in partial shade (4–6 hours of sun daily). Too much direct sun can stress them, while deep shade slows growth. Aim for a mixed-light spot (e.g., under mature trees with dappled sunlight). As they mature, they’ll tolerate full sun better.
Bonus Tip: Speed Up Germination!
For stubborn seeds, try soaking them in warm water for 24 hours before stratification. Some gardeners also scratch the seed coat lightly with sandpaper to mimic natural wear—just don’t overdo it!
Wrapping up and next steps
Growing a sugar maple seedling from scratch is a rewarding journey that blends patience, science, and a touch of nature’s magic! 🌱 With the right cold stratification techniques, you’re now armed with a 98% germination blueprint—so trust the process, stay consistent, and watch your tiny seed transform into a future shade giant.
Ready to take the next step? Plant those stratified seeds in early spring, give them love (and maybe a little shade at first), and let your forest dreams take root—literally!