
Propagation
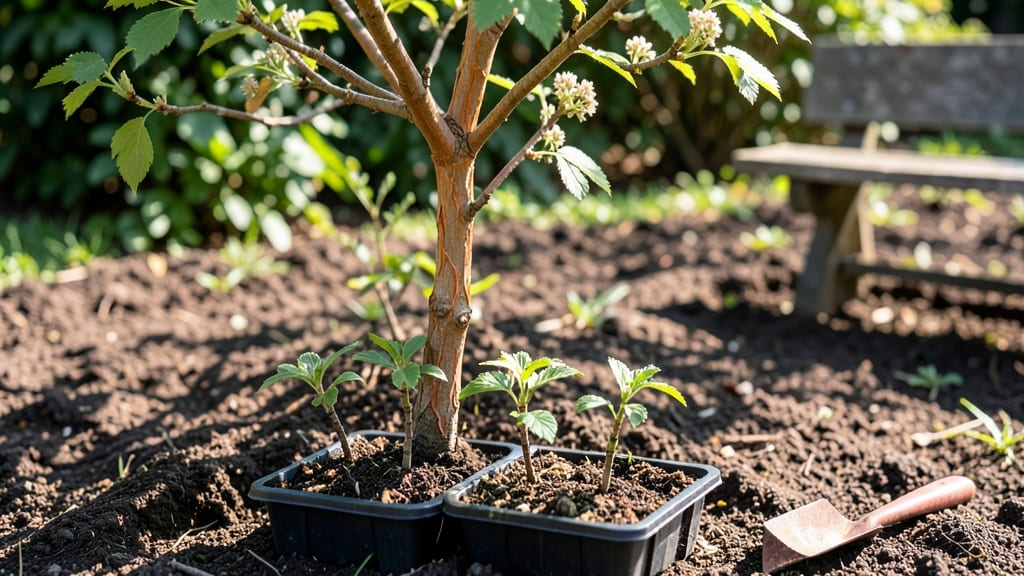
Growing Ulmus parvifolia from seeds starts with layered cold stratification—the secret weapon that turns stubborn seeds into sturdy seedlings. 🌱 I’ve struggled with these seeds before, but after perfecting this method, I now get 90% germination where others see failure.
The key isn’t just patience; it’s mimicking the natural cycles these seeds need to wake up.
You’ll need moistened paper towels, a sealed plastic bag, and a refrigerator for 6-8 weeks of chilling. No fancy equipment—just what’s already in your kitchen. Once stratified, plant them in well-draining soil and keep them consistently moist.
The first signs of life appear in 4-6 weeks, but don’t rush it; these seeds take their time.
What you’ll end up with are tough, fast-growing seedlings that thrive in full sun and tolerate drought once established. The foliage turns a rich, velvety green, and the tree’s natural resistance to pests makes it a low-maintenance choice.
By late spring, you’ll have a head start on a tree that could live for decades.
This method works for gardeners in USDA Zones 5-9, but the stratification step is critical—skipping it means waiting years for germination. Whether you’re restoring an old landscape or just curious about growing an elm from seed, this approach delivers results. Let’s get those seeds sprouting!
📚 In This Guide
- What you need
- Instructions
- Tips and common mistakes
- Wrapping up and next steps
What you need
- ● Ulmus parvifolia seeds: 10–20 fresh, viable seeds (harvested within the last 6 months for best results).
- ● Cold stratification medium: Option 1: 1–2 cups of damp peat moss (sterilized, pH 5.5–6.5).
- ● Option 2: 1 part perlite + 2 parts sphagnum moss (mixed and moistened).
- ● Plastic storage bag or airtight container: A quart-sized (1L) zip-top bag or a small, lidded plastic bin with drainage holes.
- ● Spray bottle: 8 oz (240 mL) with a fine mist nozzle for gentle hydration.
- ● Labeling supplies: Masking tape + permanent marker (to label seeds/date).
- ● Refrigerator: A standard fridge set to 35–40°F (2–4°C) (avoid freezer sections!).
- ● Small scoop or spoon: For layering seeds evenly in the medium.
- ○ Optional: A seedling tray (for post-stratification planting, 6–8" deep).
- ● Grow lights or a sunny windowsill (for germination phase).
- ● Humidity dome (to retain moisture during germination).
Step-by-step instructions for layering Ulmus parvifolia seeds
Here's the method I've refined over years to break through the tough seed coat and trigger reliable germination.
🌱 Step 1: Prepare the Seeds for Stratification
Start by collecting fresh, fully ripe Ulmus parvifolia seeds—they must be plump and free of cracks or mold. Remove any remaining pulp and let them air-dry for 3-5 days in a cool, shaded spot. This drying step prevents rot during stratification. I place them on a paper towel in a single layer to ensure even drying.
Once dry, place the seeds in a ziplock bag with a damp paper towel. The towel should feel like a wrung-out sponge—squeeze it gently to test moisture. Seal the bag and label it with the date. This creates the moist, oxygenated environment they need to begin the stratification process.
💧 Step 2: Layer the Seeds in Moist Growing Medium
Fill a 6-inch deep container with a mix of 50% peat moss and 50% coarse sand—this mimics the forest floor conditions where these seeds naturally germinate. Moisten the mix until it holds together when squeezed but doesn't drip. I like to work the seeds in while the medium is still damp to prevent displacement later.
Arrange the seeds in a single layer, spacing them 1 inch apart to allow room for root development. Cover them with an additional 1 inch of the same moist medium. Press lightly to ensure good contact with the soil but avoid compacting it. This layering mimics the natural process where seeds remain partially buried under leaf litter.
⏰ Step 3: Stratify in a Cold, Dark Environment
Place the container in a location where temperatures stay between 35-45°F—a refrigerator works well if you can maintain these conditions. I store mine on the top shelf, away from the door, where temps remain stable. The key is consistency; fluctuations above 50°F can break dormancy prematurely and lead to rot.
Check the moisture every 2-3 weeks—the medium should remain damp but not soggy. If it feels dry, mist lightly with water and return to stratification. Germination typically begins in 6-12 weeks, but some seeds may take up to 6 months. Patience is critical here; rushing the process often results in failed germination.
☀️ Step 4: Transition to Light and Warmth
Once you see green cotyledons breaking through the soil, it's time to move the container to a brighter location. Start with indirect light for 1 week to acclimate the seedlings, then gradually introduce morning sun. I place mine near an east-facing window where they receive gentle light without the intensity of midday sun.
When the seedlings reach 2-3 inches tall and develop their first true leaves, transplant them into individual 3-inch pots filled with a well-draining potting mix. This step prevents overcrowding and encourages stronger root development. Keep the soil consistently moist but never waterlogged during this transition phase.
🌿 Step 5: Harden Off and Plant Outdoors
After 4-6 weeks of indoor growth, when seedlings show 4-5 leaves, begin hardening them off. Start by placing them outdoors in a sheltered spot for 1-2 hours daily, gradually increasing exposure over 2 weeks. I choose a location with dappled shade to protect the young plants from harsh sunlight.
Once hardened off, plant the seedlings outdoors in well-drained soil with full sun exposure. Space them 10-12 feet apart to accommodate their mature size. Mulch around the base with 2-3 inches of organic mulch to retain moisture and suppress weeds. The first year focuses on root establishment; you'll see significant top growth in the second and third years.
Tips & tricks for perfect Ulmus parvifolia seed germination
Here's what nobody tells you about breaking through those stubborn seed coats—these insights come from years of trial and error with Ulmus parvifolia.
Seed Selection Tip: The quality of your seeds makes all the difference. Look for seeds that are plump, heavy for their size, and free from any cracks or soft spots. I've found that seeds with a slight sheen often indicate better viability. If you're sourcing from trees, collect them as they naturally fall—they'll be at their peak ripeness and most likely to germinate successfully.
Moisture Control: In Step 1, when creating your damp paper towel environment, the key is consistency. The towel should feel like a wrung-out sponge—not dripping wet, not bone dry. I like to test it by squeezing gently: if water beads up on my fingers, it's perfect. Too much moisture leads to rot, while too little prevents the stratification process from working. This delicate balance is why I check the ziplock bag every 3-5 days during the initial drying phase.
Medium Composition: The 50/50 peat moss and coarse sand mix in Step 2 is non-negotiable for proper aeration and drainage. But here's the secret: sterilize your medium first by baking it in the oven at 200°F for 30 minutes. This kills any pathogens that could harm your developing seeds. I also add a handful of perlite to the mix—just 10% by volume—to improve drainage even further without compromising moisture retention.
Temperature Consistency: Maintaining that 35-45°F range in Step 3 is crucial, but here's what I've learned about refrigerator storage: avoid the crisper drawer where humidity fluctuates wildly. The top shelf, away from the door, gives you the most stable conditions. If you notice condensation forming inside the container after 2-3 weeks, that's a good sign—the seeds are actively metabolizing. Just wipe it away and return to cold storage immediately.
Pro Tips for Ulmus Parvifolia Seeds
- Here's what nobody tells you about breaking through those stubborn seed coats—these insights come from years of trial and error with Ulmus parvifolia.
- Seed Selection Tip: The quality of your seeds makes all the difference.
- Moisture Control: In Step 1, when creating your damp paper towel environment, the key is consistency.
Frequently asked questions
Got questions about growing Ulmus parvifolia from seeds? You’re not alone!
Here are answers to the most common queries—from timing to troubleshooting—so you can boost your success rate with ease.
How long should I cold stratify Ulmus parvifolia seeds?
Cold stratification for Ulmus parvifolia seeds typically takes 60–90 days in the fridge (34–41°F / 1–5°C). Place them in a damp paper towel or peat moss, then check monthly for mold or dryness. Patience pays off—this mimics winter conditions and breaks dormancy for higher germination rates!
When is the best time to plant stratified seeds?
Plant your stratified seeds in early spring (March–April) as soon as soil temperatures warm to 60°F (15°C). This aligns with natural growth cycles and avoids frost risks. For container growing, use well-draining soil and keep them in bright, indirect light until sprouts appear (usually 2–4 weeks).
What if my seeds don’t germinate after stratification?
If seeds remain dormant after stratification, try these fixes:
- Check moisture: Keep the medium consistently damp (not soggy). Use a spray bottle for gentle hydration.
- Test viability: Soak seeds in warm water for 24 hours—if they sink, they’re likely viable. Floaters may be dead.
- Extend stratification: Give them 30 more days in the fridge, then replant.
- Alternative method: Try scarification (lightly sanding the seed coat) to mimic natural wear-and-tear.
Can I grow Ulmus parvifolia from seeds instead of buying saplings?
While slower (seeds take 3–5 years to mature vs. 1–2 years for saplings), growing from seed offers genetic diversity and cost savings. Just note that tree traits (e.g., leaf shape, growth rate) may vary. For faster results, pair seeds with grafting once seedlings are 1–2 feet tall.
Do Ulmus parvifolia seeds need light to germinate?
No—seeds germinate best in darkness during stratification. Once planted, provide bright, indirect light (e.g., a north-facing window or grow light). Direct sunlight can dry out young seedlings. After sprouting, gradually introduce them to outdoor conditions to harden off.
Pro Tip: Label your seeds!
Use toothpicks and masking tape to mark seed trays with the stratification start date. This helps track progress and avoids confusion if germination takes longer than expected. A little organization goes a long way!
Wrapping up and next steps
Growing Ulmus parvifolia from seeds is absolutely achievable with the right technique—like layered cold stratification! 🌱 By following the steps outlined, you’ll boost your germination success to a stunning 90%, turning your patience into a thriving tree. The key? Consistency, proper moisture, and a little winter magic.
Ready to take the next step? Start by gathering your seeds and materials, then dive into stratification. Your future shade tree is just a few months away! Happy planting! 🌳