
Propagation
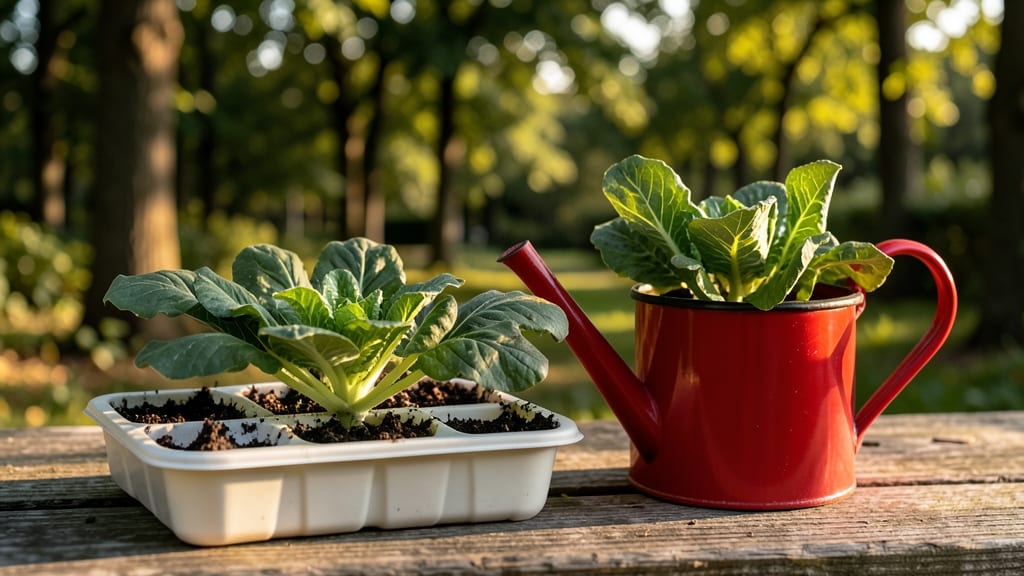
Starting with seeds for beginners feels like holding a tiny promise in your hand—one that grows into something you can eat, smell, or admire. I remember my first attempt with sunflowers: the soil was too dry, the seeds took forever, and I nearly gave up.
But that stubborn little sprout taught me everything I needed to know. The right seeds, a little patience, and a few simple rules turn failure into success every time.
You don’t need fancy tools or a greenhouse to begin—just a flat tray, some potting mix, and a sunny windowsill. I swear by easy-to-grow varieties like cherry tomatoes, basil, or marigolds for first-timers: they germinate fast, forgive mistakes, and reward you with bright green leaves or bold blooms in weeks.
The key is matching seeds to your space: herbs thrive in small pots, while tomatoes need deeper soil and more light.
What you’ll actually get is a foolproof system that skips the guesswork. Plant seeds at the right depth (twice as deep as their width, no deeper), keep the soil consistently moist but not soggy, and watch for those first tiny leaves.
When they pop up, you’ll feel that rush of accomplishment—and the confidence to try bigger projects next season.
Even if your first batch looks more like a science experiment than a garden, you’ll learn faster than you think. Between you and me, every gardener has killed a few seedlings.
The difference is knowing how to fix it before it’s too late. Let’s get those seeds in the ground the right way this time.
📚 In This Guide
- What you need
- Instructions
- Tips and common mistakes
- Wrapping up and next steps
What you need
- ● Seeds: Choose beginner-friendly varieties like basil, sunflowers, or cherry tomatoes (5–10 seeds to start). Opt for organic or heirloom seeds for best results.
- ● Seed trays or pots: 2–4 small containers (3–4 inches deep) with drainage holes. Plastic cell packs or biodegradable peat pots work great!
- ● Seed-starting mix: A lightweight, sterile potting soil (avoid garden soil—it’s too dense!). A 1–2 quart bag is perfect for starters.
- ● Watering can or spray bottle: A gentle spray prevents disturbing seeds. A 16 oz spray bottle with a fine mist works well.
- ● Grow lights or sunny windowsill: A LED grow light (12–15 inches above seeds) or a south-facing window (6+ hours of sunlight daily).
- ● Humidity dome or plastic wrap: Keeps moisture in while seeds germinate. A small clear lid or plastic baggie suffices.
- ○ Heat mat: Speeds up germination (70–75°F ideal). Optional but highly recommended for slow-germinating seeds like peppers.
- ● pH testing kit: Ensures soil is 6.0–7.0 (most seeds prefer slightly acidic soil).
- ● Fertilizer: A balanced, water-soluble fertilizer (5-5-5 or 10-10-10) for when seedlings sprout.
- ● Labels and markers: Track seed varieties and planting dates. Toothpicks + masking tape work in a pinch!
- ● Tweezers or popsicle sticks: For delicate seed placement (e.g., tiny flower seeds).
Instructions: your first steps with seed starting
Let's turn those tiny seeds into thriving plants with confidence.
Choose the Right Seeds for Your Space
Start with easy, fast-growing seeds like lettuce, radishes, or basil—they forgive beginner mistakes. Check the seed packet for days to maturity; anything under 60 days is ideal for your first try. I always pick varieties labeled "beginner-friendly" or "quick harvest" to build confidence quickly.
Look for the light requirements too. Some seeds need full sun (6+ hours), while others like spinach thrive in partial shade. Match your seeds to where you'll grow them—this prevents disappointment when plants struggle later. Avoid exotic seeds with complex care needs until you've mastered the basics.
Gather Essential Supplies
You'll need seed-starting trays, potting mix (not garden soil), and small containers (like egg cartons or peat pots). Add a spray bottle for gentle watering and grow lights if you're indoors—natural light alone often isn't enough. I keep a thermometer handy too, since seeds need 65-75°F soil to germinate properly.
Don't skip the labels—write the seed type and planting date on each container. After a week, identical green sprouts will all look the same, and you'll forget which is which. A humidity dome or plastic wrap helps retain moisture during germination, but remove it immediately once sprouts appear to prevent mold.
Plant Seeds at the Correct Depth
Most seeds need to be planted twice as deep as their diameter. Tiny seeds like lettuce go just ¼ inch under soil, while larger ones like beans need 1 inch. Press them in gently—don't drop them in or they'll end up too deep and struggle to emerge.
After planting, water gently with your spray bottle until the soil looks evenly moist but not soggy. I like to set the tray in a shallow dish of water for 10 minutes to help the soil absorb moisture from the bottom up. This prevents washing seeds away or creating surface crusts that block germination.
Provide Consistent Warmth and Light
Keep seeds in a warm spot—70-75°F is perfect for most vegetables. A sunny windowsill works, but move the tray closer than 6 inches to the glass if you notice seedlings stretching toward the light (a sign they're not getting enough). For indoor growers, 14-16 hours of light daily is ideal—set a timer to remind you to turn lights on/off.
Once sprouts appear (usually in 5-14 days), remove any plastic wrap immediately. Trapped moisture creates the perfect conditions for damping-off, a fungal disease that collapses seedlings overnight. You'll know your setup is right when new leaves appear bright green and sturdy within a week of sprouting.
Thin and Care for Seedlings
When seedlings have 2-3 true leaves (not the first tiny ones), thin them so only the strongest remains in each container. Use scissors to snip unwanted stems at soil level—pulling can disturb roots. This might seem cruel, but crowded seedlings compete for nutrients and grow weak.
Water from the bottom now—place the tray in ½ inch of water for 10 minutes, then drain. This encourages deep root growth instead of shallow, weak roots that happen with surface watering. You'll see stronger plants that handle transplanting much better later.
Tips & tricks for perfect seed starting
Here's what I've learned from years of growing seedlings—these tricks will help you avoid common pitfalls and grow confident gardeners.
The Seed Selection Secret: In Step 1, when choosing your seeds, pay special attention to the "days to maturity" label. Seeds that mature in under 60 days give you quick wins—lettuce and radishes are perfect for beginners because they grow fast and don't require perfect conditions. I've learned the hard way that exotic seeds with long maturity times can be frustrating when you're just starting out.
Temperature Matters: Maintaining that 65-75°F soil temperature from Step 2 is crucial for germination. If your home runs cooler, consider using a seedling heat mat—it's a small investment that makes a big difference. I keep mine plugged in during germination, then remove it once sprouts appear. The 75°F upper limit is important because many seeds actually die if soil gets too hot.
Planting Depth Precision: When following Step 3's planting depth guidelines, remember that "twice as deep as their diameter" is a general rule but not absolute. For example, tiny basil seeds can go just ¼ inch deep, but if you're planting in dense soil, you might need to press them slightly shallower. The key is to keep them dark and moist until they sprout—this prevents them from drying out before they can grow.
Light Management: The 14-16 hours of light in Step 4 might seem like a lot, but it's what seedlings need to grow strong. If you're using natural light, rotate your trays daily so all seedlings get equal exposure. I notice seedlings growing toward the light will stretch and become leggy—this is their way of telling you they need more light. A simple timer for grow lights solves this problem completely.
Pro Tips for Seeds For Beginners
- Here's what I've learned from years of growing seedlings—these tricks will help you avoid common pitfalls and grow confident gardeners.
- The Seed Selection Secret: In Step 1, when choosing your seeds, pay special attention to the "days to maturity" label.
- Temperature Matters: Maintaining that 65-75°F soil temperature from Step 2 is crucial for germination.
Frequently asked questions
Got questions?
You’re not alone—growing seeds for the first time can feel overwhelming. Here are answers to the most common concerns to help you feel confident and ready to start!
What’s the easiest seed to grow for beginners?
Start with fast-growing, forgiving seeds like radishes, green beans, or zucchini. They sprout quickly (5–10 days!) and tolerate minor mistakes. Herbs like basil or chives are also great—they’re hard to kill and rewarding fast!
How long does it take for seeds to sprout?
Sprouting time varies by plant. Fast sprouters (3–7 days): radishes, lettuce, beans. Slower sprouters (10–21 days): tomatoes, peppers, or herbs. Check your seed packet for exact timelines—patience is key!
What if my seeds rot instead of sprouting?
Overwatering or poor drainage is usually the culprit. Fix it by:
- Using well-draining soil (add perlite if needed).
- Watering only when the top inch of soil feels dry.
- Ensuring pots have drainage holes.
Can I grow seeds indoors without sunlight?
Yes! Use a grow light (LED or fluorescent) 12–16 hours/day. Place seeds near a sunny window as a backup, but avoid direct heat (like radiators). Seedlings stretch toward light—rotate trays daily for even growth!
What do I do with seedlings once they’ve sprouted?
Once leaves appear, thin seedlings (keep the strongest 1–2 per pot) and gradually introduce them to outdoor conditions (hardening off). For herbs/veggies, transplant when they have 2–3 true leaves. Use a small trowel and keep soil moist!
Are there any seeds I should avoid as a beginner?
Skip tricky seeds like asparagus, artichokes, or rhubarb—they take years to mature. Even experienced gardeners often avoid tropical plants (e.g., pineapples) unless you’re in a warm climate. Stick to annuals first!
Wrapping up and next steps
You’ve got everything you need to start your seed-growing journey—no green thumb required! 🌱 Remember, patience and consistency are your best friends, and even the tiniest sprouts can turn into thriving plants with care.
Ready to take the next step? Pick a seed that excites you, grab your supplies, and dive in! Share your progress with fellow beginners or explore more advanced techniques once you’ve mastered the basics.
Happy growing—your garden awaits! ✨