
Lawn
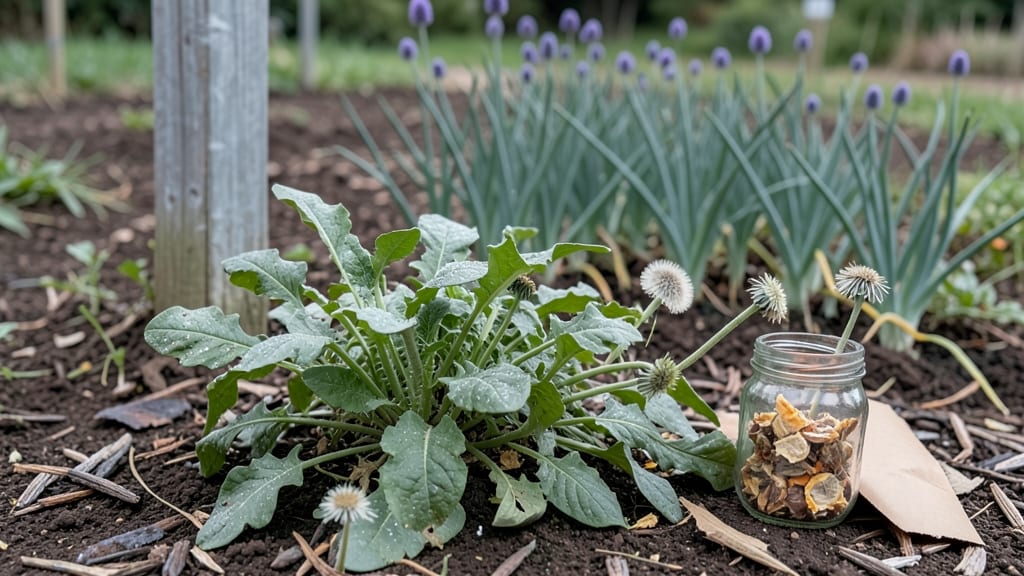
Saving seeds from your garden keeps heirloom varieties alive—just like my great-grandmother did with her heirloom tomatoes that tasted like summer in every bite. 🌱 The Seed Savers Exchange isn't just about preserving plants; it's about passing down stories, flavors, and resilience through generations.
You don’t need fancy equipment—just dried seeds, paper bags, and a cool, dark spot. Start with easy crops like beans, lettuce, or tomatoes, where saving seeds is almost foolproof. The process teaches patience, and the payoff? Seeds that adapt to your soil, climate, and taste preferences over time.
By year two, you’ll notice your saved seeds grow stronger, faster, and more productive than store-bought varieties. The satisfaction of watching a plant thrive because you nurtured its roots—and its future—is unmatched. Plus, you’ll save money and reduce waste, one seed packet at a time.
Whether you’re a backyard gardener or a balcony grower, seed saving scales to your space. The key is starting small, learning from mistakes, and trusting the process. Let’s get those seeds ready for next season’s harvest!
📚 In This Guide
- What you need
- Instructions
- Tips and common mistakes
- Wrapping up and next steps
What you need
- ● Heirloom Seeds: Start with open-pollinated or non-hybrid seeds (e.g., tomatoes, beans, peppers, or flowers). Aim for at least 5-10 plants of the same variety to ensure genetic diversity.
- ● Garden Space: A dedicated plot (even a small container garden works!) with well-draining soil and full sun exposure for most crops.
- ● Pruning Shears or Scissors: For harvesting seed pods or flowers cleanly.
- ● Paper Towels or Coffee Filters: For drying seeds (avoid plastic, which traps moisture).
- ● Air-Tight Containers: Small jars, envelopes, or resealable bags with silica gel packets (to absorb moisture). Label each with the plant name and year!
- ● Notebook or Seed Journal: To track varieties, growing conditions, and notes on performance.
- ○ Gloves (Optional but Helpful): Protect your hands from prickly seed pods or sap (e.g., milkweed or okra).
- ● Humidity Control Kit: A small dehumidifier or desiccant packets to speed up seed drying.
- ● Seed Catalog or Database: Resources like the blank">Seed Savers Exchange or blank">Seed Alliance for variety recommendations.
- ● Isolation Caging: For cross-pollinated plants (e.g., tomatoes or squash), use mesh bags or cages to prevent unwanted hybridization.
- ● Digital Scale: For weighing seeds to ensure proper moisture levels (aim for <10% moisture content).
- ● Community or Local Seed Library: Swap seeds with fellow gardeners to expand your collection!
How to start your own seed saving collection
Here’s how to preserve heirloom seeds like a pro—no fancy equipment needed.
🌱 Step 1: Select the Right Plants for Saving
Choose open-pollinated or heirloom varieties—these are the only plants that will breed true from seed. Avoid hybrids (marked "F1" or "hybrid") since their seeds won’t produce the same plant. I focus on easy-to-save crops like tomatoes, beans, peppers, and lettuce first. These self-pollinate or are easy to isolate from other varieties.
Look for healthy, vigorous plants with strong disease resistance. Weak or stunted plants may pass on poor traits. You’ll want at least 4-6 plants of each variety to ensure genetic diversity in your saved seeds. Label everything immediately—mix-ups happen fast when plants look similar!
🌿 Step 2: Allow Plants to Fully Mature
Don’t harvest seeds from immature plants—this leads to poor germination later. Let your chosen plants grow until they’ve produced fully ripe, mature seeds. For tomatoes, this means letting fruit soften and wrinkle on the vine. For beans, wait until pods turn completely dry and crispy before harvesting.
Watch for visual cues: seeds should plump up inside pods or fruit, and the plant’s natural cycle should slow down. Tomatoes left too long on the vine may crack, but better to wait than rush. If frost threatens before seeds mature, harvest the entire plant and dry it indoors.
⏰ Step 3: Harvest and Dry Seeds Properly
Remove seeds from their pods or fruit and spread them in a single layer on absorbent paper towels or a mesh screen. Place in a warm, dry spot with good air circulation—a sunny windowsill or well-ventilated room works. Avoid direct sunlight, which can overheat and scorch seeds.
Stir the seeds daily to prevent mold. They’re ready when completely dry and brittle—crush a few between your fingers to test. Properly dried seeds should crumble easily. Store them in paper envelopes (not plastic) labeled with the variety name, harvest date, and growing conditions.
🪴 Step 4: Store Seeds for Long-Term Viability
Keep seeds in a cool, dark place—a sealed jar in the refrigerator or freezer works best for long-term storage. Moisture and heat are the enemies of seed longevity. I use small glass jars with tight lids to prevent humidity buildup. Test germination rates every 2-3 years by planting a few seeds—if they don’t sprout well, save fresh seeds.
Heirloom seeds can last 5-10 years under ideal conditions, but viability drops over time. Label each jar with the variety name and harvest year—next season, you’ll thank yourself when you replant a favorite from your own collection instead of buying new.
Tips & tricks for perfect seed saving success
These essential strategies will help you build a thriving collection of heirloom seeds that maintain their quality and genetic integrity.
Variety Selection: When choosing plants in Step 1, prioritize those with distinct characteristics like color, shape, or size—these traits are easiest to track across generations. For example, a tomato with deep purple stripes will be much simpler to identify than a plain red variety. I also recommend starting with plants that have a long history of successful seed saving in your climate zone, as they're already adapted to local conditions.
Maturation Cues: In Step 2, don't rely solely on time—watch for these visual signals that seeds are truly ready: tomato skins should develop a leathery texture and split open naturally, while bean pods will turn papery and crisp. For lettuce, the outer leaves will yellow and wither while the inner seed heads form tight, dry clusters. This patience pays off with higher germination rates.
Drying Strategy: For Step 3, create a drying station with multiple trays to handle different seed types simultaneously. Place a small fan nearby to maintain gentle airflow without creating drafts. I've found that seeds from fleshy fruits like tomatoes benefit from an extra fermentation step: simply crush the pulp with seeds in a jar of water, stir daily for 2-3 days, then skim off the moldy scum before drying. This removes inhibitors that can prevent germination.
Storage Organization: In Step 4, implement a labeling system that includes not just the variety name but also the specific plant characteristics you're preserving. For example, "Brandywine Tomato - 12 oz fruit, deep red, crack-resistant" gives you precise information for future generations. I use small glass vials with rubber stoppers for seeds that need extra protection from moisture, while paper envelopes work well for most varieties. Store all containers in a dedicated seed-saving drawer in your freezer for maximum longevity.
Pro Tips for The Seed Savers
- These essential strategies will help you build a thriving collection of heirloom seeds that maintain their quality and genetic integrity.
- Variety Selection: When choosing plants in Step 1, prioritize those with distinct characteristics like color, shape, or size—these traits are easiest to track across generations.
- For lettuce, the outer leaves will yellow and wither while the inner seed heads form tight, dry clusters.
Frequently asked questions
Got questions about saving seeds or joining the The Seed Savers Exchange? You’re not alone! Here are some of the most common queries—and their answers—to help you dive in with confidence.
What’s the easiest seed to save for beginners?
Start with open-pollinated varieties like tomatoes, beans, or lettuce—they’re forgiving and don’t require complex techniques. Avoid hybrids (marked "F1") since their seeds won’t grow true to type. Pro tip: Save seeds from heirloom plants (like Brandywine tomatoes) for the most rewarding results!
How long do seeds stay viable for saving?
Most seeds last 1–5 years if stored properly (cool, dry, dark place in airtight containers). Check the Seed Savers Exchange database for variety-specific lifespans—some, like pepper seeds, may only last 2–3 years. Label everything! Old seeds lose vigor, so test germination by planting a few.
Can I save seeds from store-bought vegetables?
Maybe! Only save seeds from open-pollinated or heirloom produce (ask the farmer or check labels). Hybrid veggies (like most grocery-store tomatoes) won’t grow true. For guaranteed heirlooms, order from The Seed Savers Exchange or local seed libraries.
What’s the best way to dry seeds before storage?
Spread seeds in a single layer on a paper towel or mesh screen in a warm, dry place (like a sunny windowsill) for 1–2 weeks. Stir occasionally to prevent mold. Once dry, store in envelopes or glass jars with a desiccant packet to absorb moisture.
How do I join The Seed Savers Exchange?
Visit SeedSavers.org to become a member ($35/year for individuals). You’ll gain access to their seed catalog, gardening resources, and the chance to trade seeds with fellow savers. Bonus: Members get discounts on heirloom varieties!
Wrapping up and next steps
Seed saving isn’t just a hobby—it’s a powerful act of conservation that keeps biodiversity alive for future generations. By joining the Seed Savers Exchange or starting your own collection, you’re protecting rare heirloom varieties and fostering a sustainable future. 🌱
Ready to take the next step? Start small: save seeds from a single heirloom plant this season, share them with neighbors, or donate to a local seed library. Every seed saved is a legacy planted!